Scanning film with the CREO IQ Smart 3
Film scanning is complex, with many different methods to convert analog film into a digital file. Being disappointed with many of the most common options, I jumped on the Creo IQ Smart 3 when one went up for sale. In the world of high-end film scanners, the IQ Smart series is well regarded and supposedly gives results that are not far off from a drum scanner. It was a hefty purchase but I have been extremely happy with the results. When looking online, I didn’t find a lot of documentation other than the official spec sheets and manual that were provided by the manufacturer, so I want to provide my experience and workflow with it.
What brought me to the IQ Smart
I have tried various methods to scan my film, having bought and sold a few different systems. All had significant drawbacks. Lab scans are a popular option but generally low resolution, expensive, and have most of the “look” baked in even if you have the lab deliver .tiff files. I then worked with an Epson v750 flatbed scanner and Silverfast software. I found Silverfast to be slow, antiquated, and frustrating to use. I then purchased Negative Lab Pro software which I found gave far better and more flexible results. The Epson scanner gave decent results with larger film formats but the resolution it could pull out of 35 mm negatives was lacking and it was generally a slow workflow.
Working with a camera scanning setup, the workflow was extremely fast and the scans of 35mm film were incredible but the resolution was limited by your camera. Other than doing various methods such as panorama stitching or pixel shift, more resolution was being left on the table with each larger format.
Benefits
There are several benefits to this scanner that address most of my complaints about the other methods.
A large area to scan a lot of film at once.
The large 12”x18” scan area allows for scanning many images at the same time. Two rolls of 135 or 120 film will fit in the scan area.
A high optical resolution of 5500 dpi which gives the following megapixels for each film size.
135 - 40 megapixels
645 - 105 megapixels
6x9 – 213 Megapixels
4x5 – Over 500 Megapixels (Lightroom only supports up to 512 megapixels)
Wet mounting station to keep the film flat and help control dust.
Format masks that speed up the selection and preview of film.
Difficulties
This scanner isn’t perfect and there are a few drawbacks.
Dust - There is no IR scan to help clone out dust so careful attention must be paid to cleaning both the glass and film.
Size – The scanner is huge, heavy, and requires an older Mac. I have an entire desk dedicated to this setup.
Time – Scanning at the highest resolution is a slow process with a single 4x5 taking a little more than an hour.
135 film – The results for 135 are not that much better than using a camera scanning setup but take far longer. If you are only scanning 135, I would not recommend this scanner.
Bad scans – Occasionally the scan for a frame will not complete and will need to be redone.
Cost – This is a very expensive scanner out of reach for most people.
Software – This scanner uses Oxygen scanning software that only runs on old Macs and is incompatible with any modern software.
Workflow
Clean the glass thoroughly to remove as much dust as possible from both sides.
The top glass of the scanner may need to be dismounted and cleaned as well.
Place the glass base in the wet mounting station
Prepare film, roller, paper towel, dust-free wipes, scanning fluid, and acetate sheets
The sheet should be significantly larger than the film to reduce the chance of bubbles forming or fluid that exits the sides making its way on top of the sheet over the film.
Spray scanning fluid onto the wet mounting glass
Add the film, using the guides of the mounting station to line them up
Spray another layer of scanning fluid
Add the acetate sheet on top, starting from the center
Using a roller and paper towel, push excess fluid towards the edge of the acetate sheet and use the paper towel to absorb the fluid.
Use the lint-free wipe to remove any remaining bubbles from the film.
Use a flashlight to reveal any dust particles and use the dust-free wipe and blower to remove them.
Carefully remove the mounting glass and place it in the scanner.
Start the scanner and Oxygen software
Auto Naming settings
Prefix – Descriptor and film type
Automatic Indexing – on
File Format Setup
Tiff Setting
Intel Byte Order (I edit on Windows)
Setup Dialog
Mode – Color RGB 16-bit
Format – Custom
Media – Positive
Smooth – None
Resolution – Up to 5500 dpi
Input Profile - @ES_Transparency
Output Profile – AdobeRGB
End Points – AutoNormal@
Sharpness – No Sharp
Preview
Use the crop tool to first define the area of the first image and then each subsequent image.
Scan all
Transfer to an external drive once scanning is complete
Process using preferred software.
Alternatives
Is there a need to purchase one of these scanners? No. You can get most of the performance for a much lower price. Epson flatbeds provide a great value for the prices they go for used. While they don’t produce acceptable results for 135 film, a dedicated 135 scanner isn’t expensive and would make a great pairing with the flatbed scanner.
Camera scanning looks like it will be the preferred method as time goes on. Many of the options we use are not manufactured anymore and will become unusable as parts break and repairs are unavailable. Camera scanning already produces great results for 135 but, as more cameras implement pixel shift features, will produce much better results for larger formats soon. A Sony A7RIV can produce a 250-megapixel file which is more than the Creo IQ Smart 3 can produce from a 6x9 negative. While there won’t be that much detail that can be extracted from smaller formats, it’s always nice to have it available for downsizing.
Results
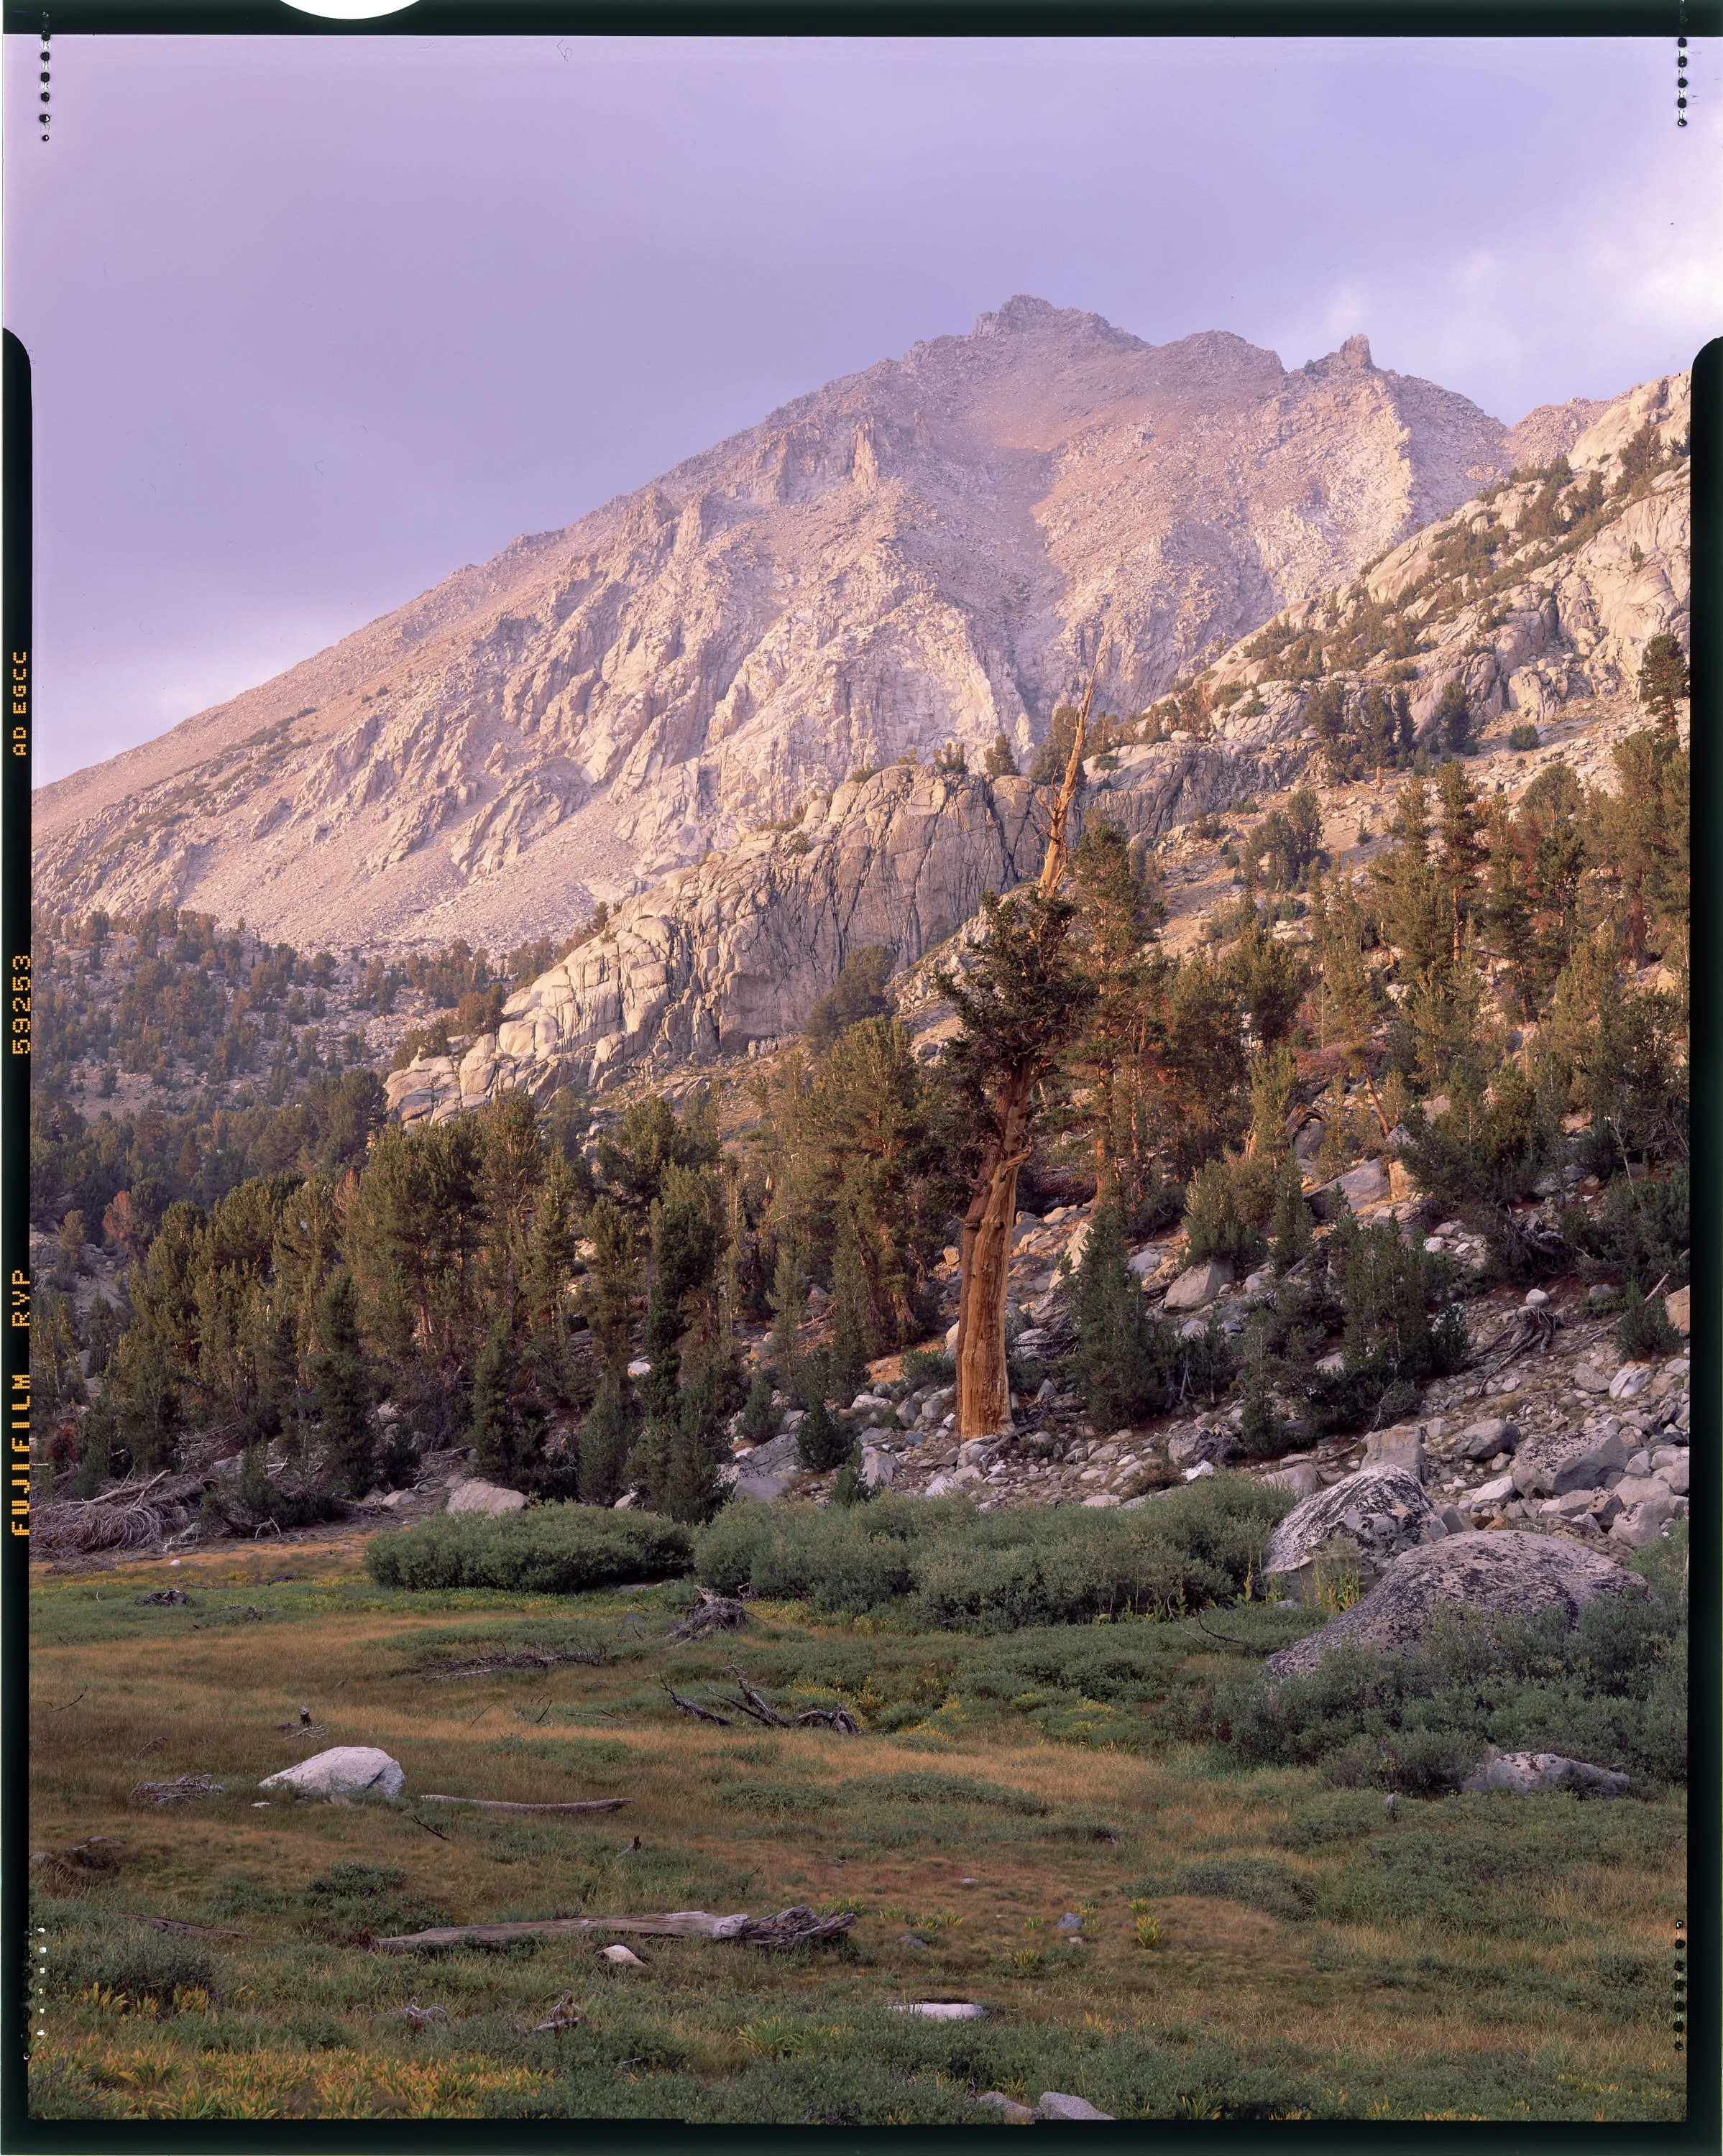
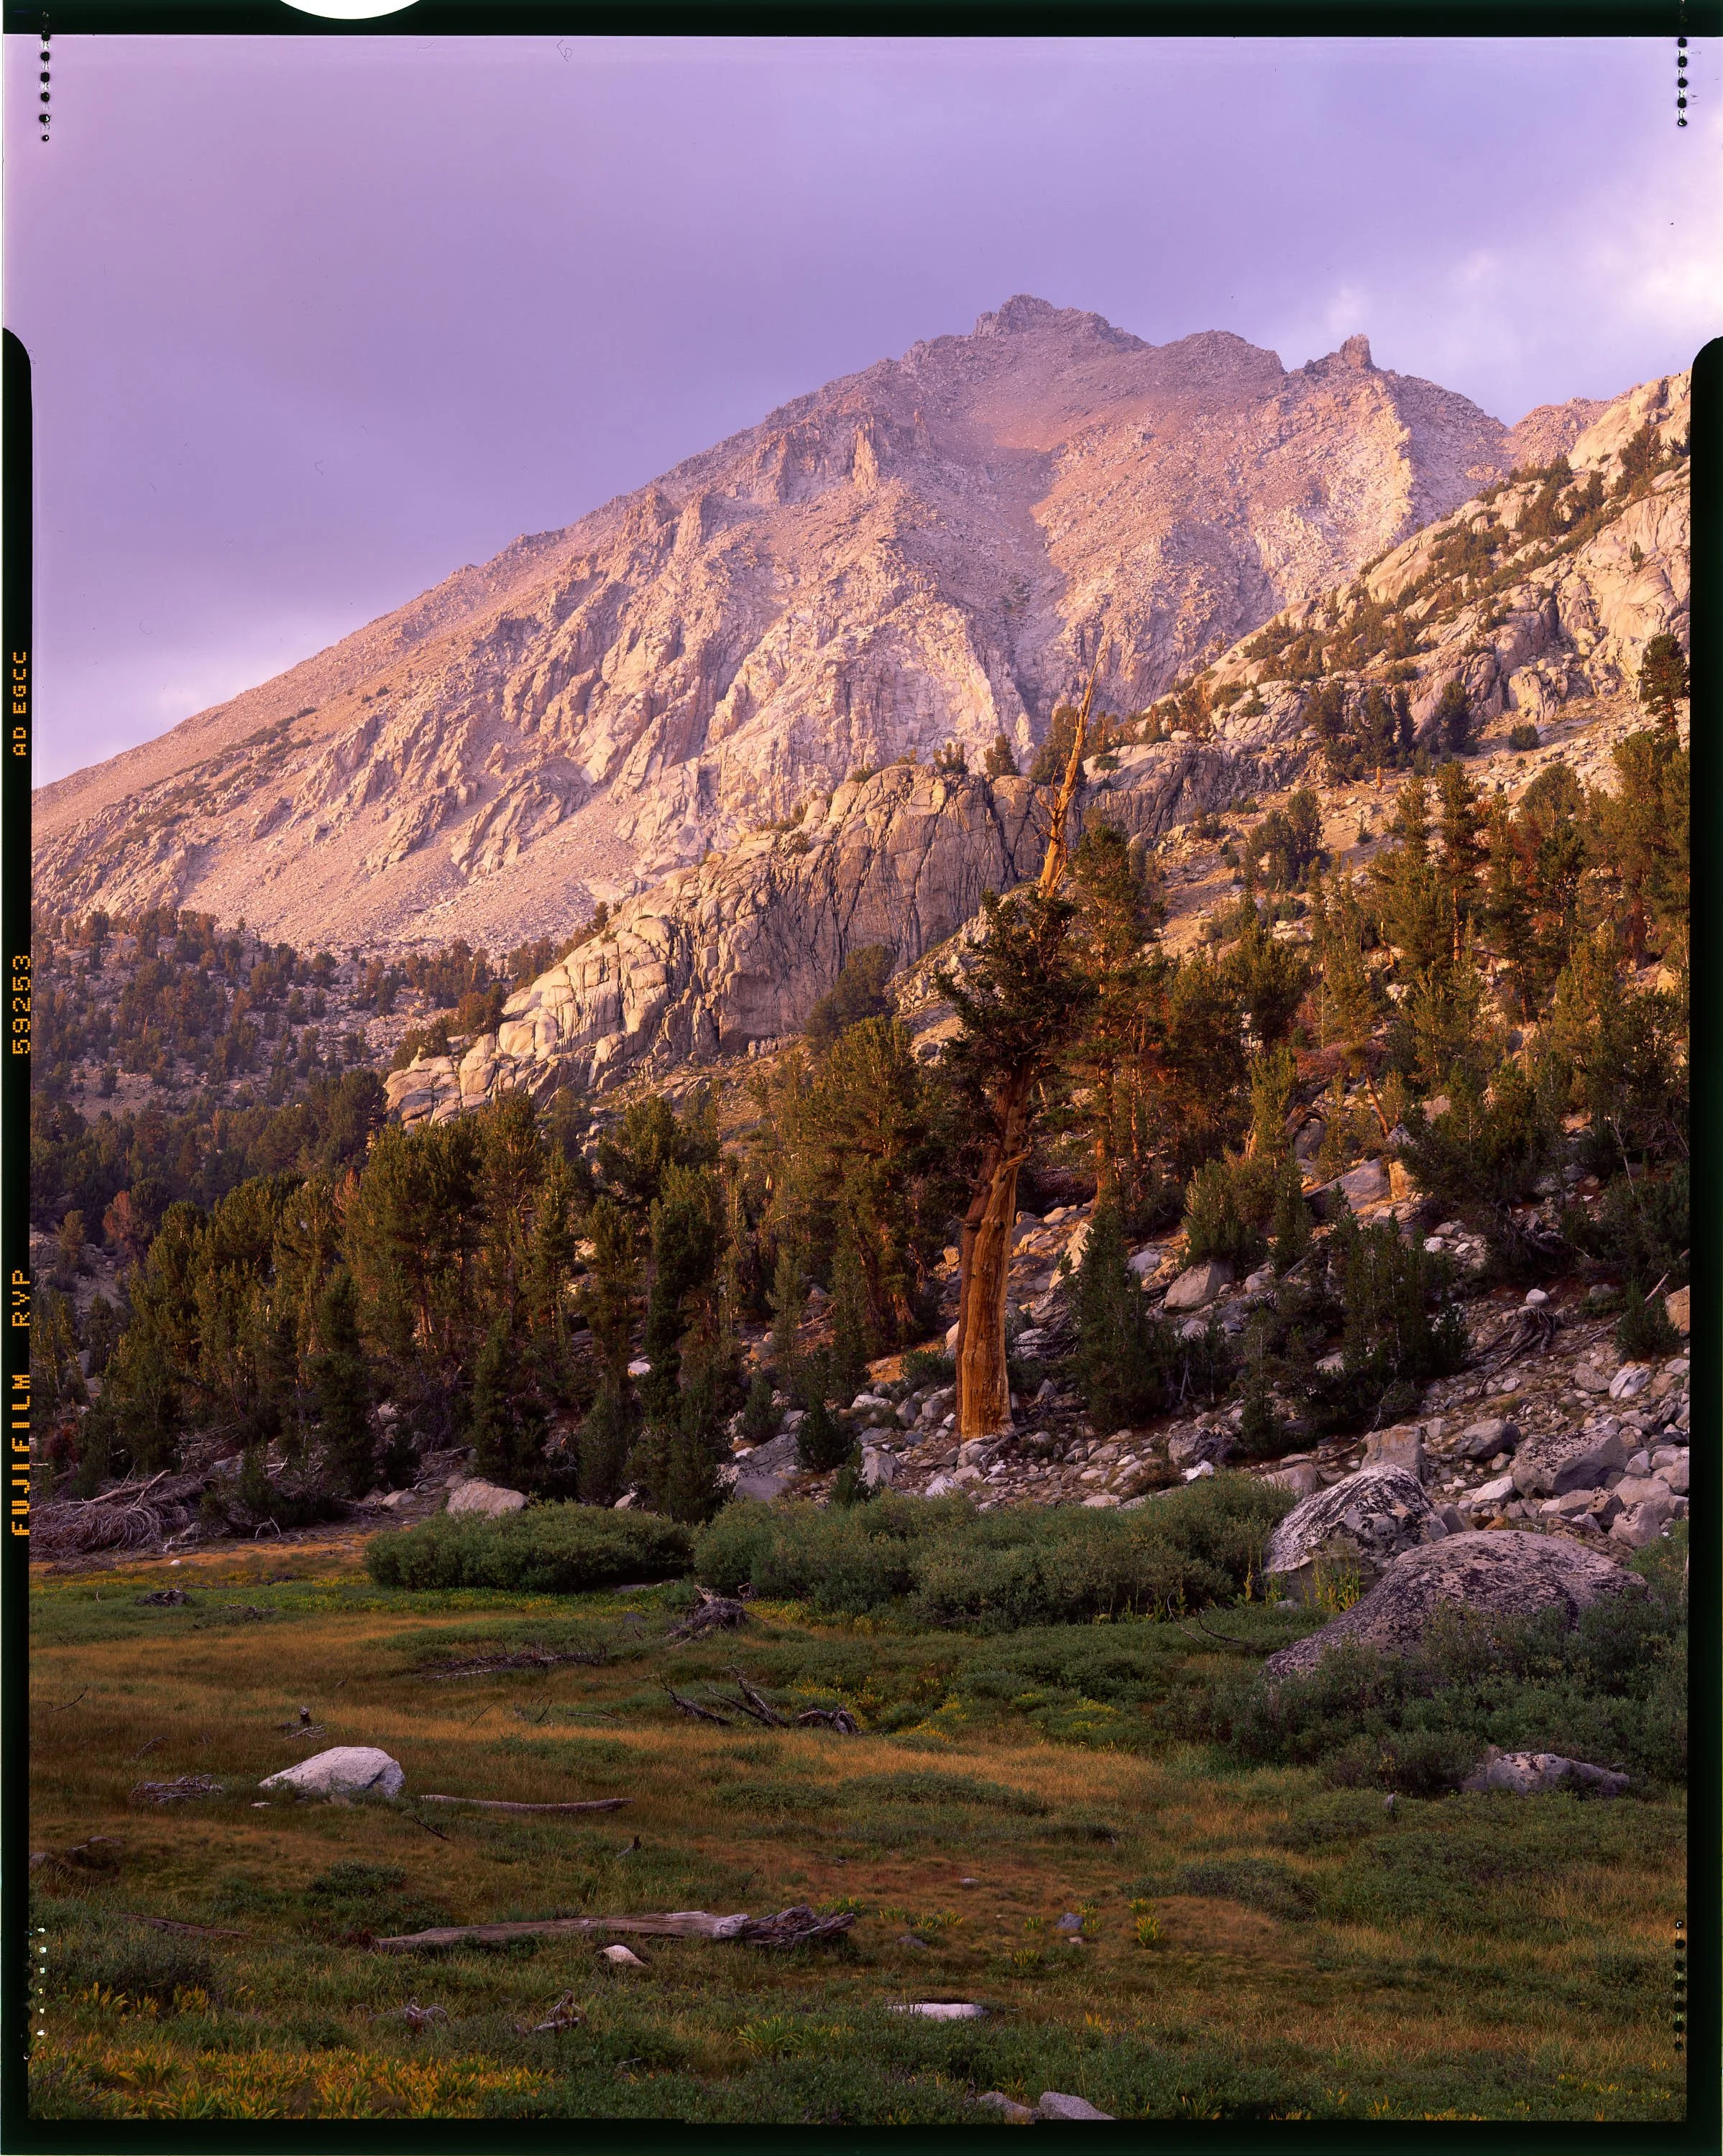
One thing I tend to hate when people post reviews on scanners or specific films is that they ignore providing the base scan to play with. The scanner does a lot but the most obvious property that you can see is the resolution the scanner provides (if they post full-resolution sample files). The color, contrast, and other aspects of the images are primarily influenced by the conversion of the negative. In the Google folder linked below, I have posted sample images in both a final conversion and a positive so you can convert yourself.
More thoughts
I have started to experiment with more dry scanning since I sometimes have bubbles appear and ruin wet scans. It’s not the end of the world but it can often mean having to rerun a 2 hour long scan. Dry scanning has been working out well so far as I have not seen any Newton Rings while using the AR glass base. I have to pay careful attention in the preparation though as removing as much dust as possible is very important in saving time cloning out spots later. Even more important than getting dust off the film itself is making sure the bottom of the base glass and the top of the top glass are completely dust-free. Any dust on those sides appears in scans as an out-of-focus blob. Not as defined as regular dust but still noticeable and more difficult to remove.
ICC Profile for Scanning Slide Film
For a long time, I struggled to get pleasing color from my scans of slide film. The images consistently appeared flat and dull when imported into Capture One. To make them look closer to the transparency on a light table, I felt compelled to increase saturation significantly and apply an S-curve, yet the results still lacked the richness of the original slide.
I eventually decided to treat the IQ Smart the same way I had treated my Epson scanner and created a custom ICC profile for it. I scanned an IT8 calibration target and generated a profile from that scan. I was unable to get this profile to appear in the Oxygen scanning software, but I successfully installed it on my main editing machine, where it is selectable in Capture One.
Below are examples of files processed with identical settings, except that one uses the standard profile while the other uses the custom profile.


