How to Take Pictures of People on a Thru Hike
Some of my favorite photos from my thru hike of the Pacific Crest Trail were of people. Going into the hike I would not have considered myself very experienced in shooting people, especially strangers. Over my months on trail I learned a lot on how to get interesting photos of people. In this post I will go through advice I wish to pass on to those hiking in the future and looking to capture better photos.
Clothes
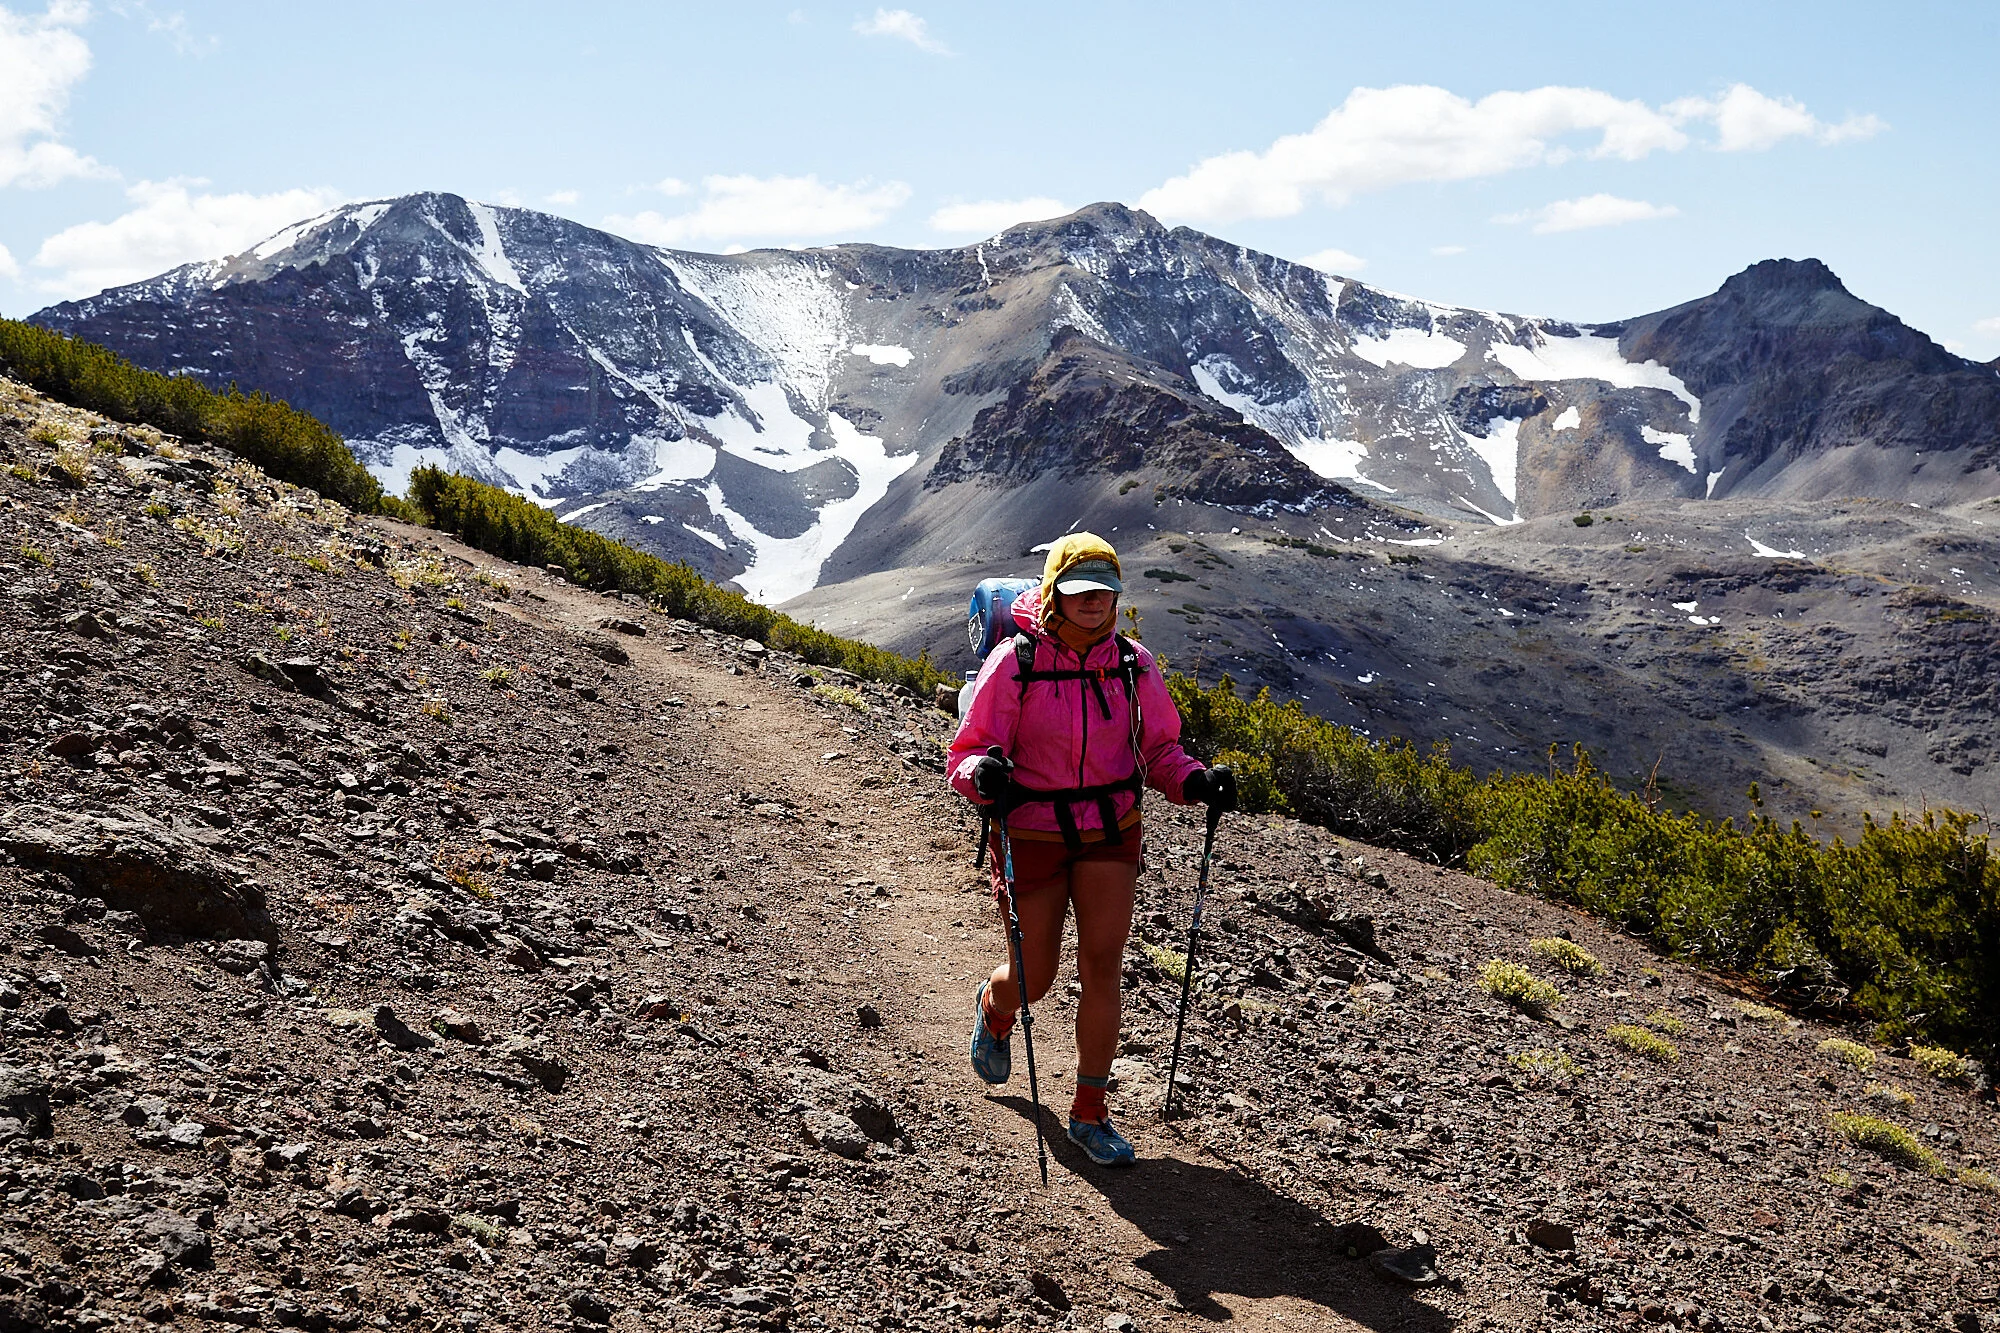
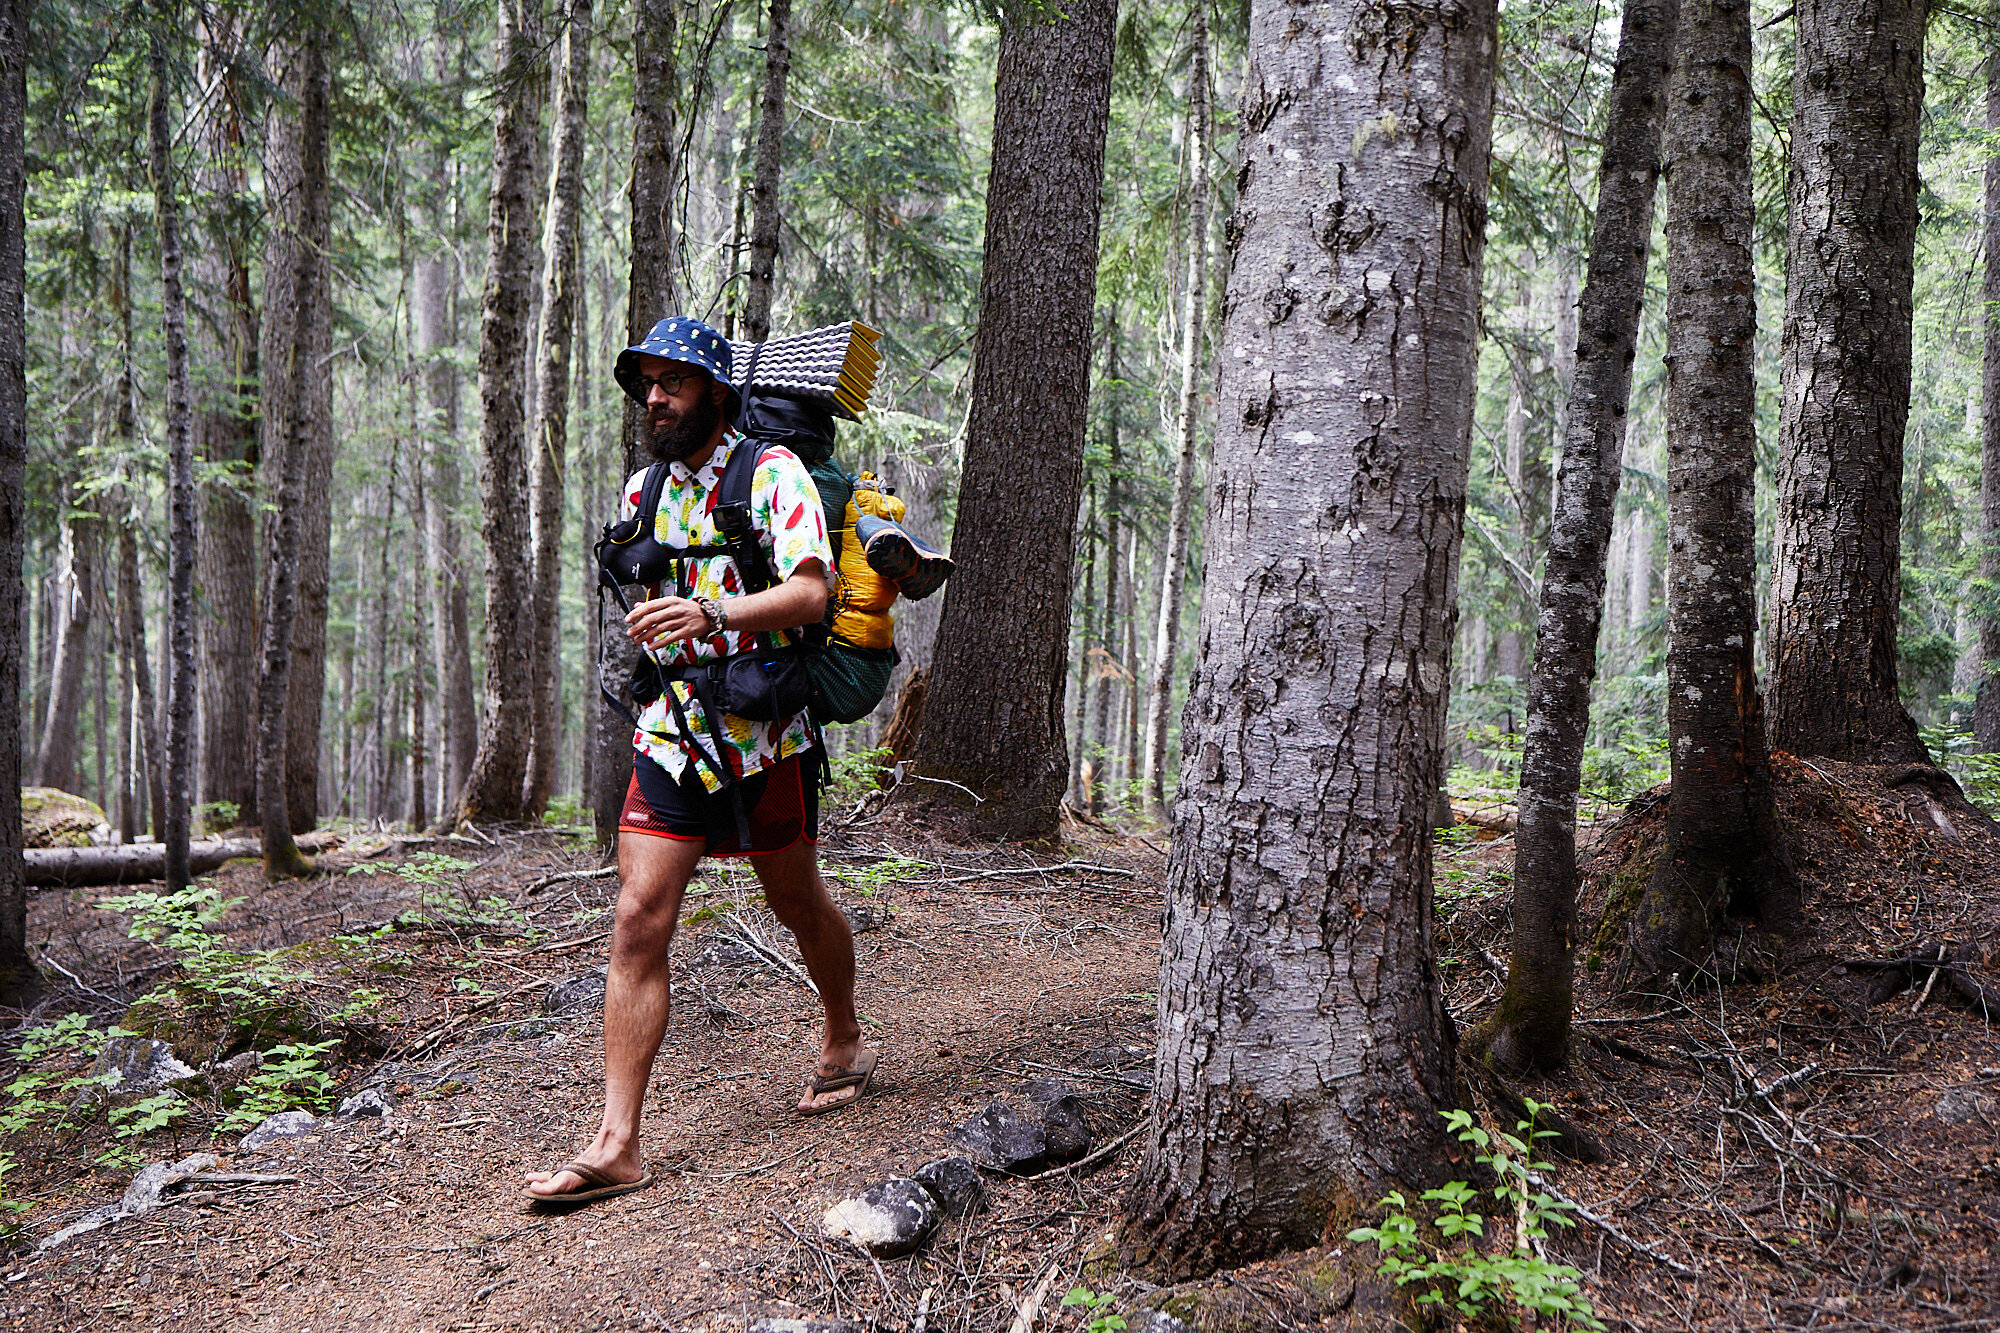
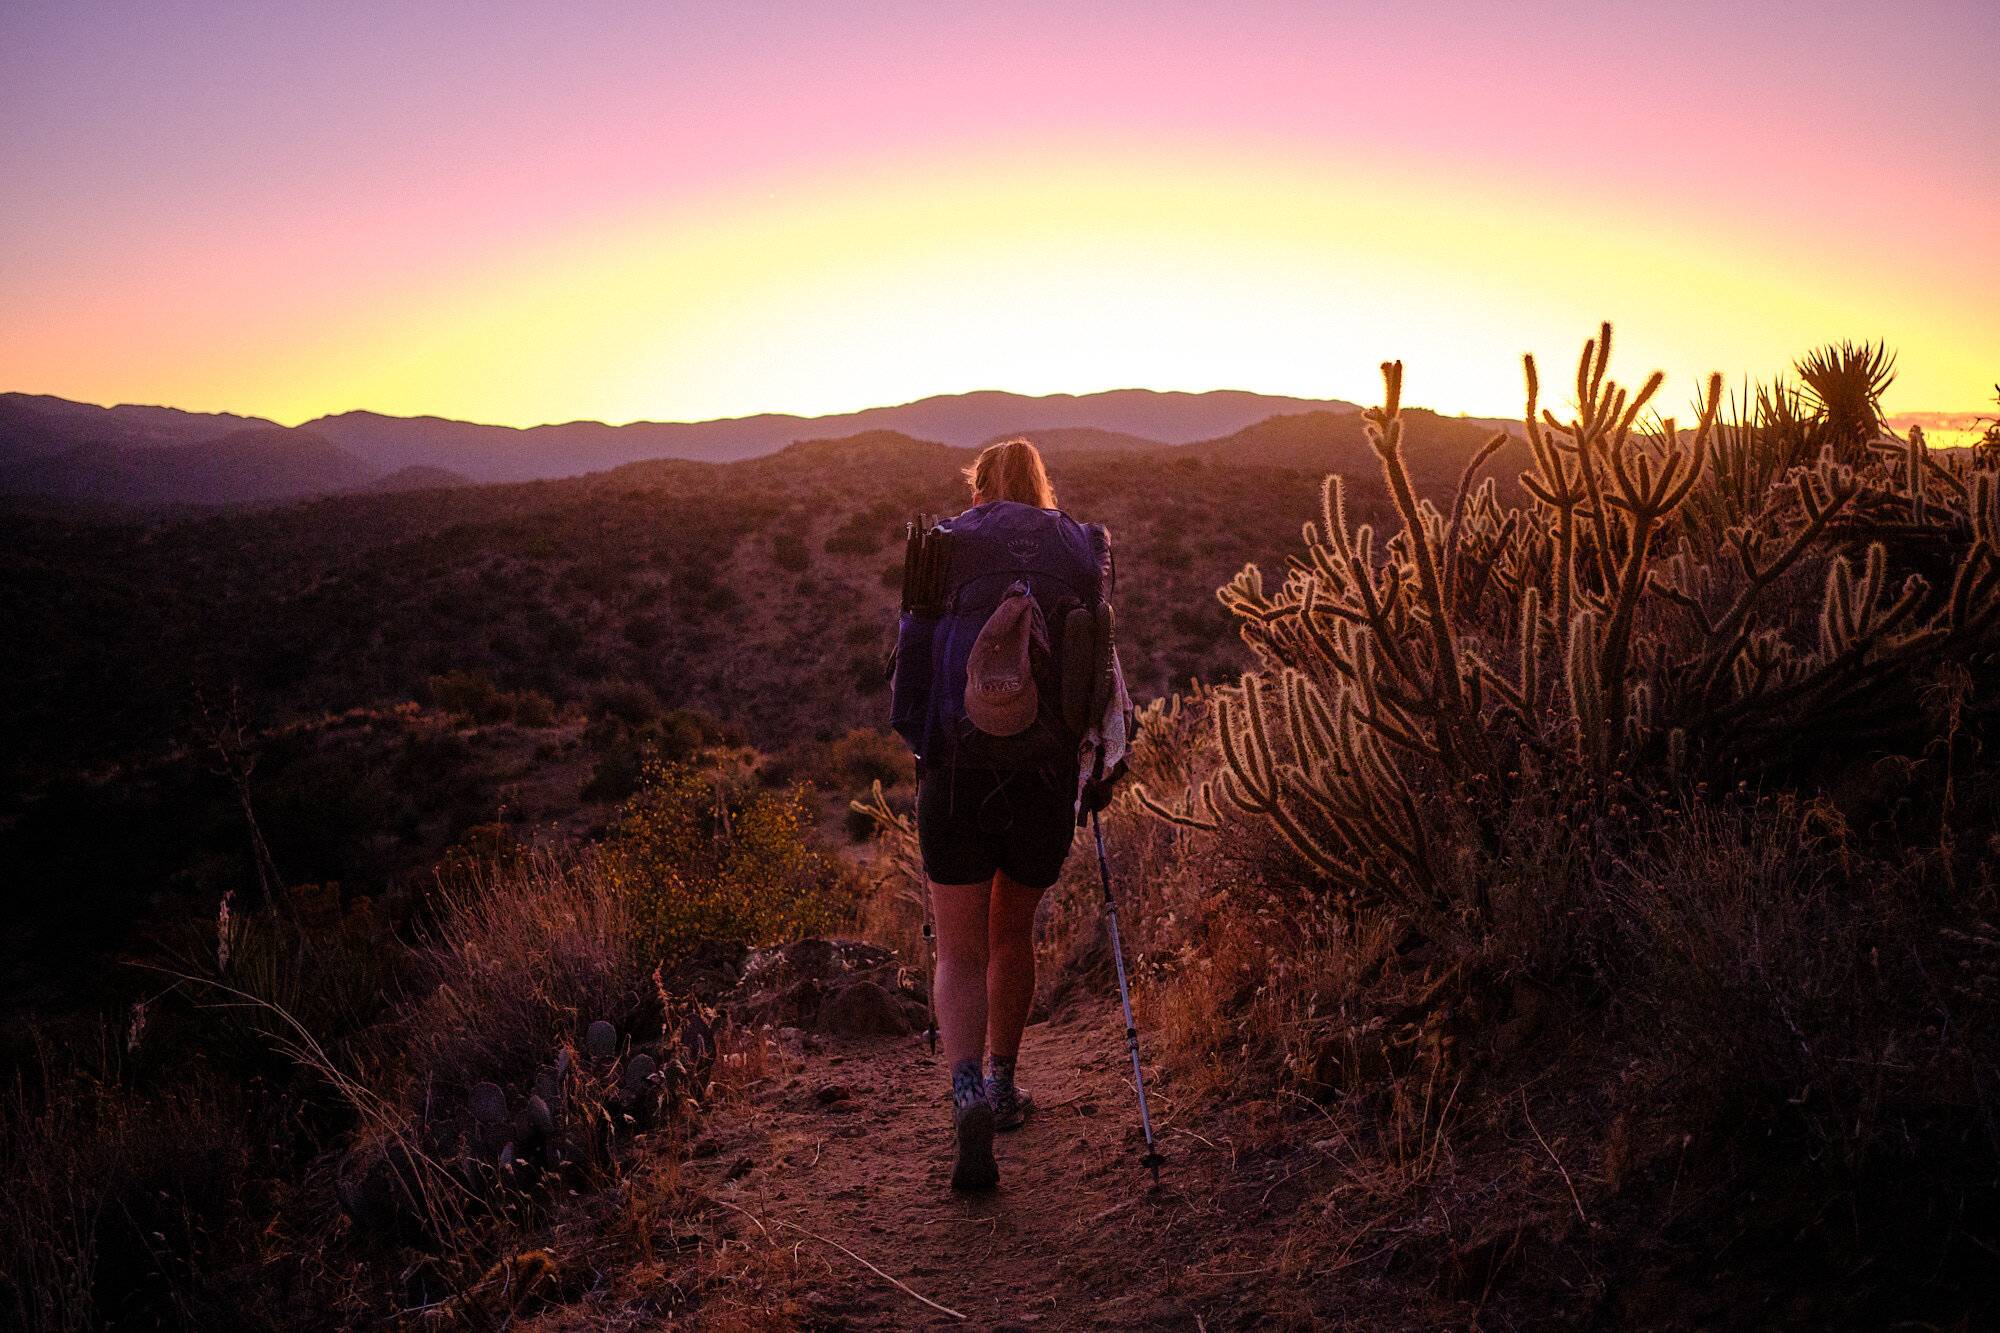
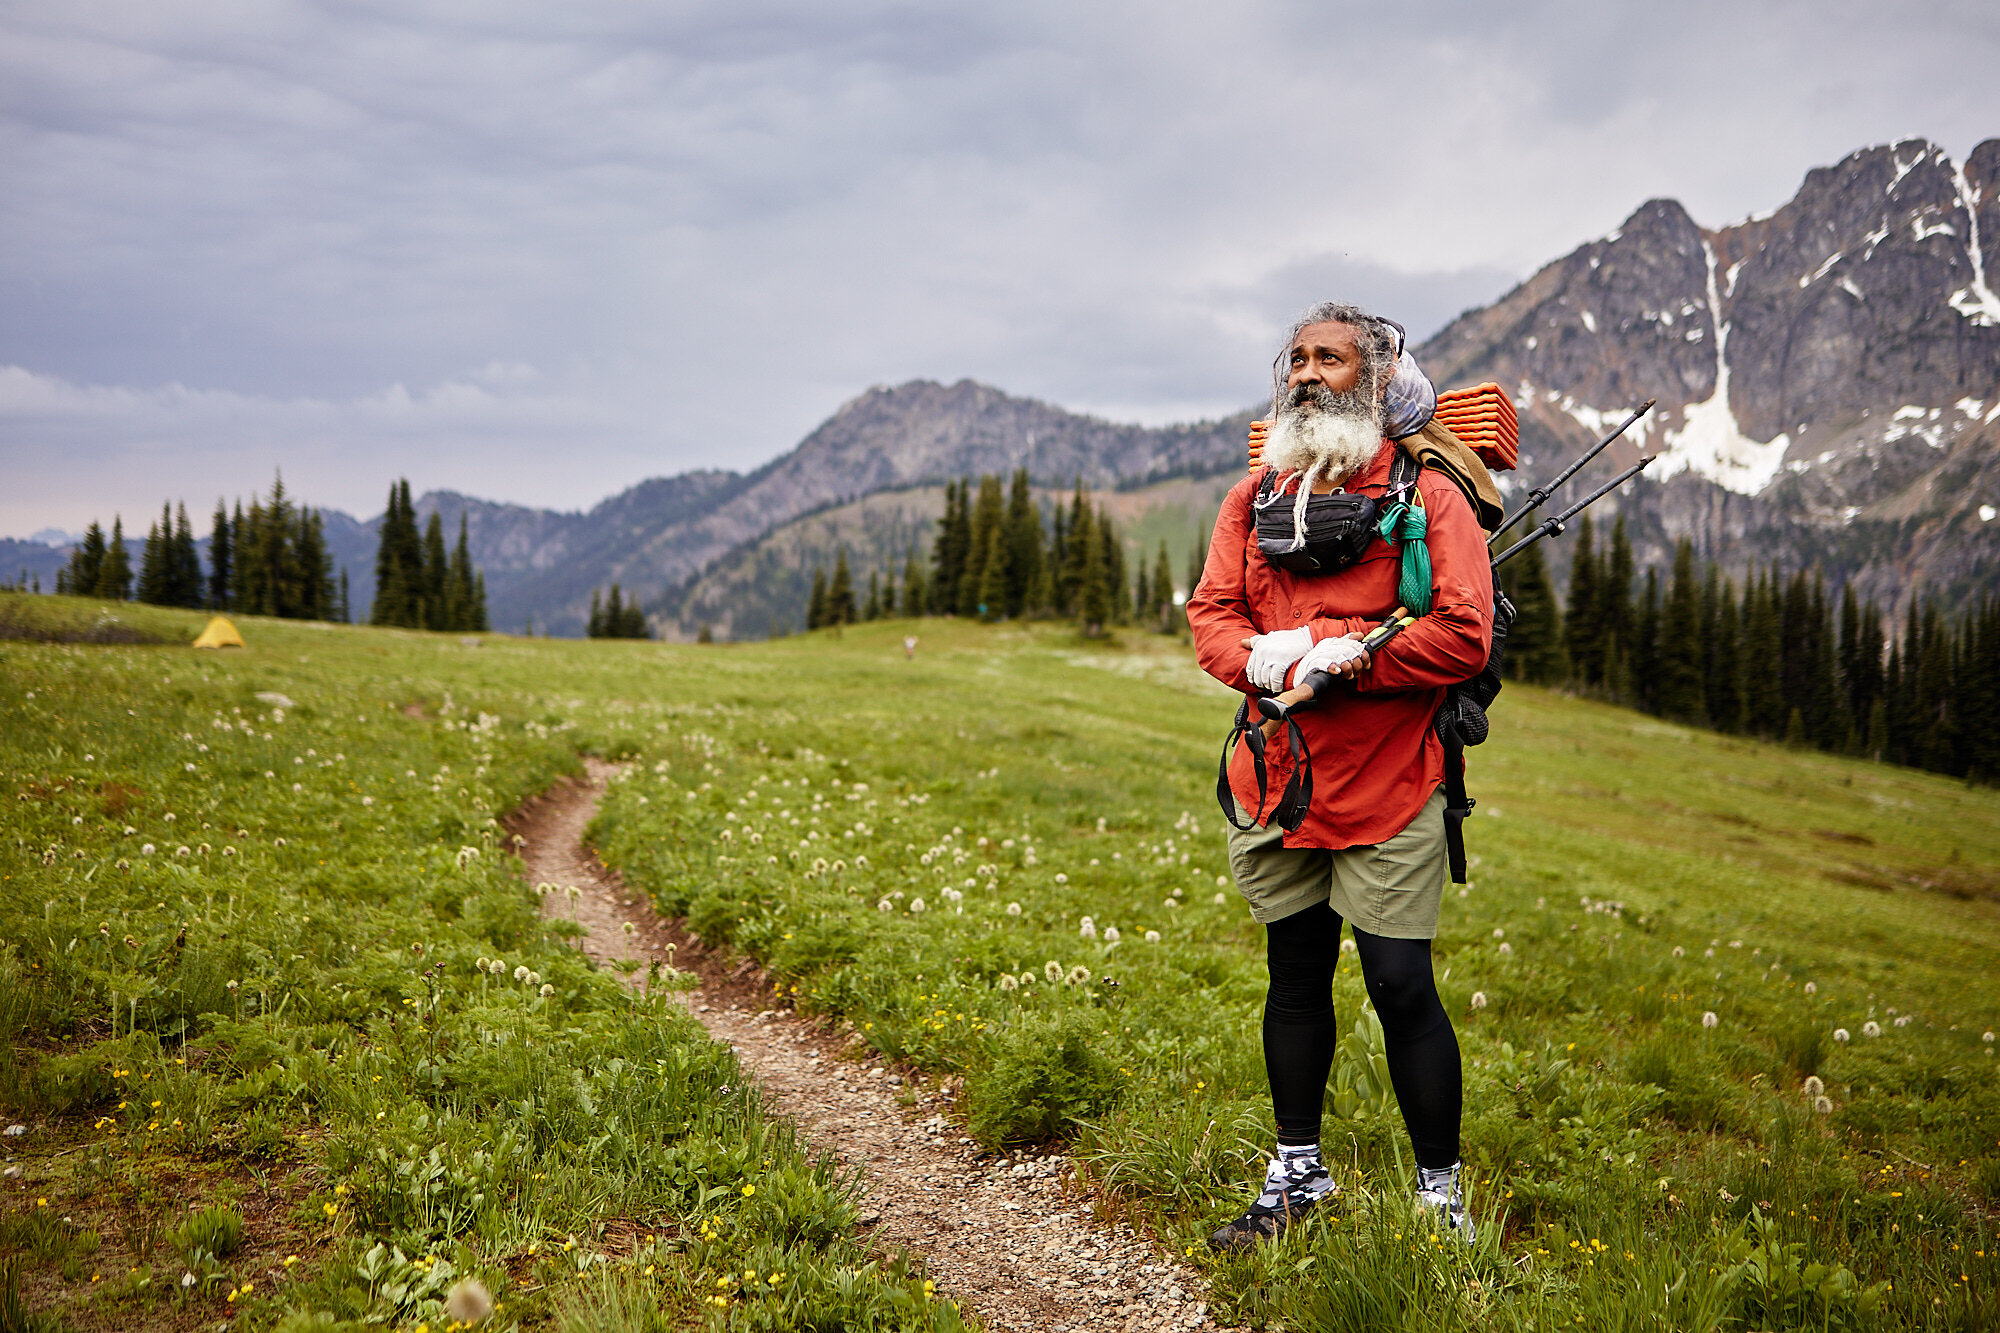
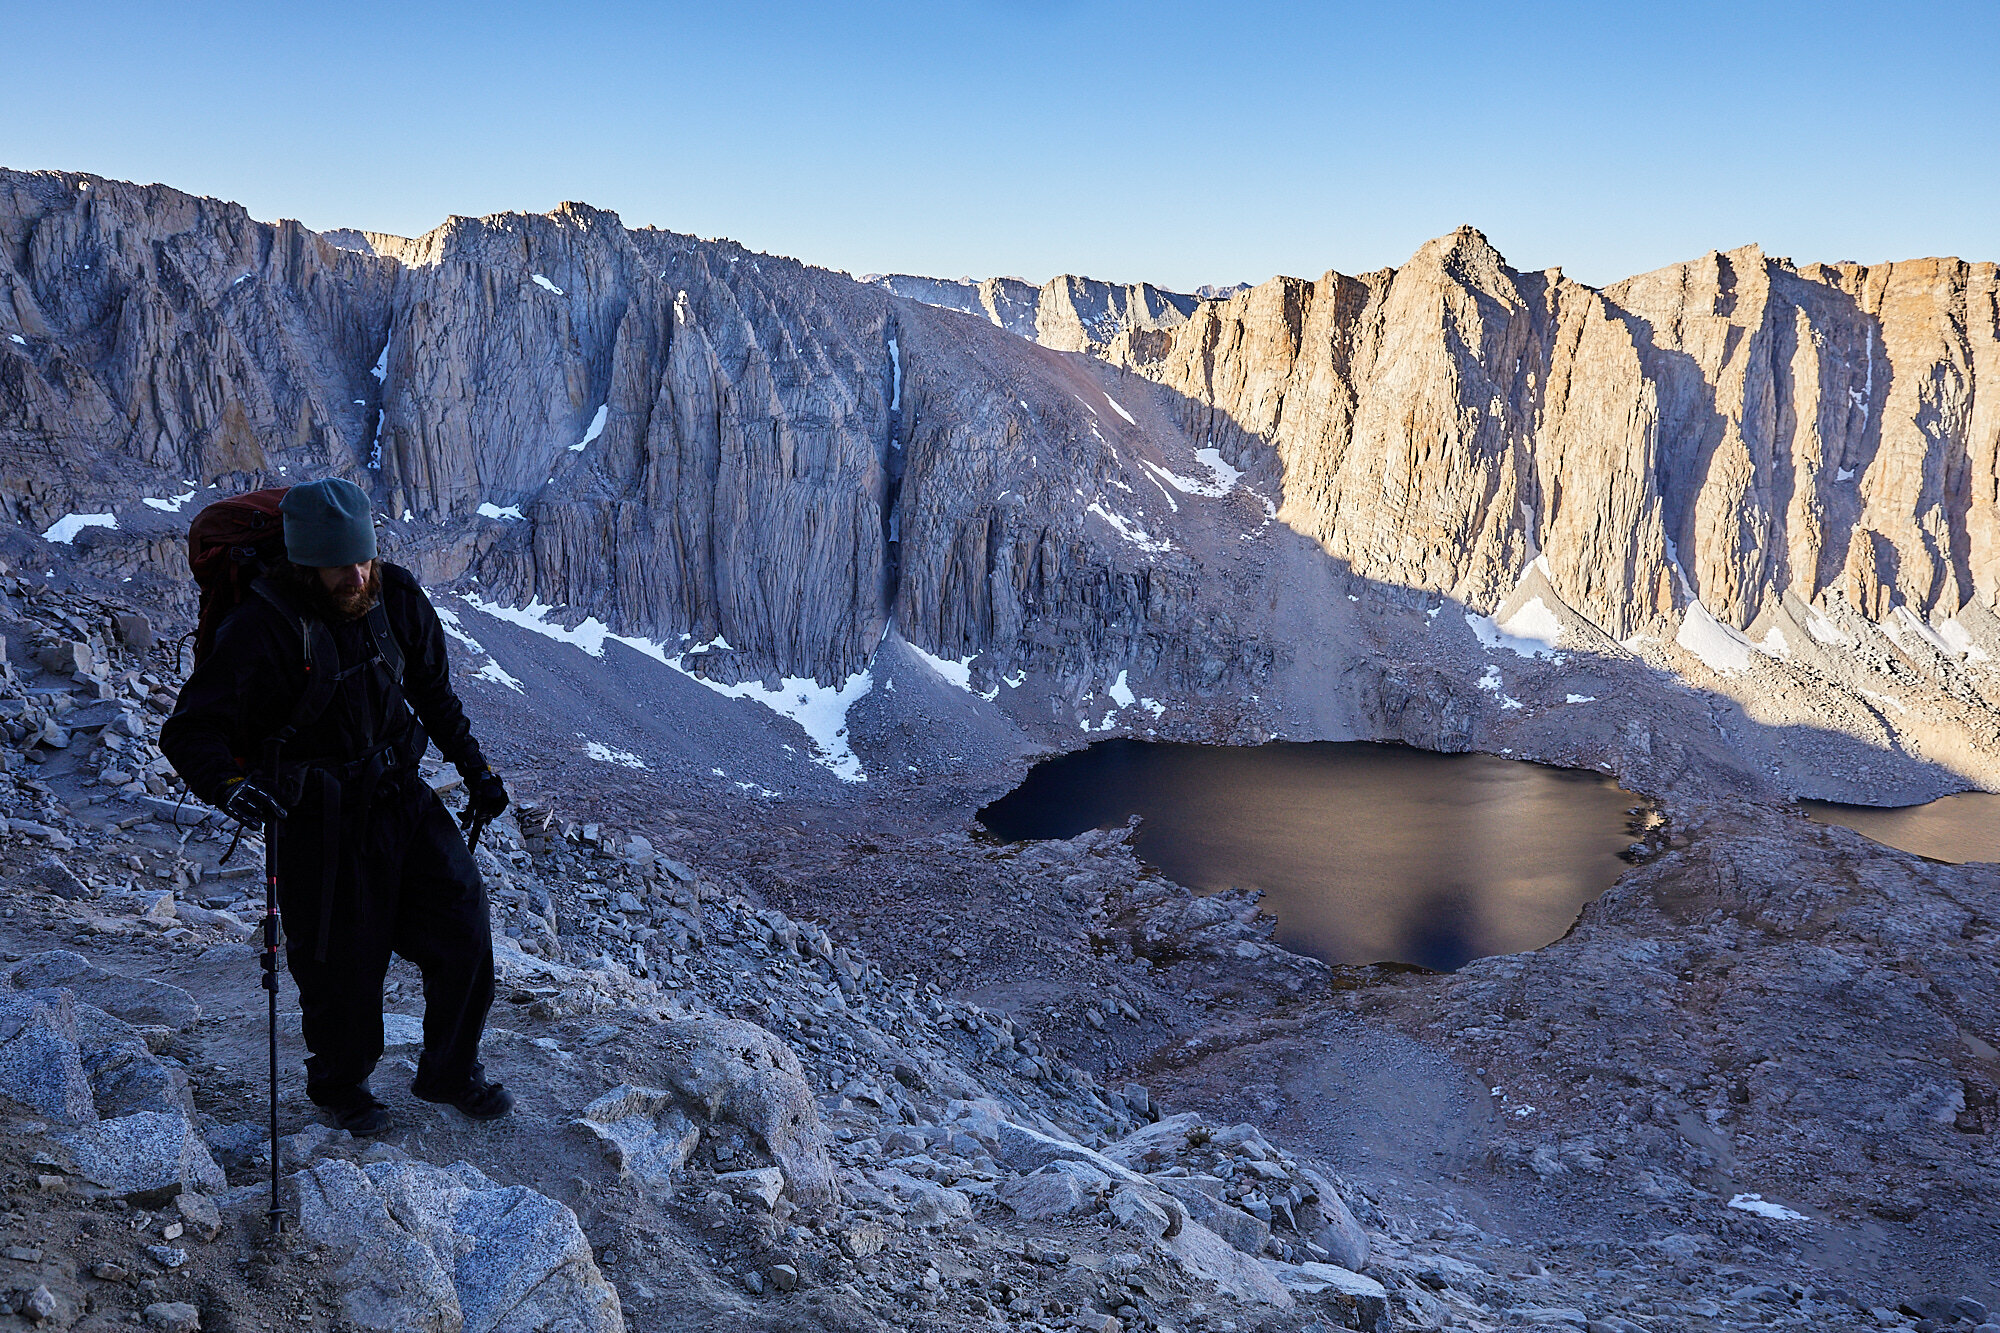
My first bit of advice would pertain to getting better photos of yourself. Wear colors other than black. Any other color is better than black. The problem with wearing a lot of black is that you will look like a floating head with an amorphous blob for a body. The hike is a great time to go crazy with bold and bright colors and patterns. Pineapple prints were popular on trail in 2019. Lighter colors are also easier for a camera to expose for. When a camera sees a large area that is dark, it brightens the exposure to compensate but that often overexposes the rest of the image making the background and face looking washed out.
Take a Lot
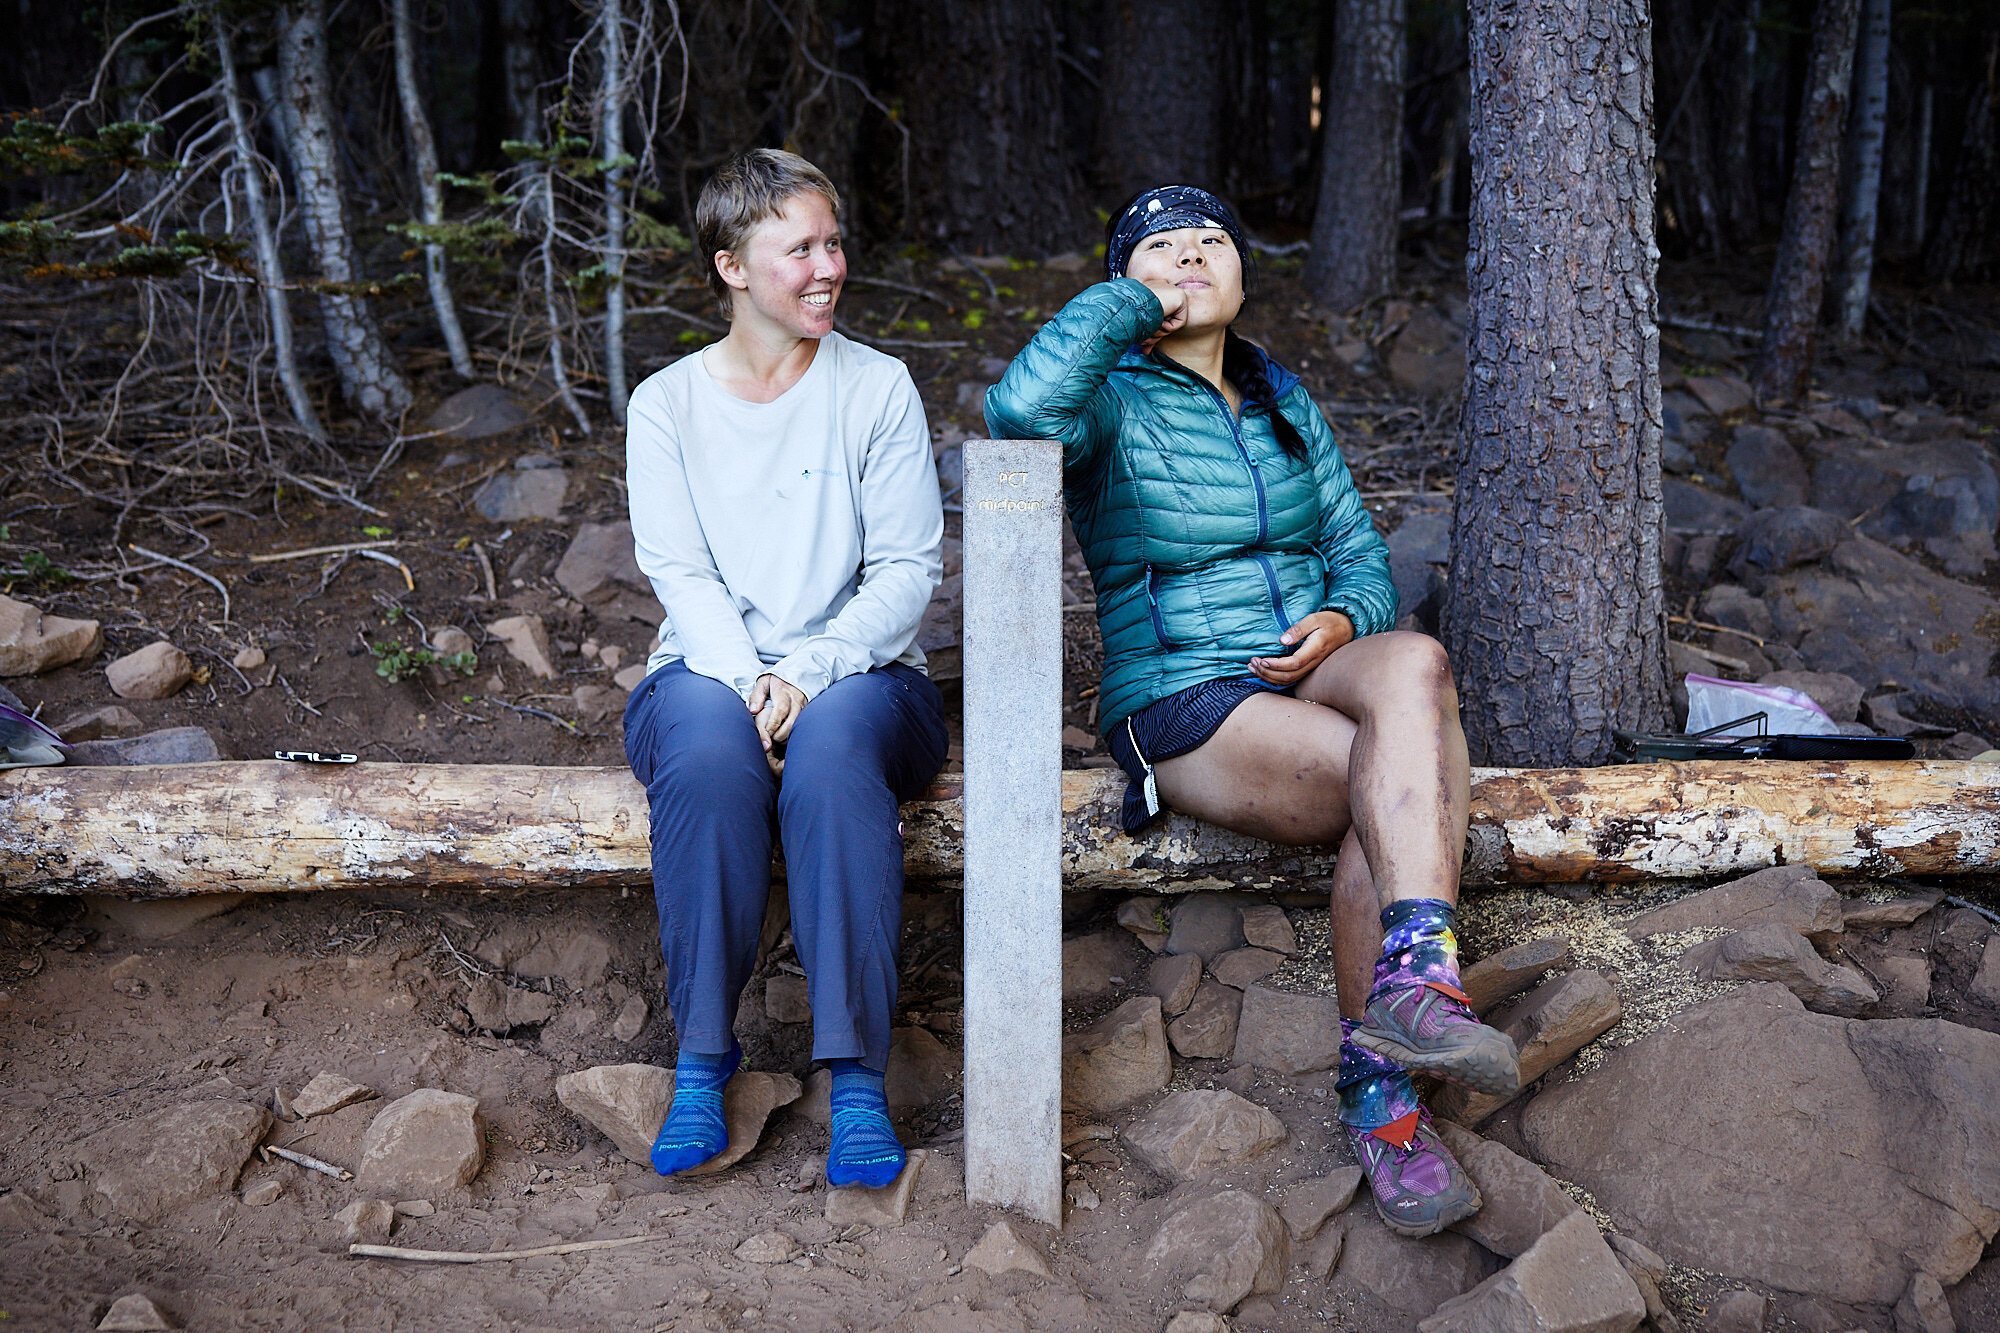
My next overarching piece of advice would be to take a lot of photos of a lot of different people. While its natural to have albums worth of photos of your trail family, it is good to make a point of grabbing photos of strangers when they peak your interest. A short conversation, camping together, or simply thinking they look interesting are all great reasons to snap a quick picture. I realize that it can be intimidating or uncomfortable to ask strangers for a picture and felt it a lot at the beginning. Over the hike, I asked hundreds of strangers for their picture and the vast majority were happy to oblige. I can count on one hand the number of times someone said they would prefer I didn’t take their picture. No big deal.
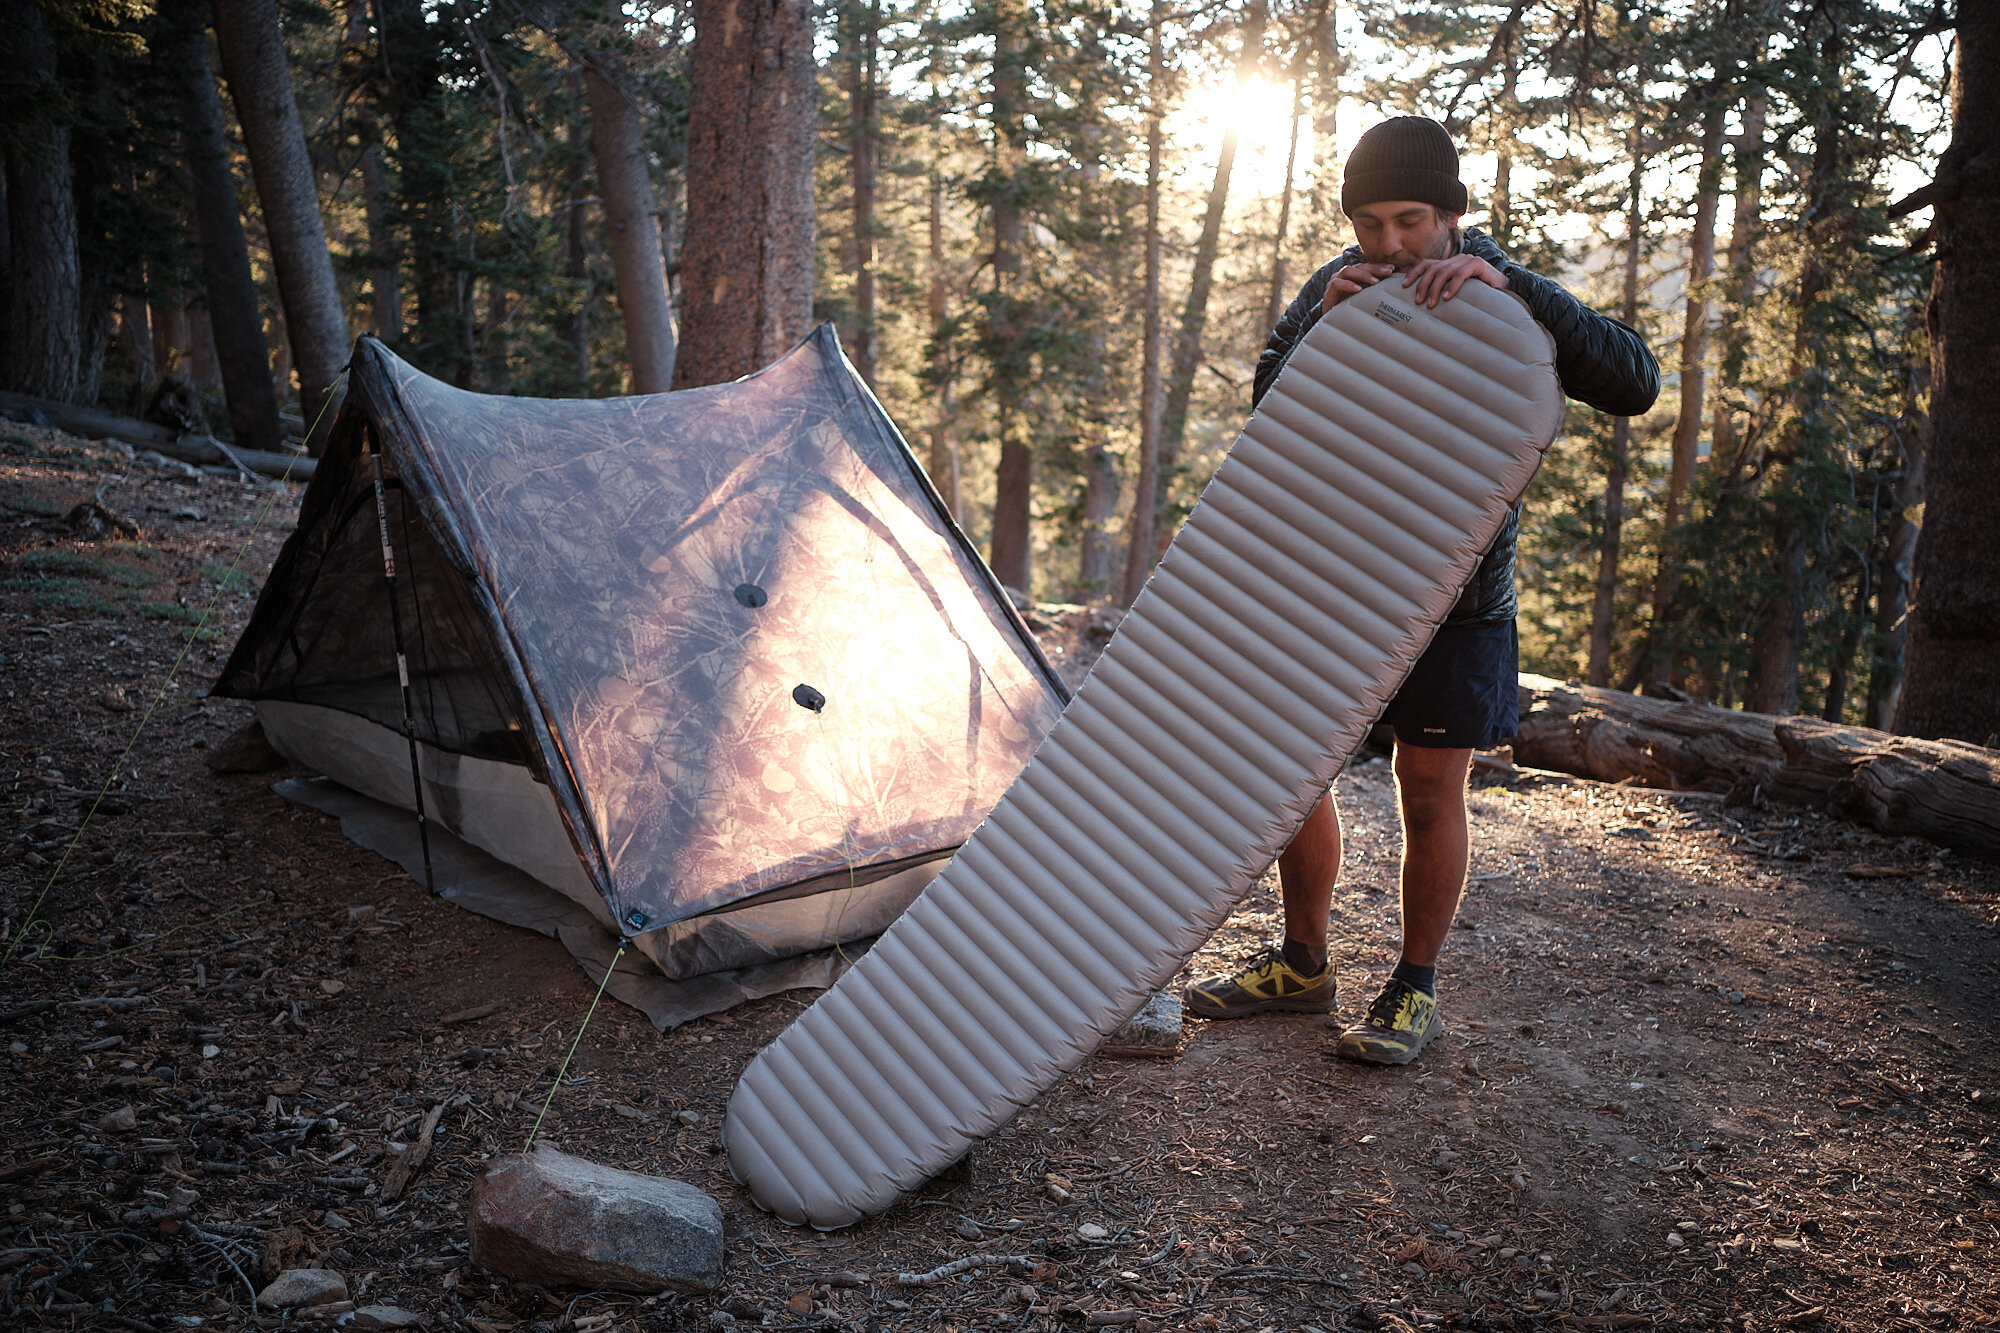
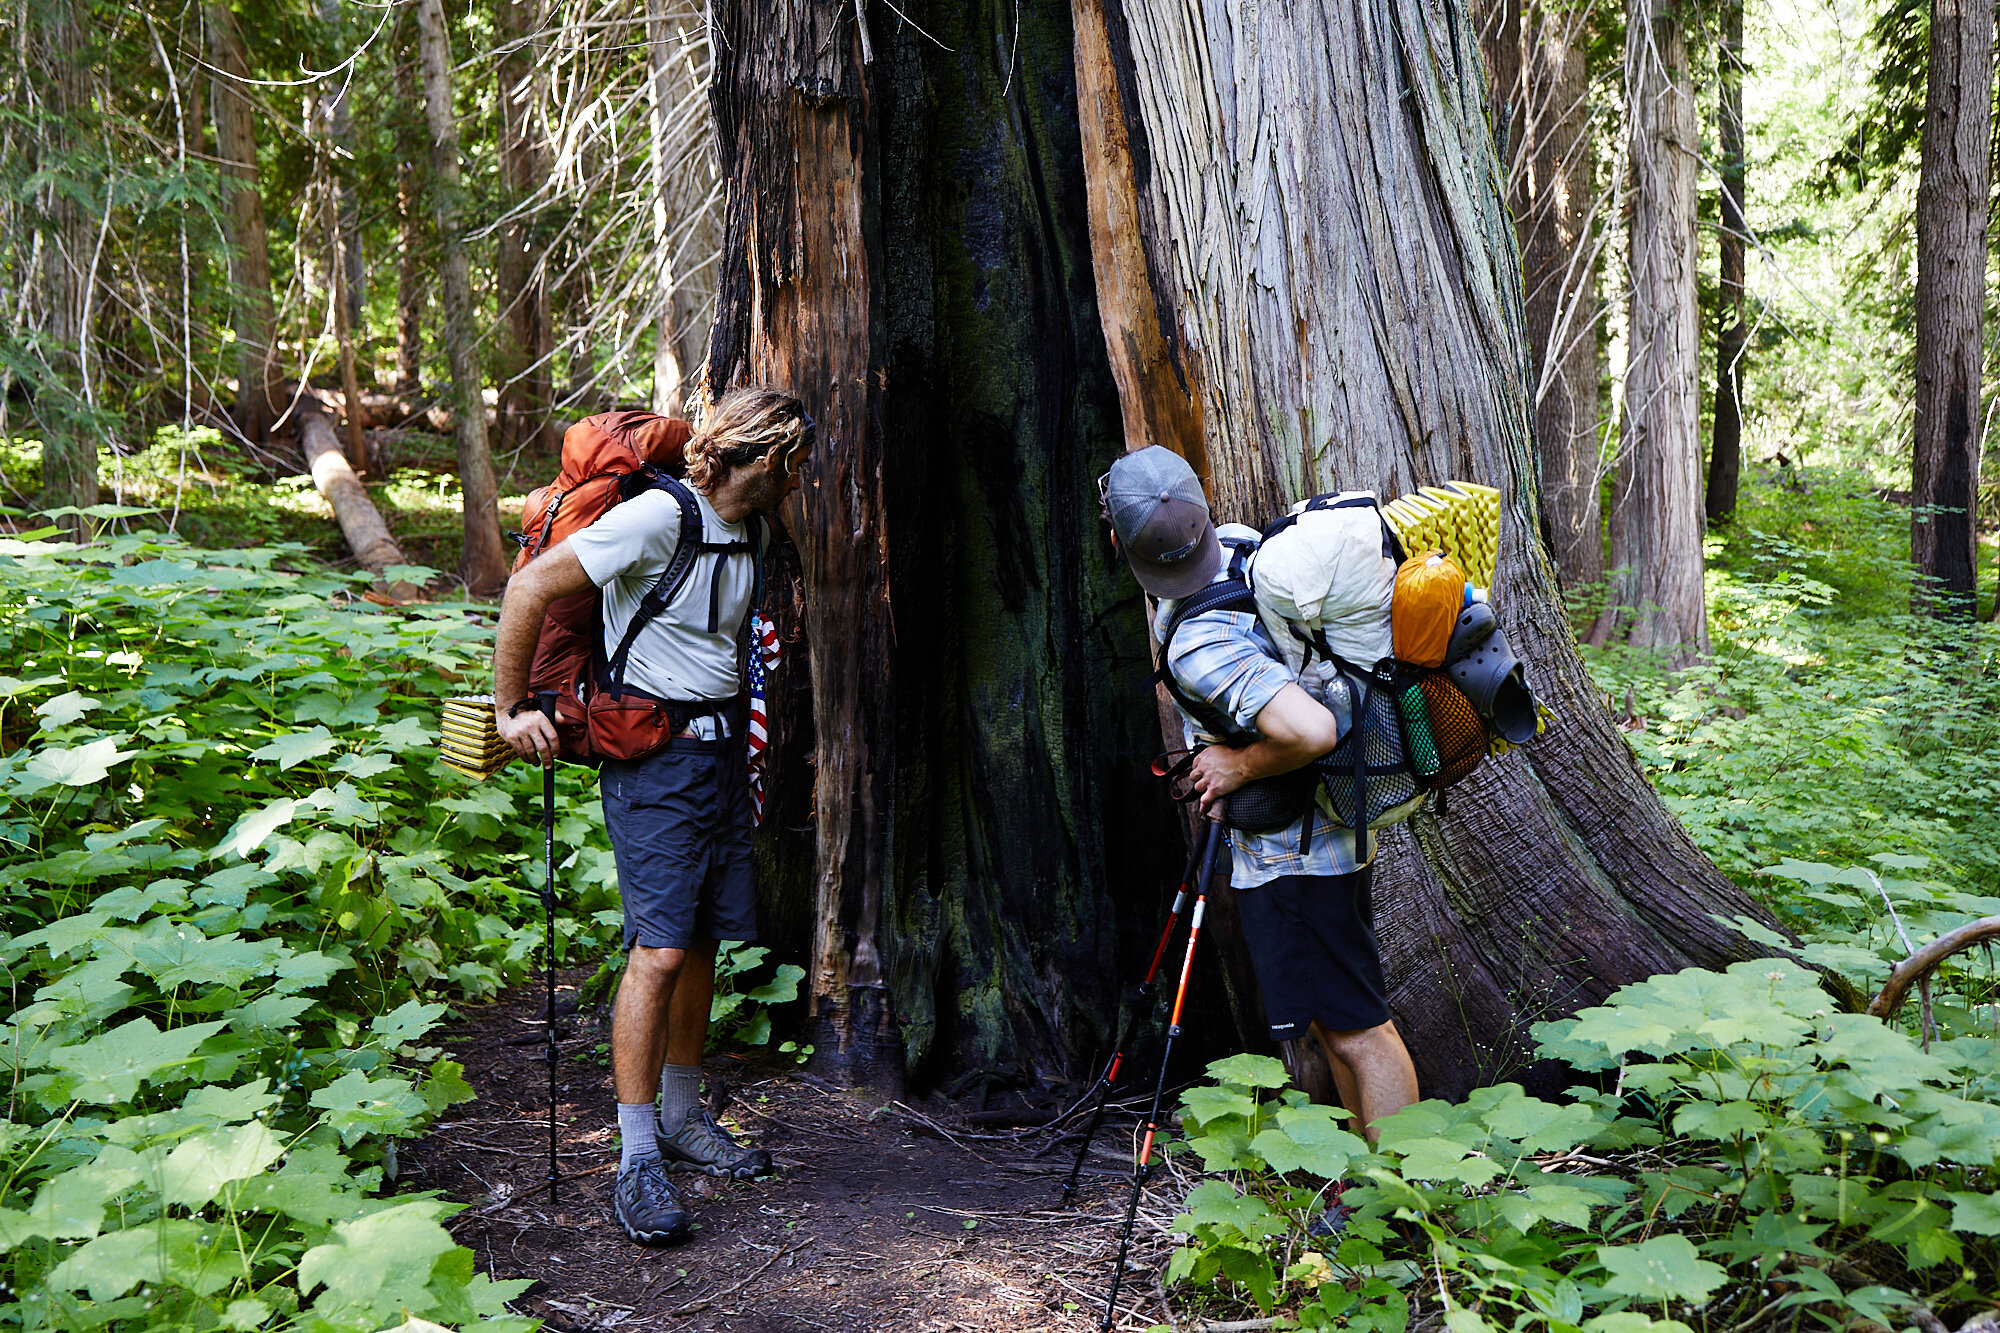
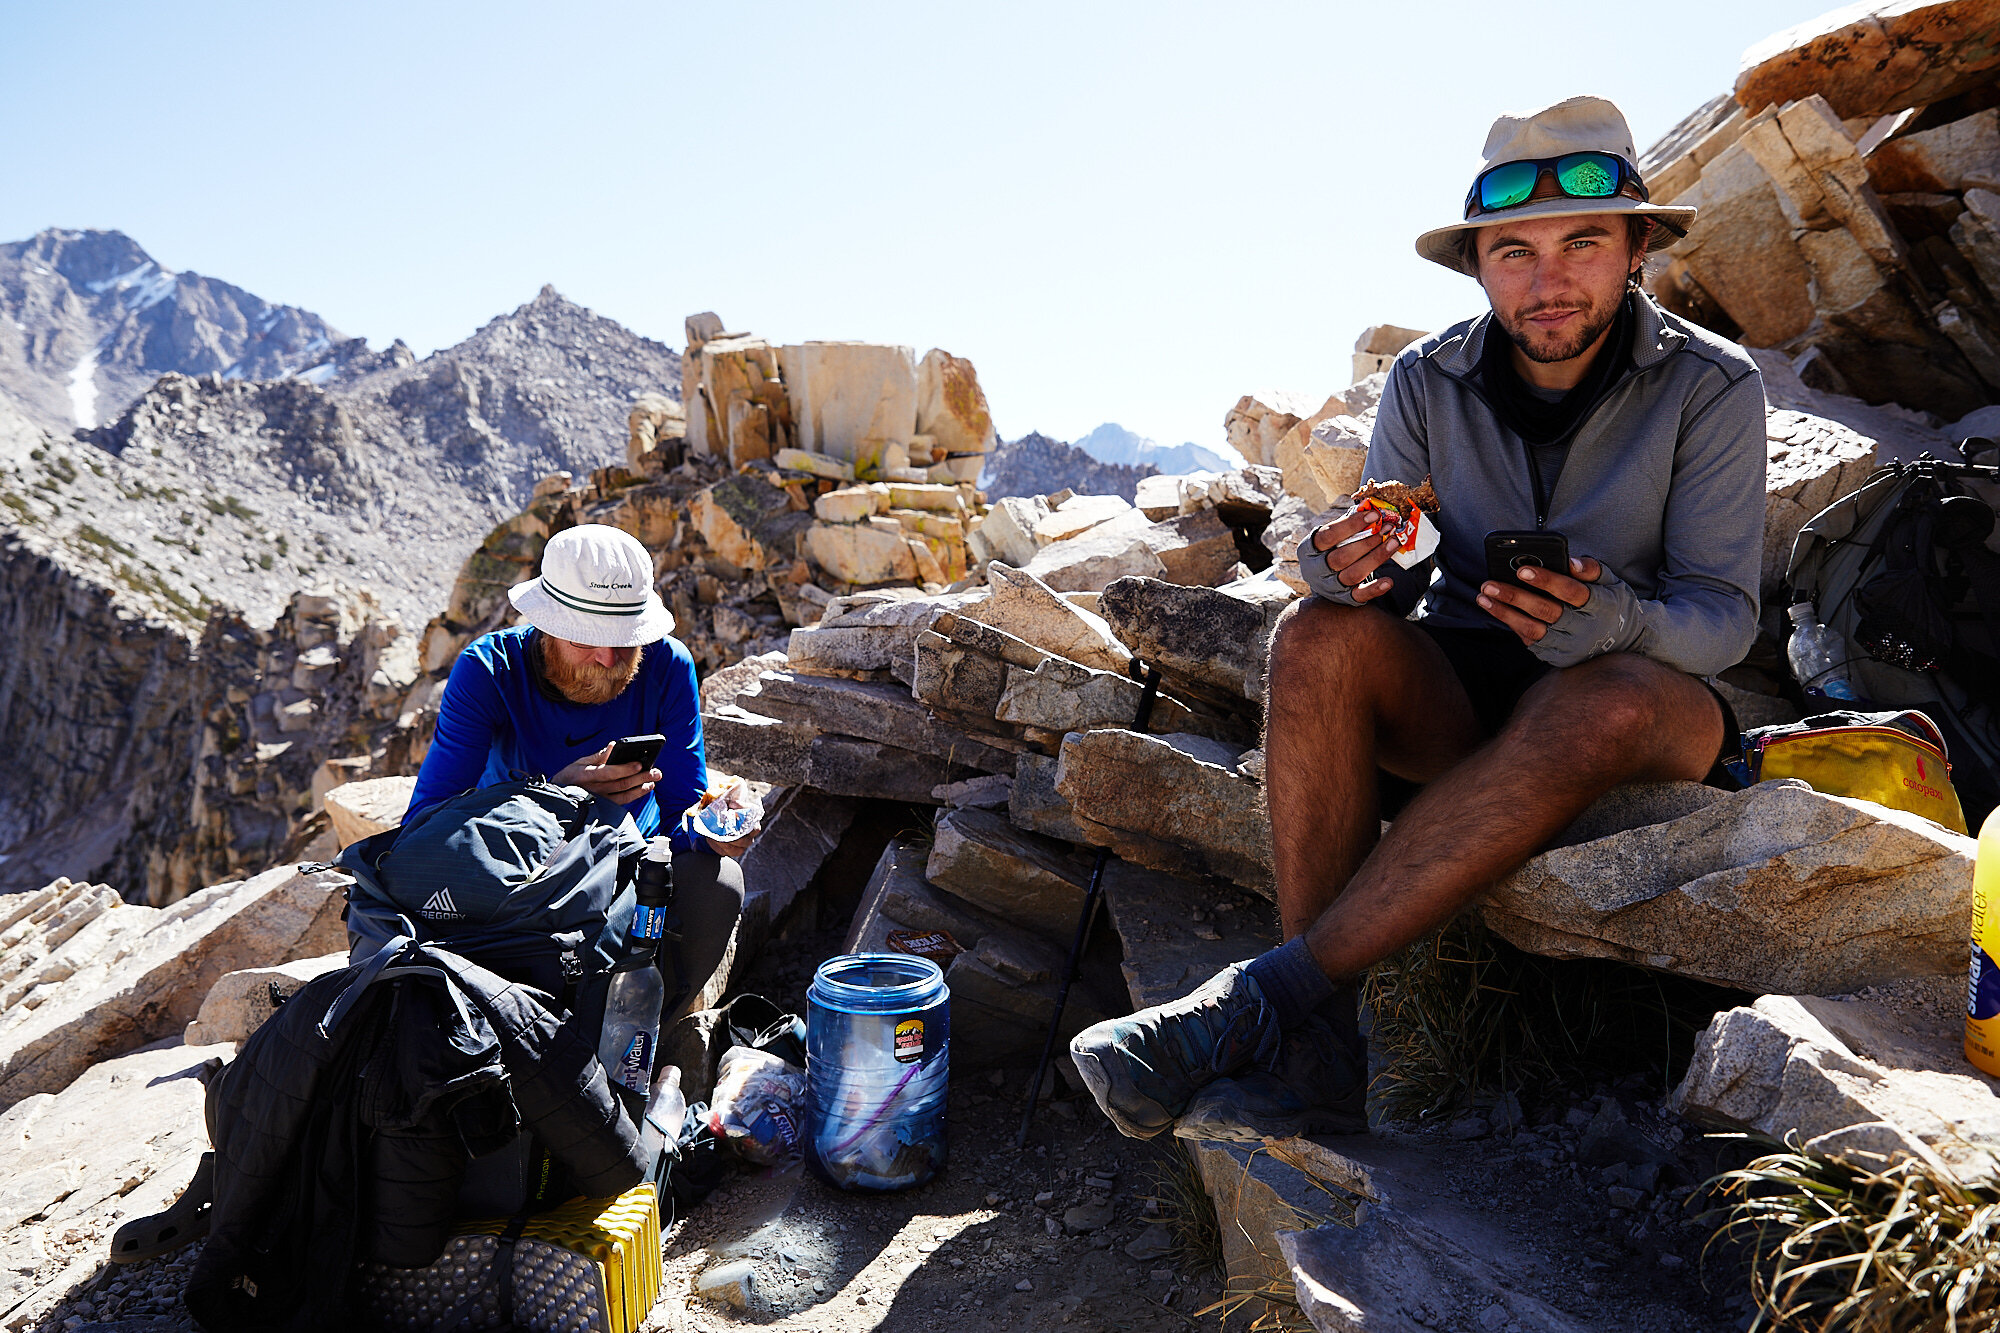
Take photos in a variety of situations. One area that I personally wish I had done better was getting people while we were in town. Town is such an important part of the experience and its a great opportunity to capture people as they kick back, relax, and chow down. Camp is a great place to grab people interacting with their gear or sitting around a fire. Trail is great to take advantage of great light, big accomplishments, and give scale to features that you are hiking through.
Look for the Light
Open Shade
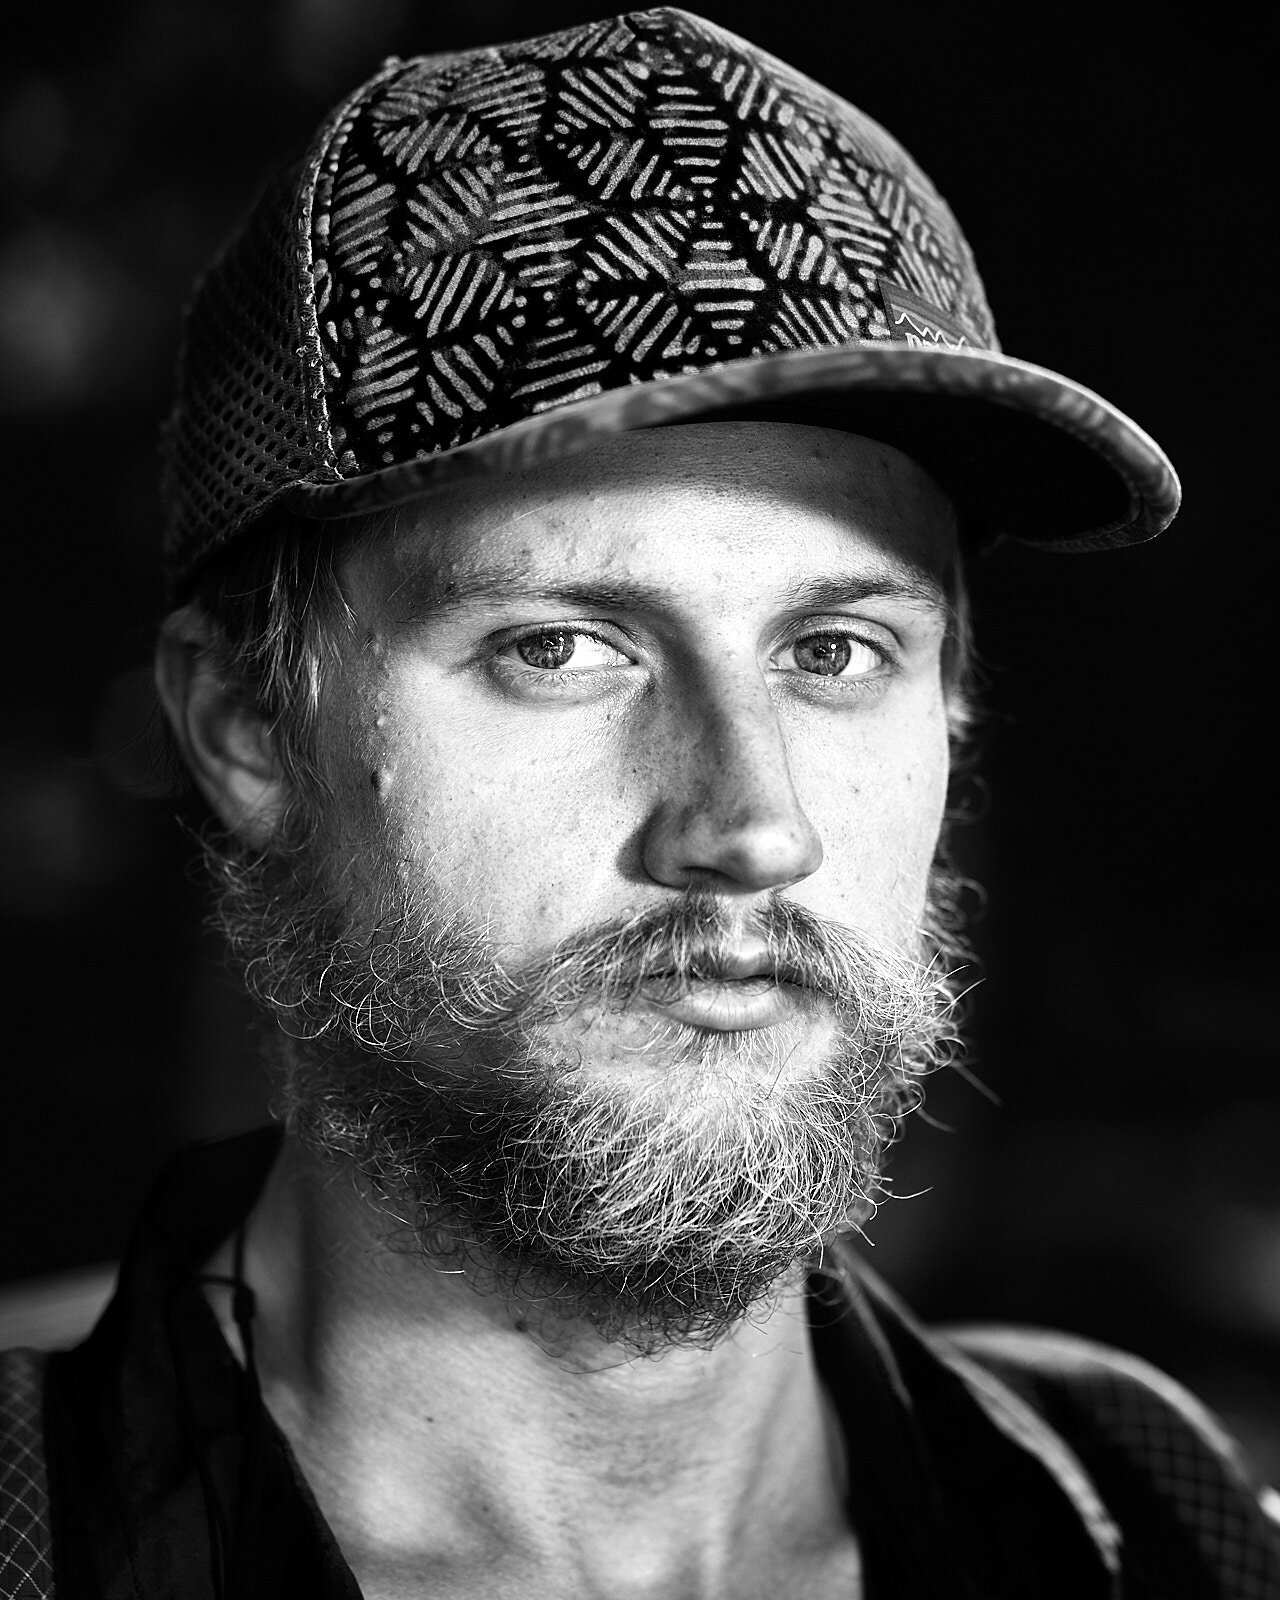
One of my favorite photographers is Steve McCurry. I have admired the look that his photos of people have with soft light on the face and nice subtle colors. After some research, I found that the lighting he uses in many of his photos is called “open shade”. Open shade is when light is blocked from directly above while coming in and illuminating from the side. I loved this light for close portraits and tried to emulate it with a reflector. This lighting gives the most dramatic results when the person is as close to the light as possible without having direct light hitting them. I really like this light because it allows me to get nice photos of people at any time of day. It avoids harsh shadows and tends to make people look better in general, it even adds a catch light in the eye.
Back-light
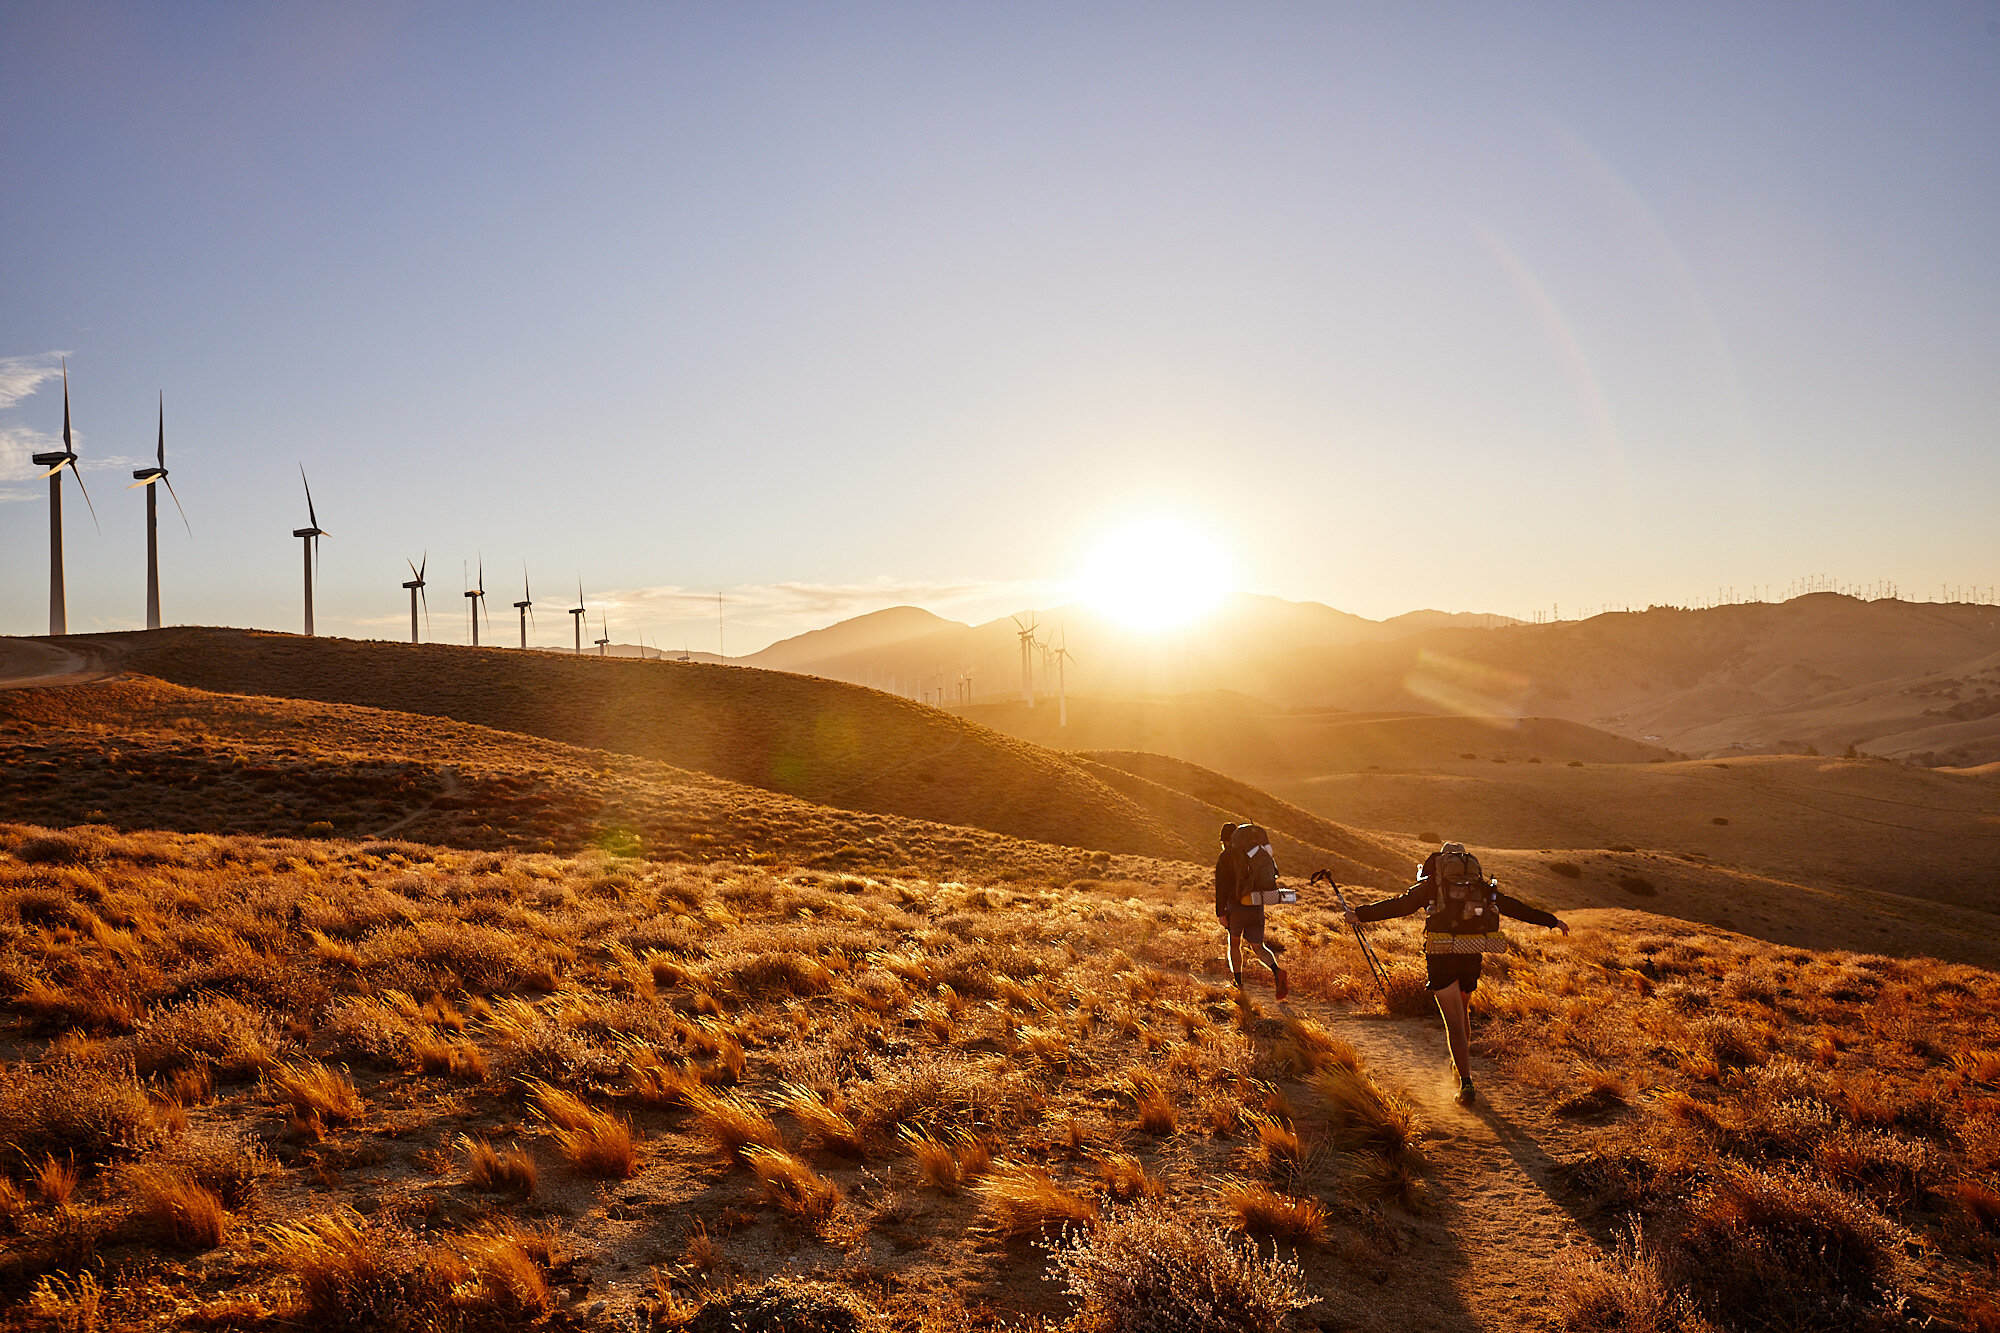
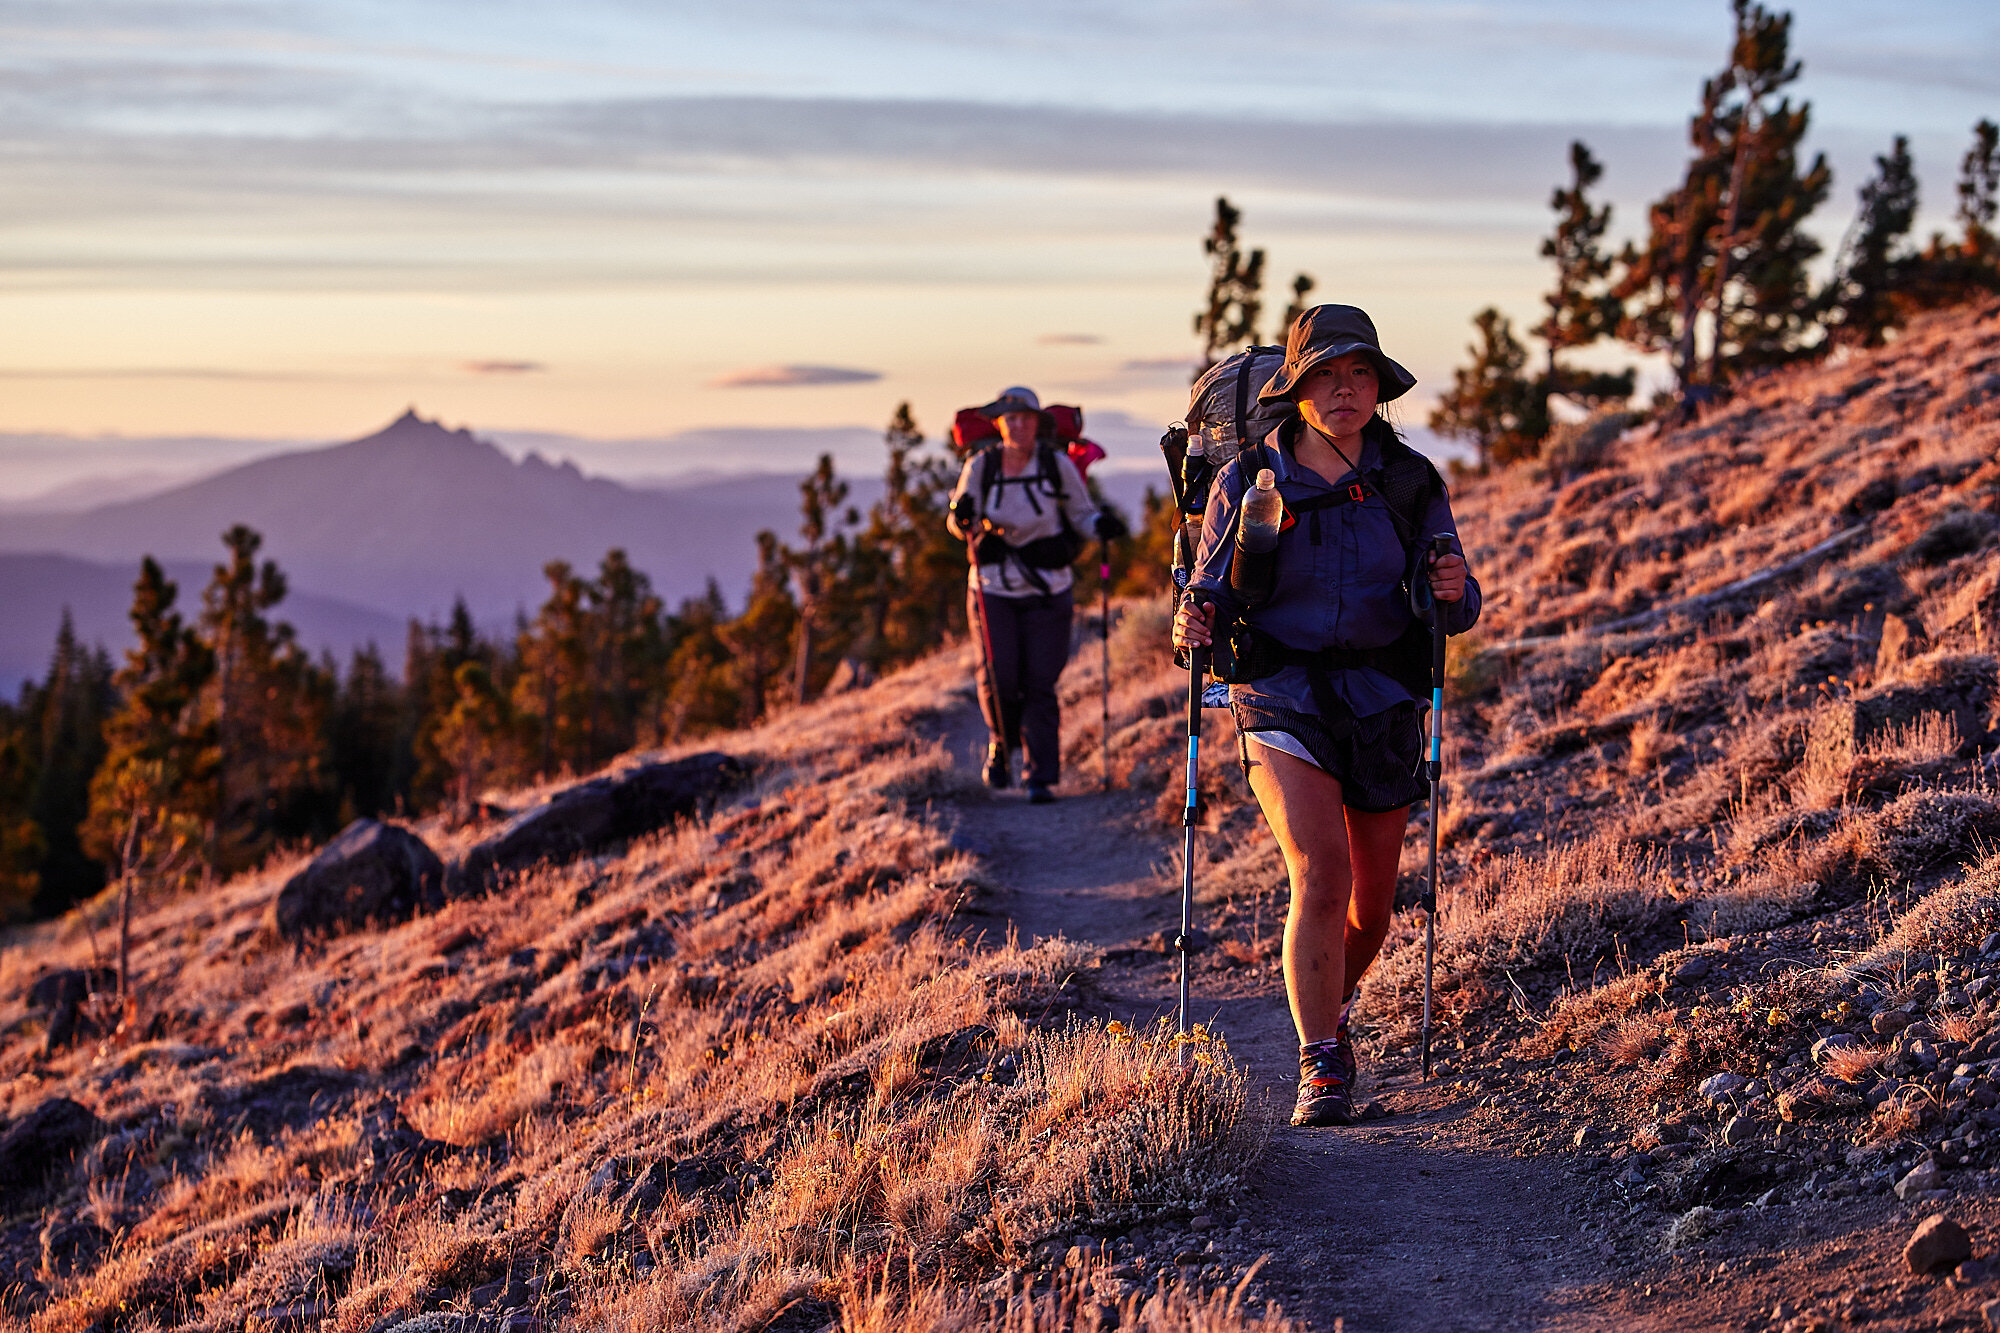
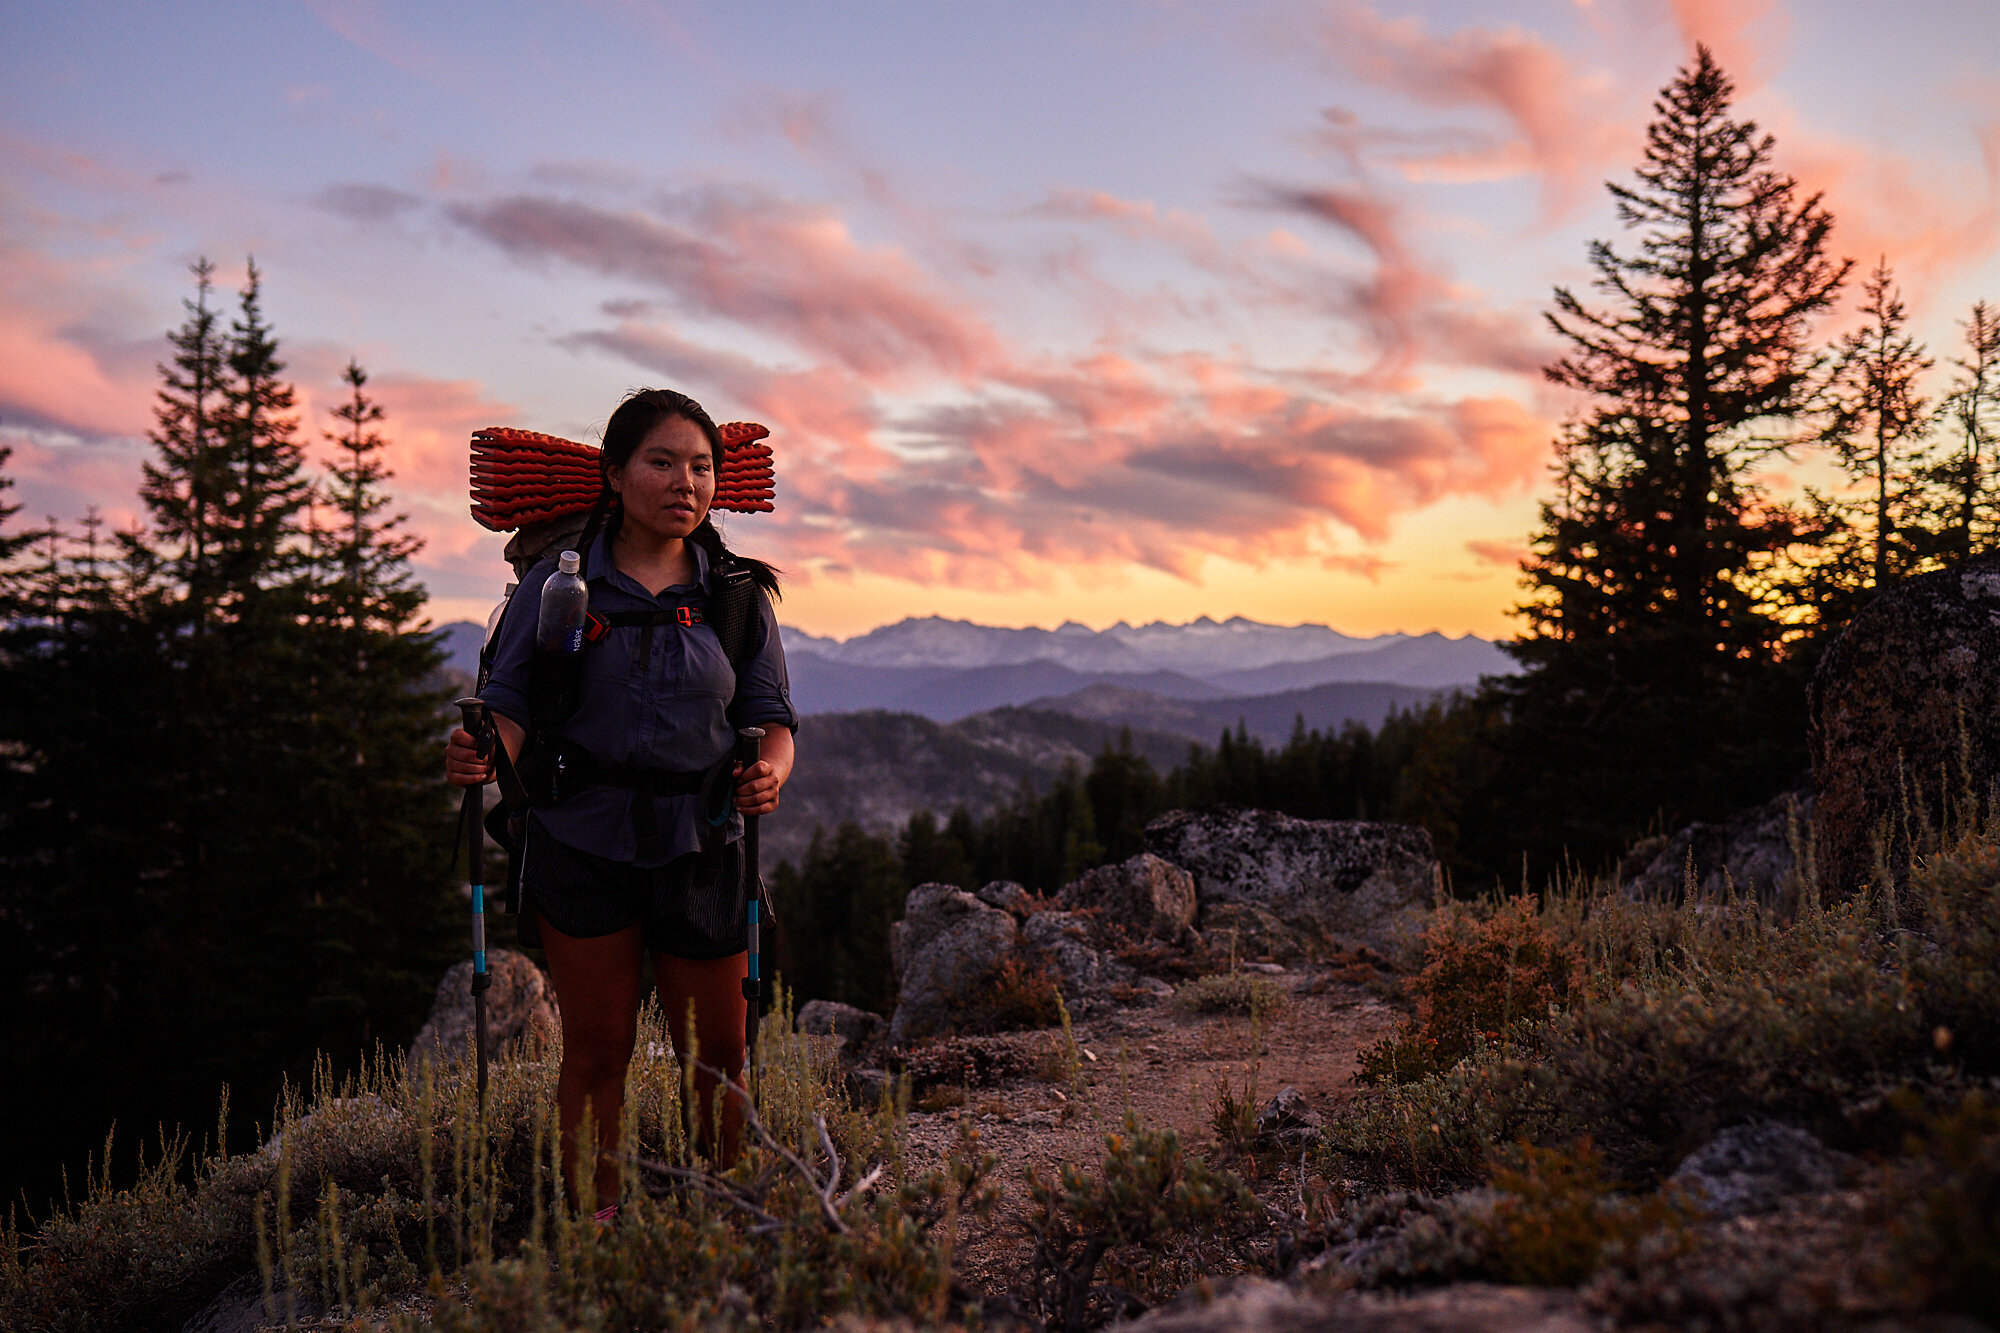
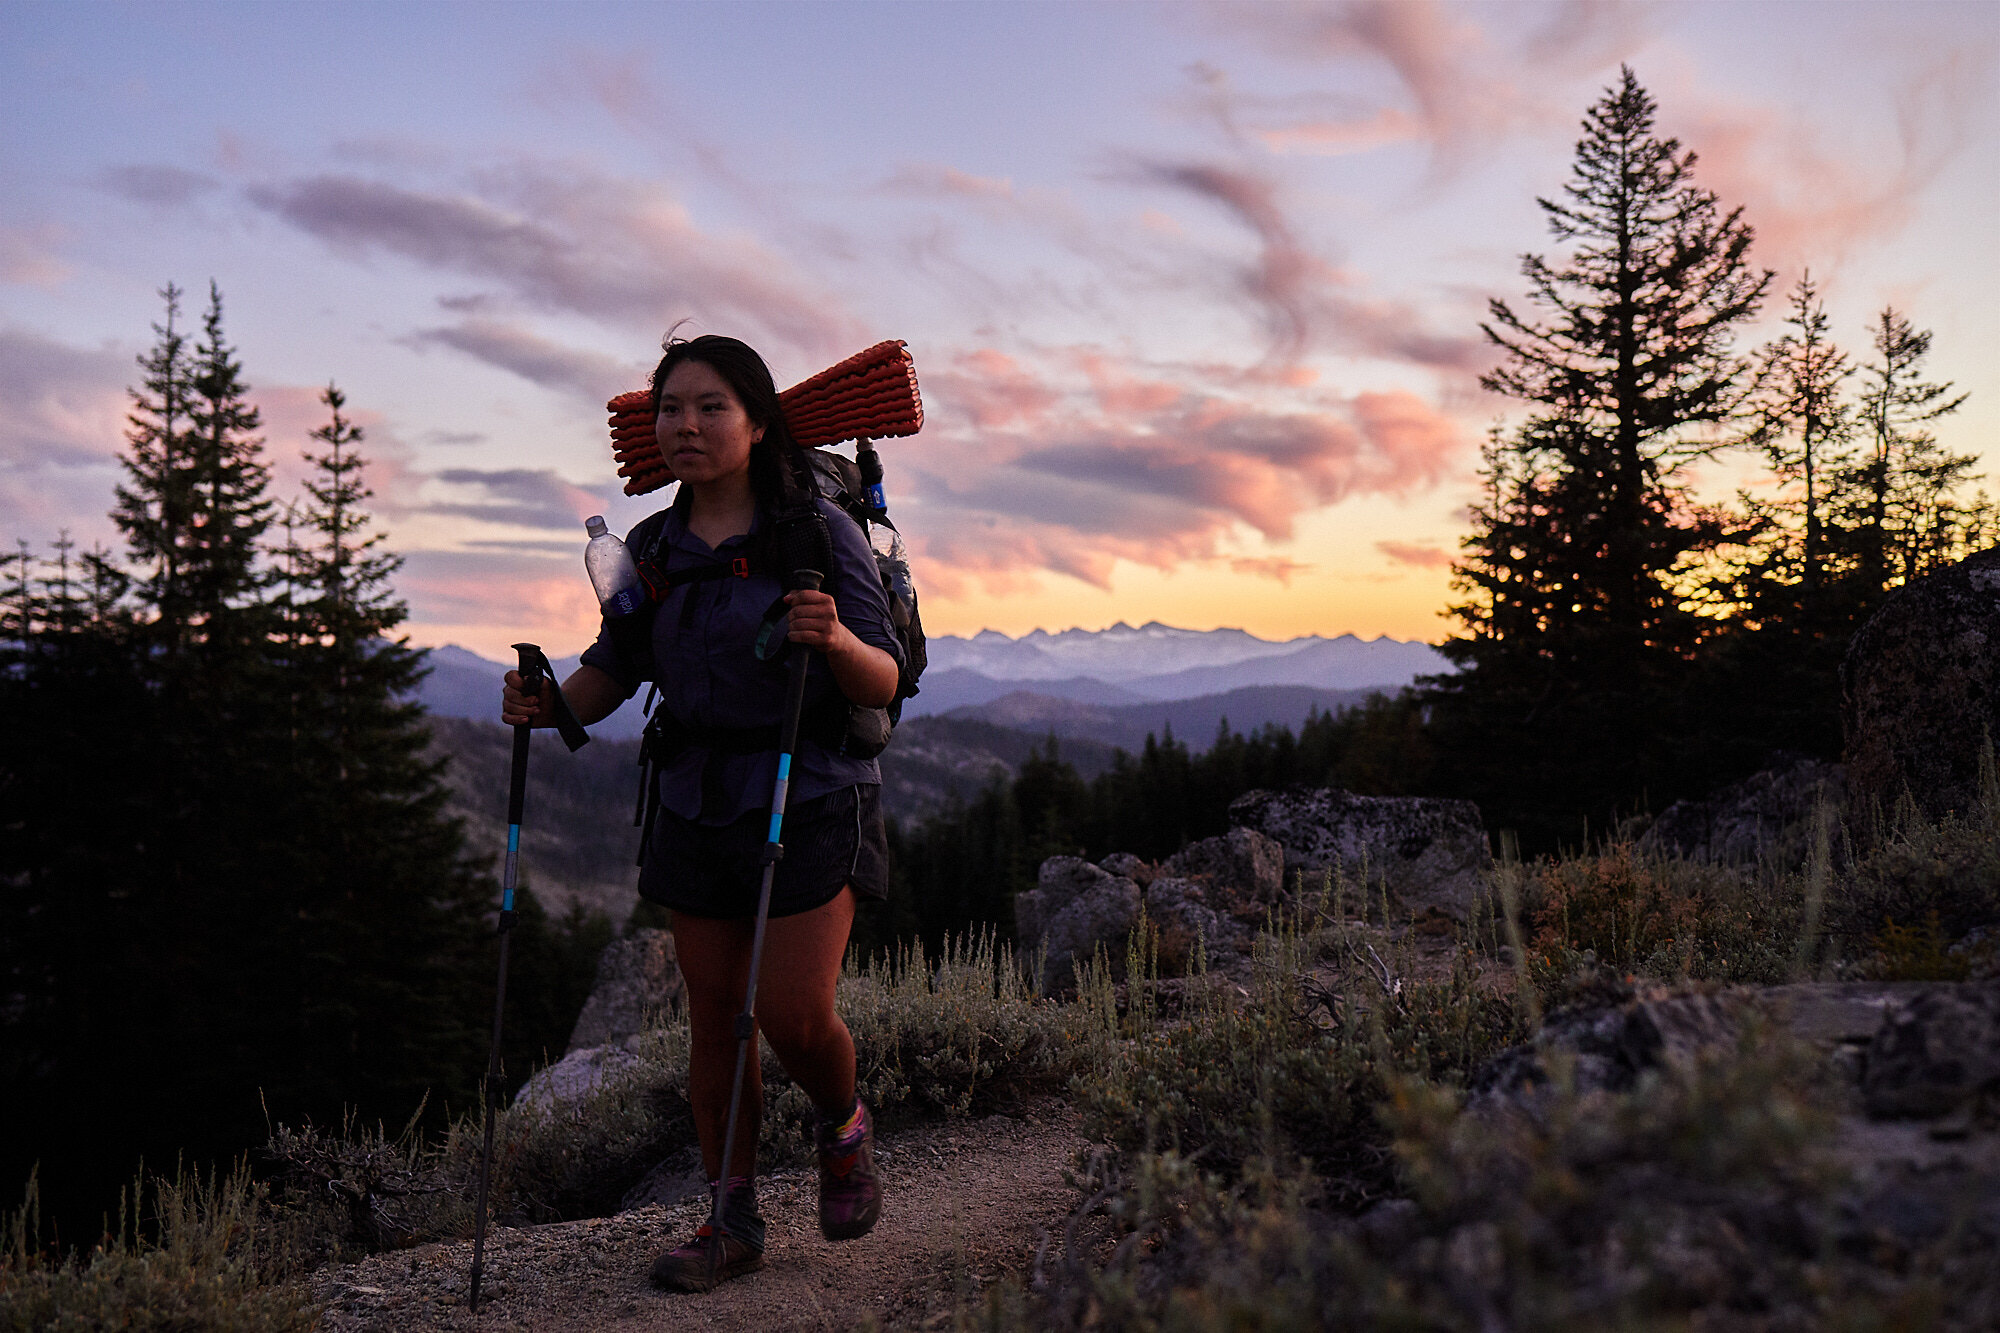
Back-light is another great options and adds a lot of drama. This is when the light (the sun) is behind what you are shooting and works better when the sun is lower. This kind of light also accentuates colors of foliage and can be used to great effect. It is important to figure out what you want to have detail in the photo and exposing for that. So it there is nothing interesting behind the person you are shooting you would expose the person correctly with the background blown out. I liked what another photographer did where he used back-light to have the silhouettes of people against beautiful lakes and mountains. Exposing in back-light is hard and I find it easier to put my camera in manual so that I dont have to fight the cameras auto exposure.
Magic Hour
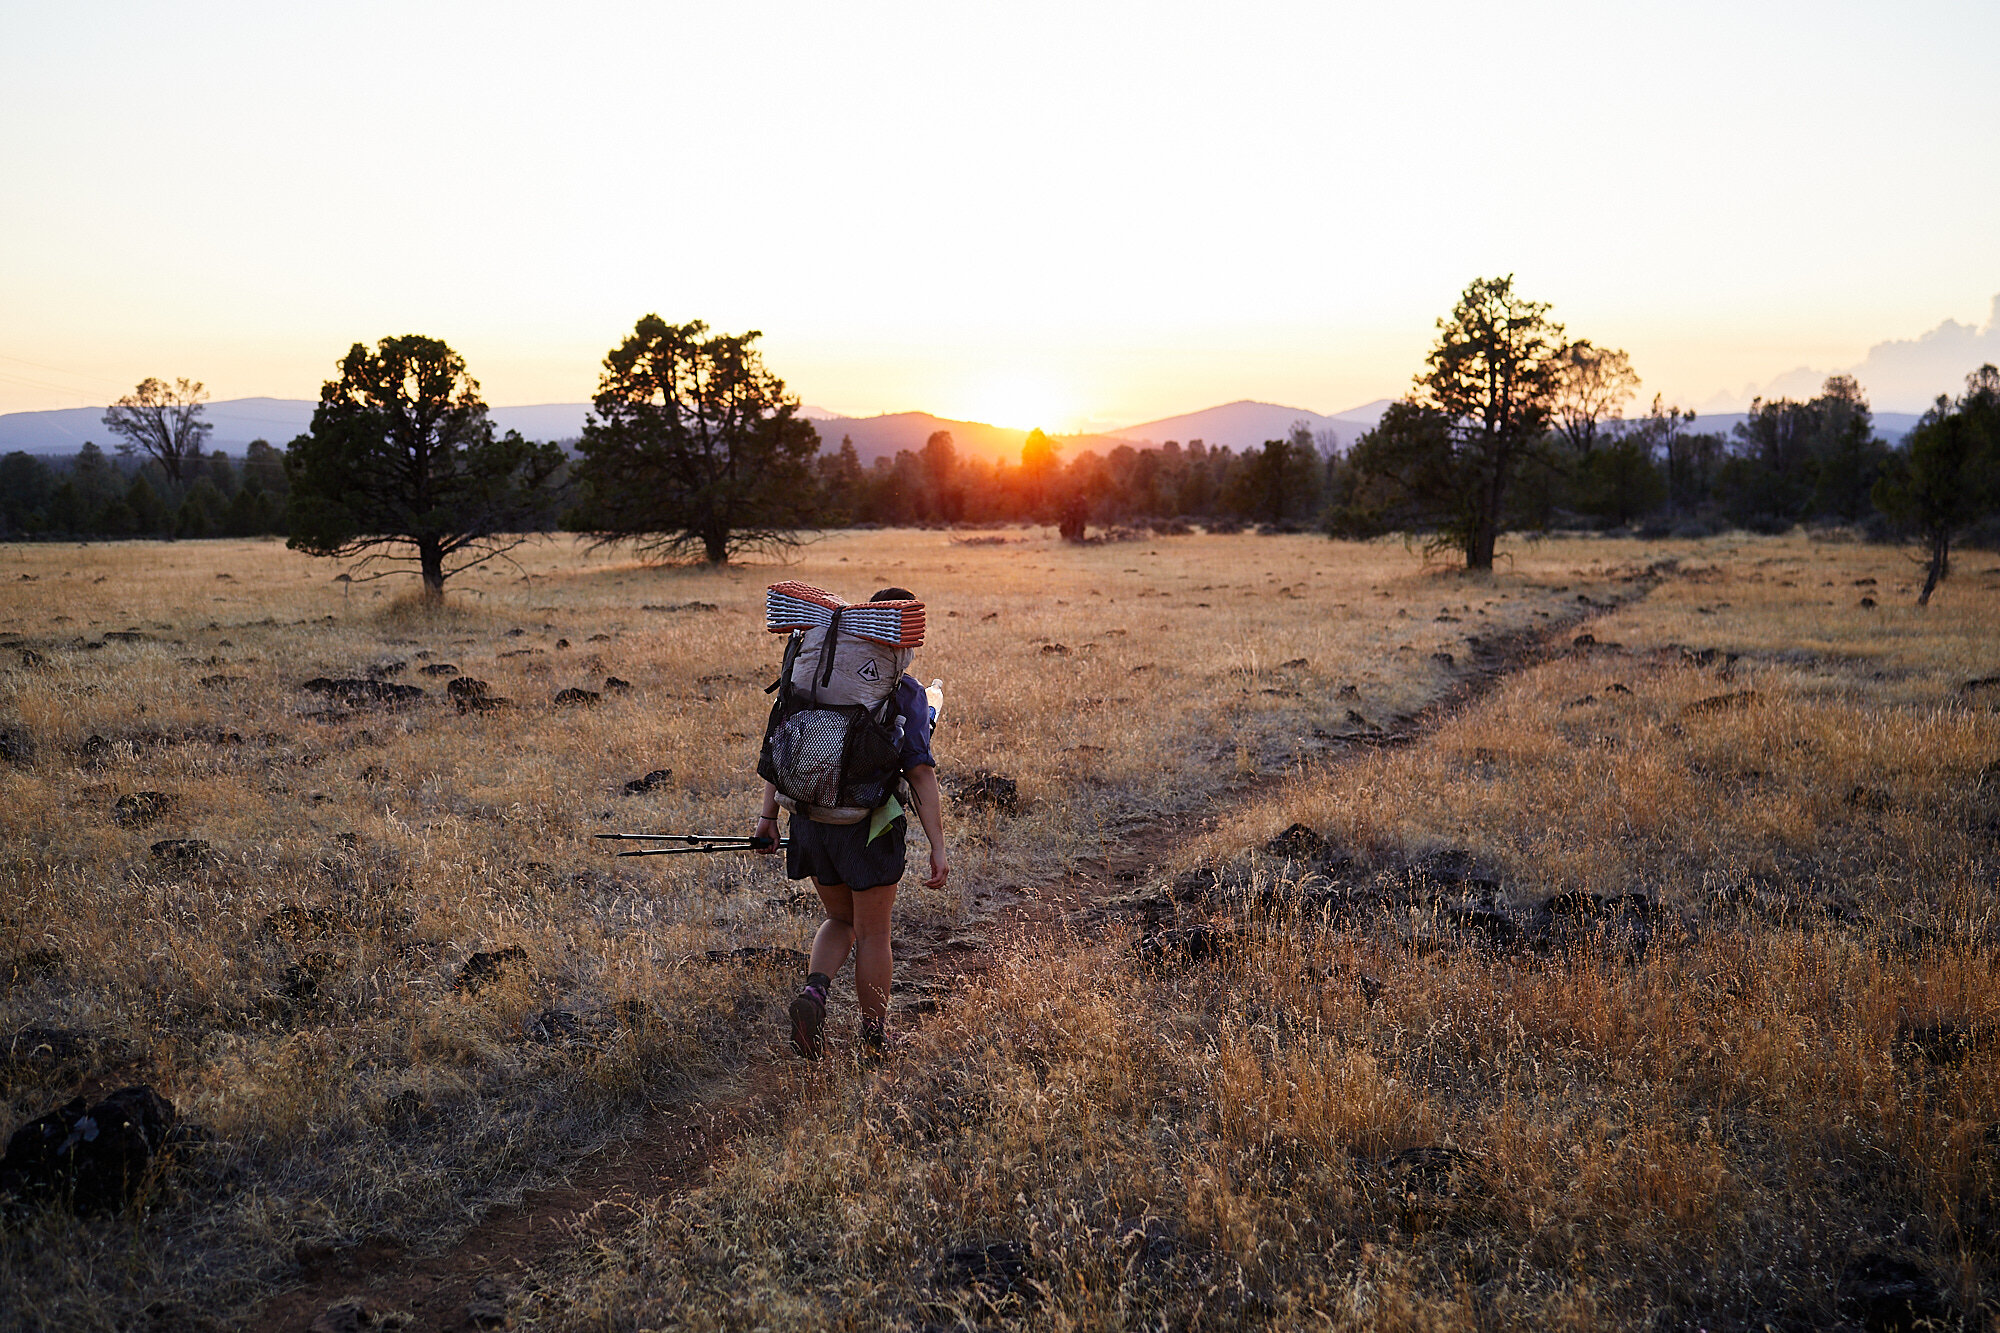
Magic hour is that time where everything just looks good. That hour around sunrise and sunset casts soft light with a warm glow and colors appear more saturated. It doesn’t really help you in the long sections of forest but when you are in a great spot it really is special. If you can, plan on being in an open spot during this time (hopefully still hiking). It is worth stopping early or pushing to make it to a spot where you can enjoy this light.
How Big Should They Be
Know the difference between a close, mid, and wide shot. Each give a different amount of emphasis to the people you are shooting. Knowing what each of them looks like and what they do can help you quickly decide what do do and take more keeper photos.
Close
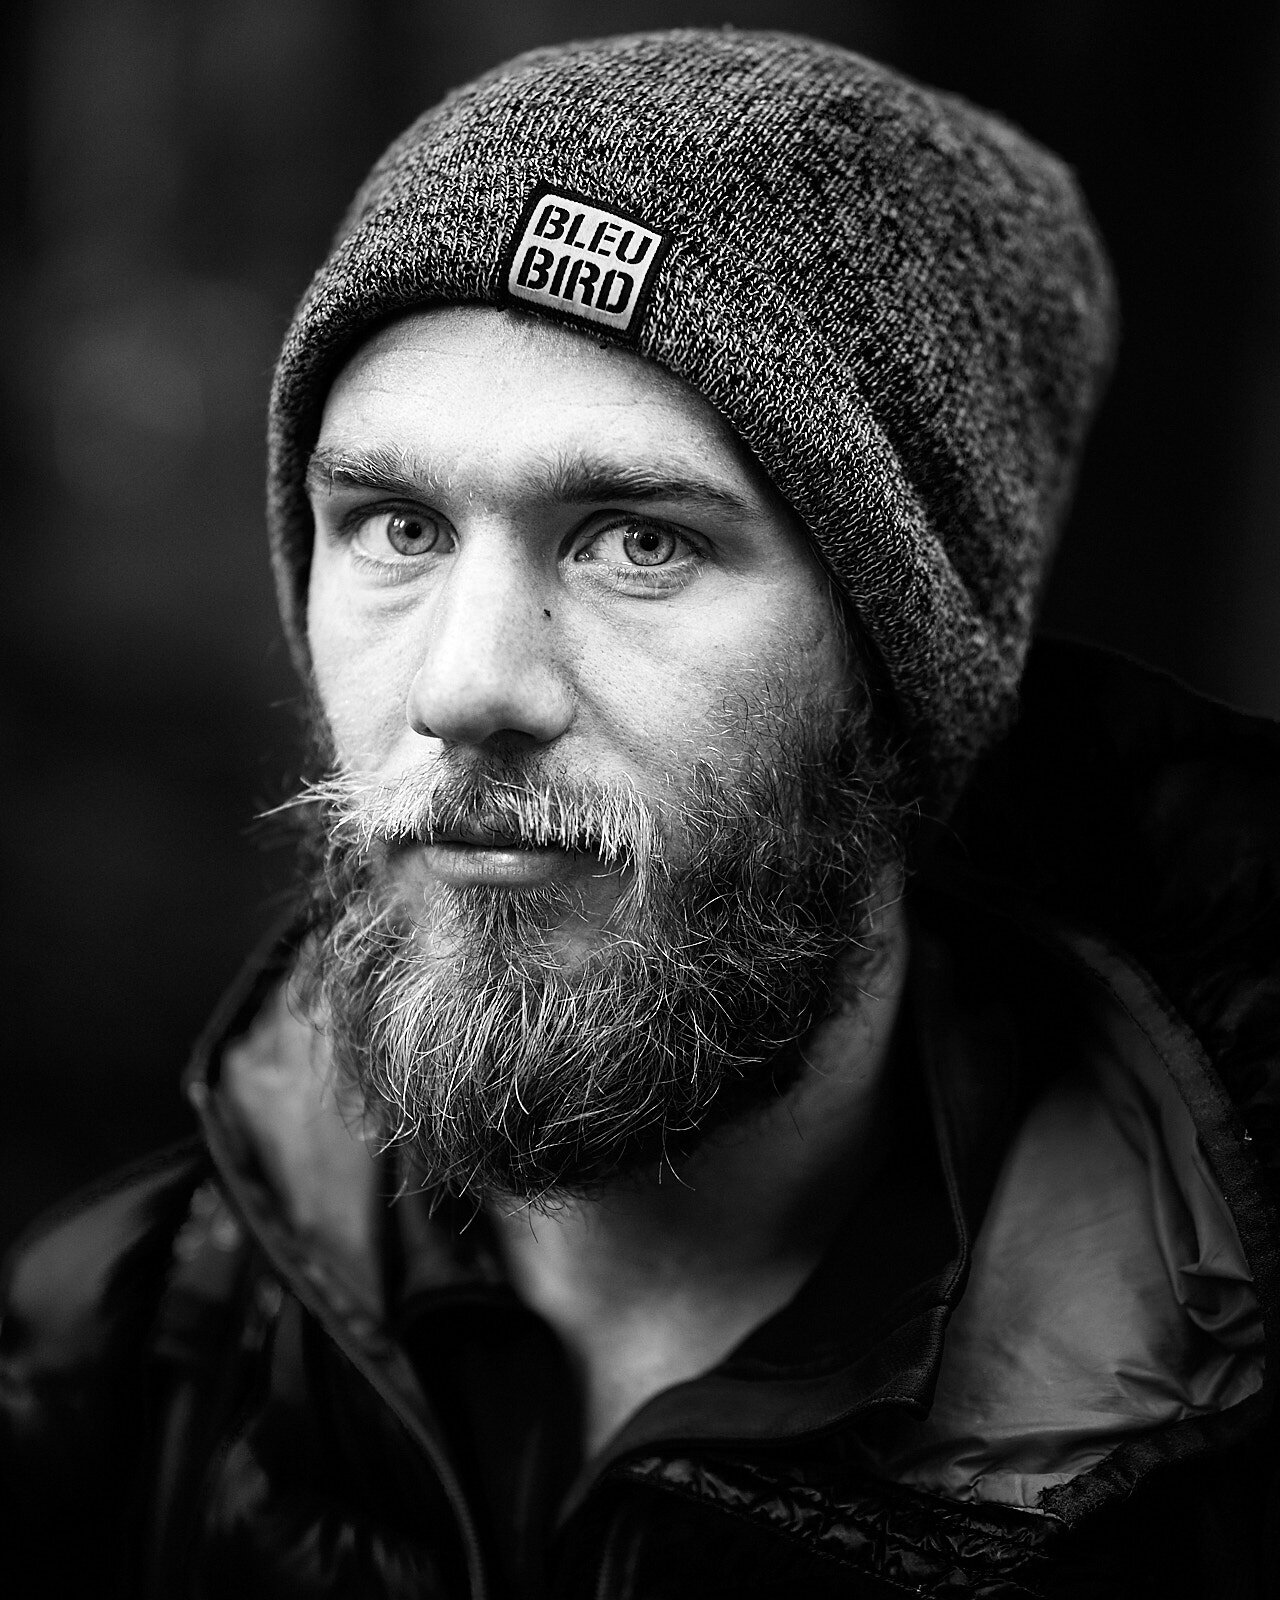
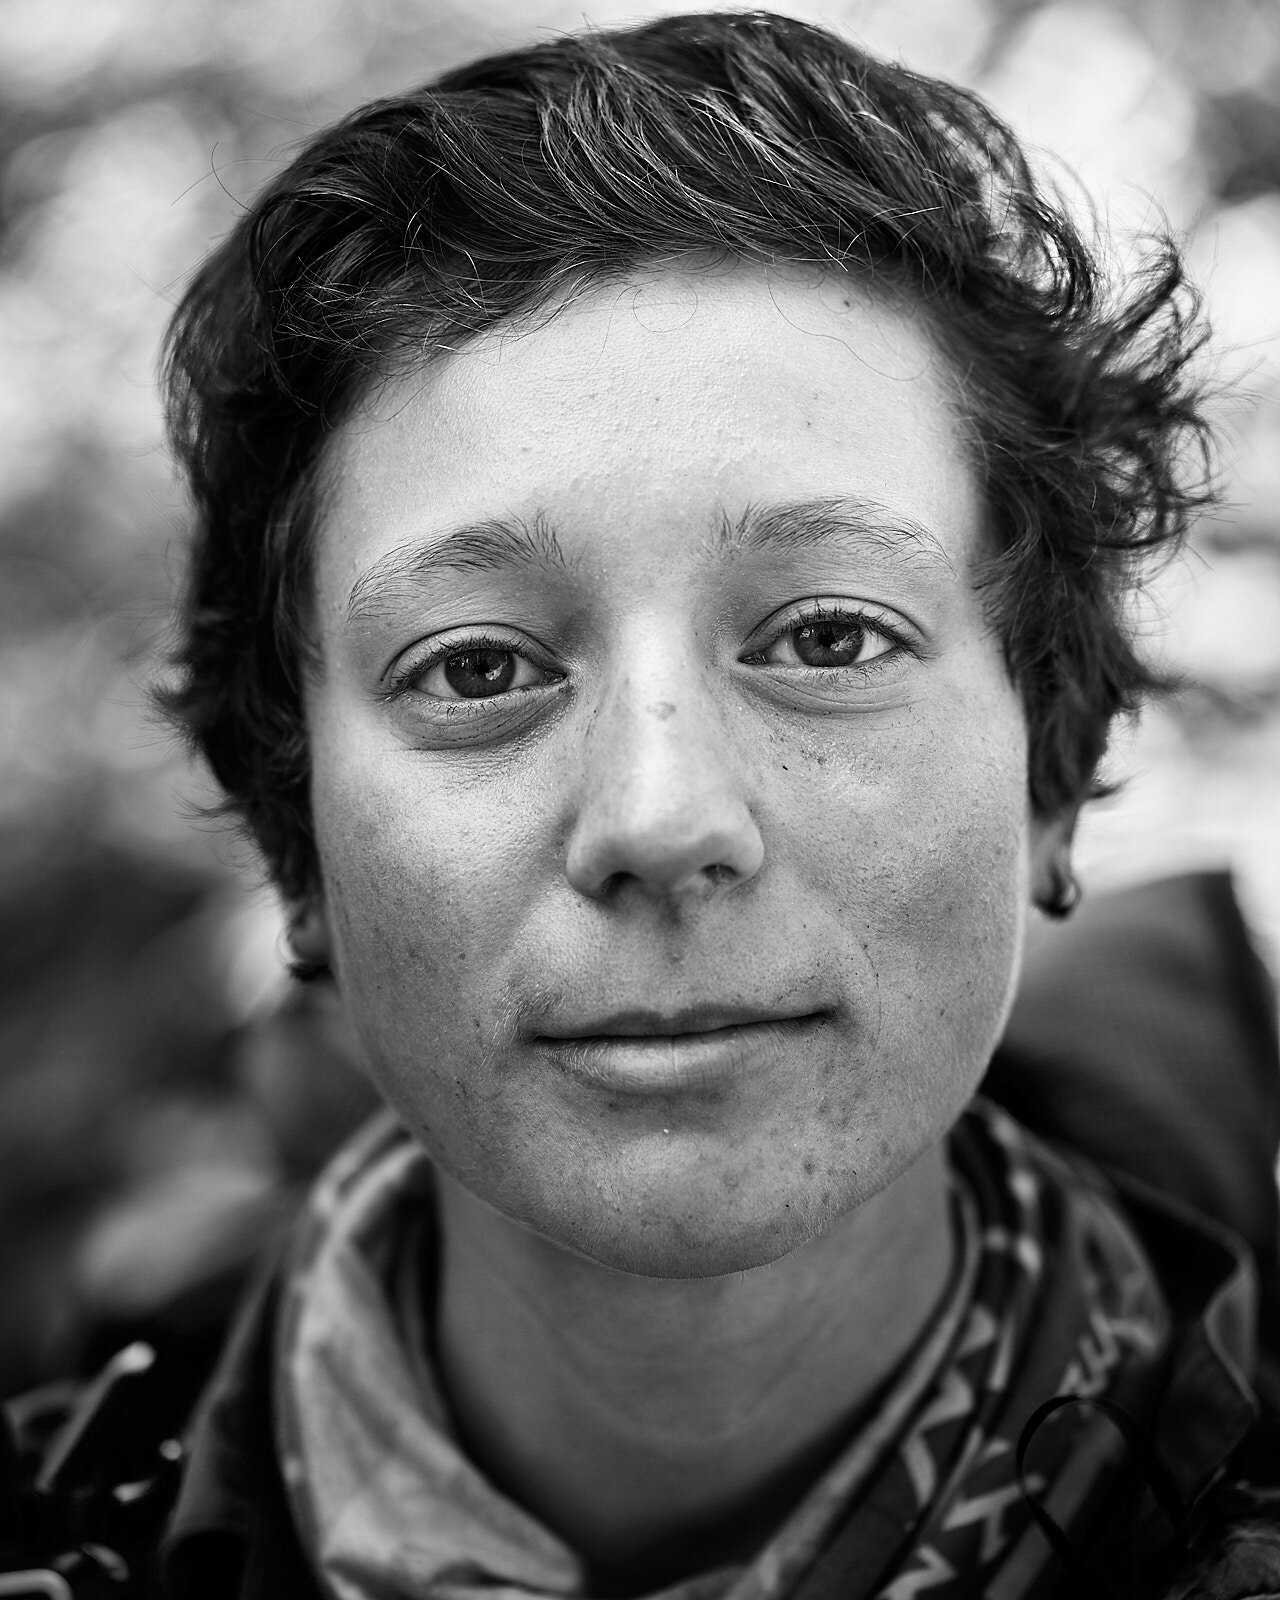
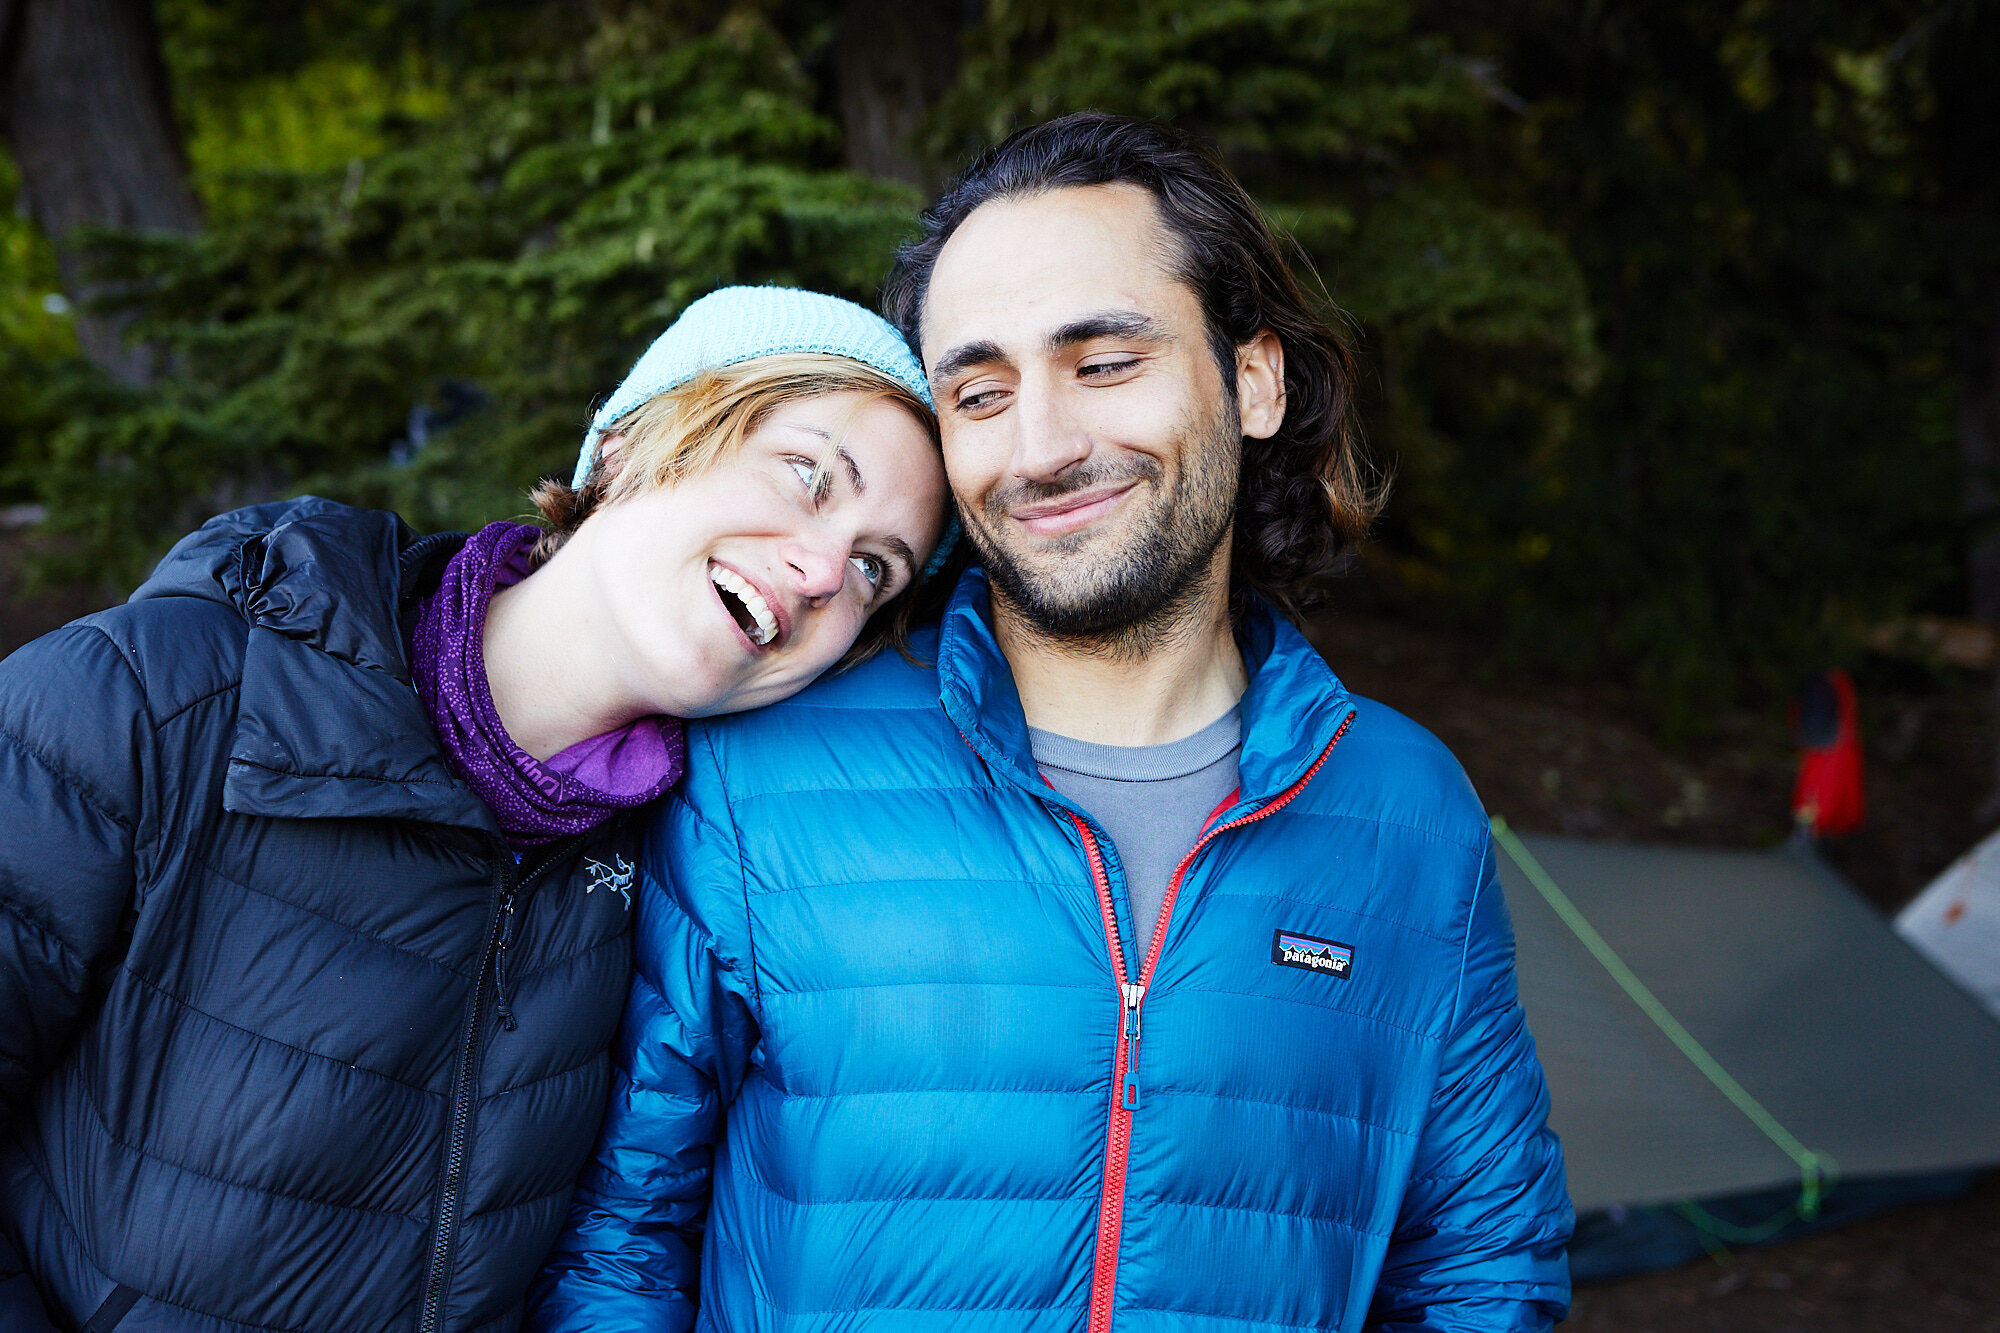
The close shot is just as it sounds, up close and personal with a person. Their face take up most of the frame and doesn’t include much more than head and shoulders. This kind of shot puts all of the attention on the person, their eyes, and expression. It is a way to capture an intimate portrait of a person. Play with angles to see what looks good to you. Have them stand at a slight angle away from you and turn their head from looking straight at you to where the tip of their nose meets the edge of the cheek. Any position between the two makes for a good portrait and is up to personal preference.
Mid
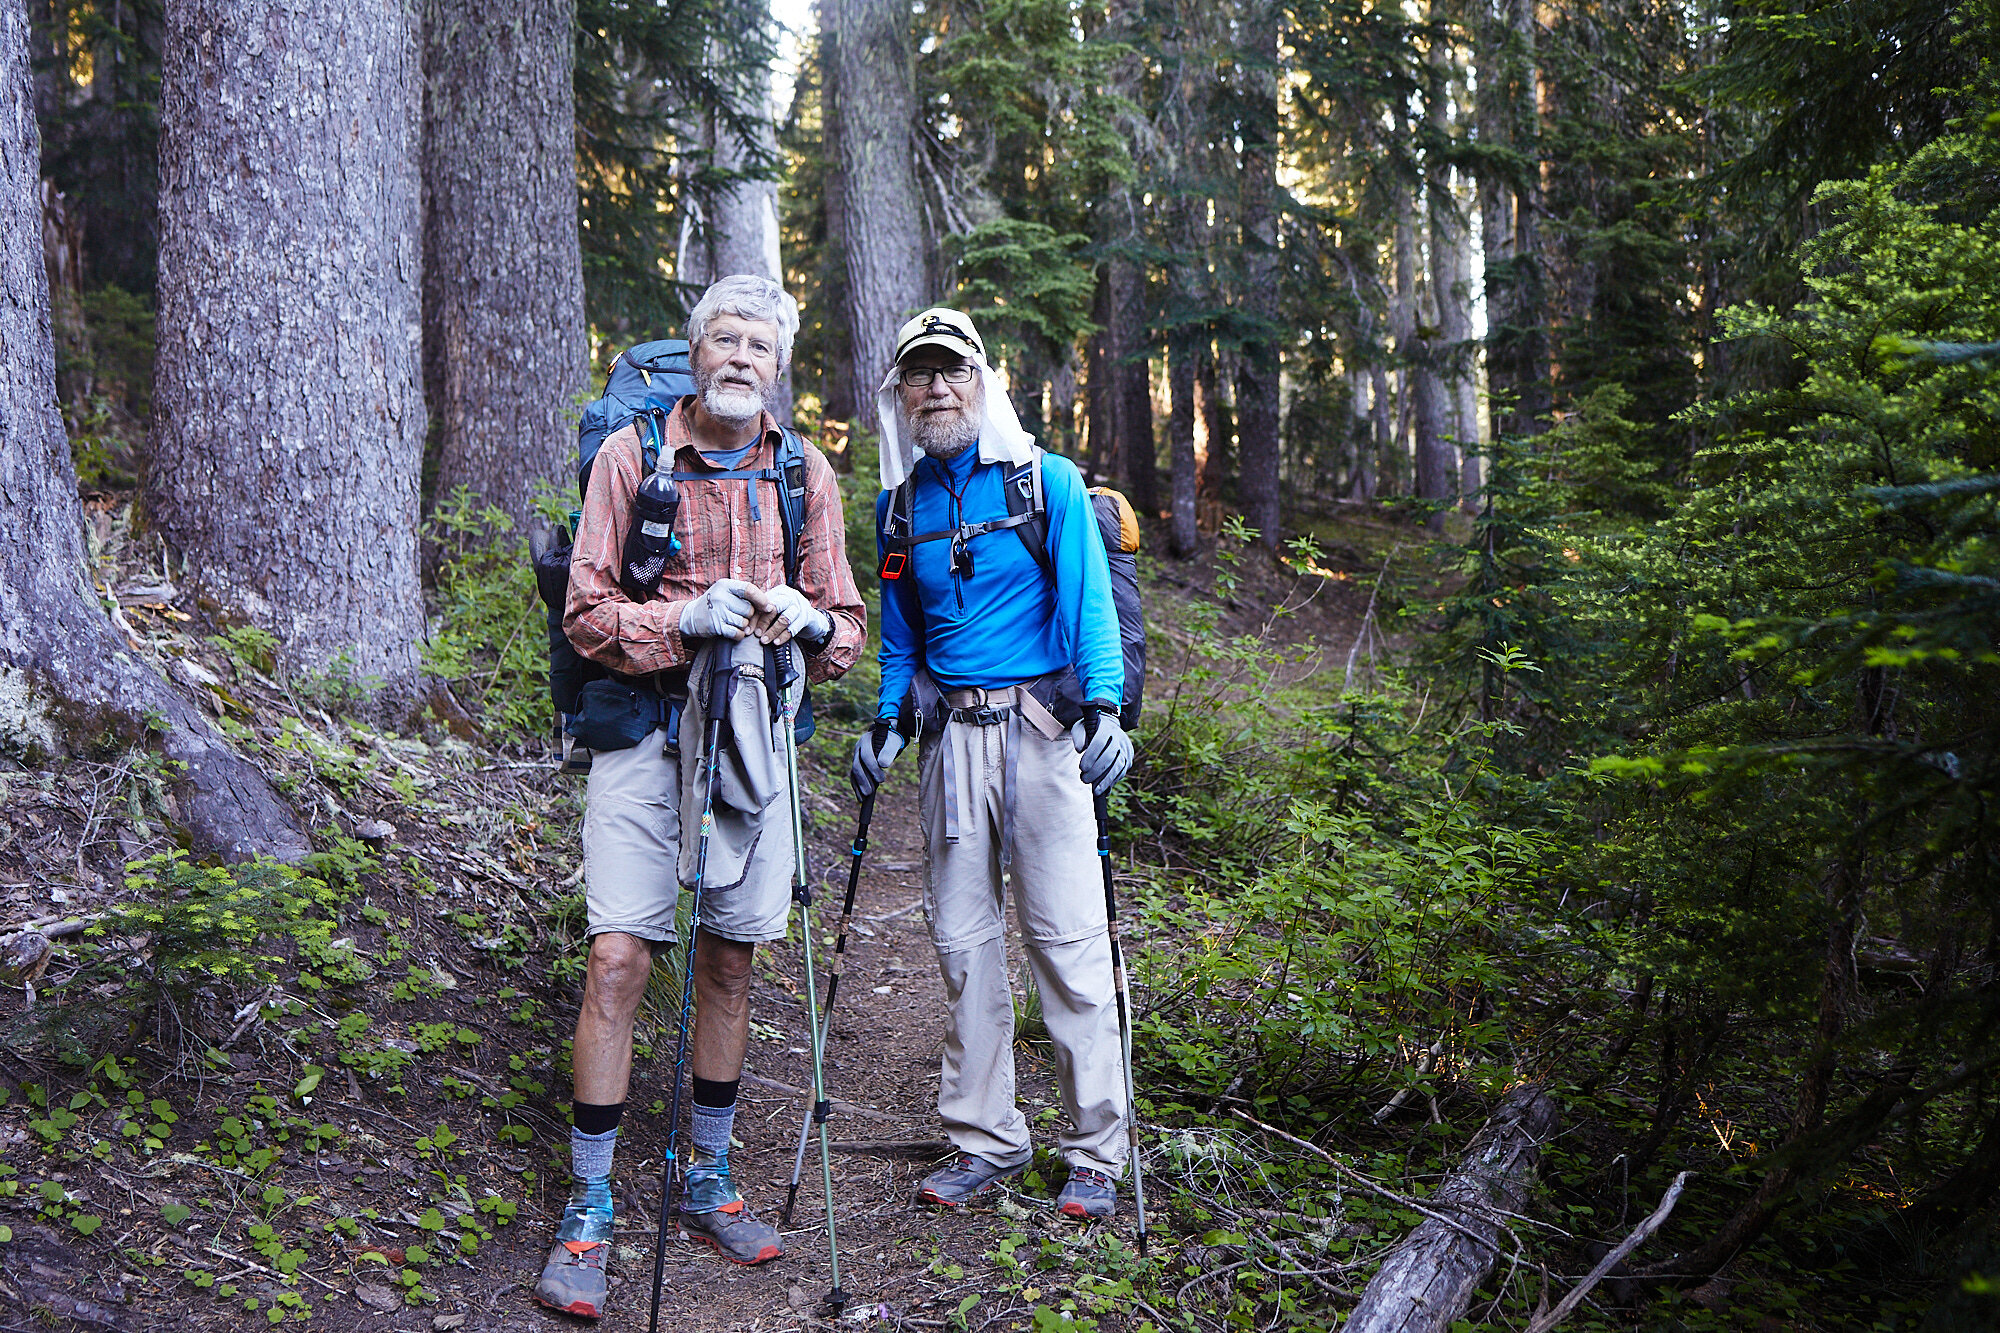
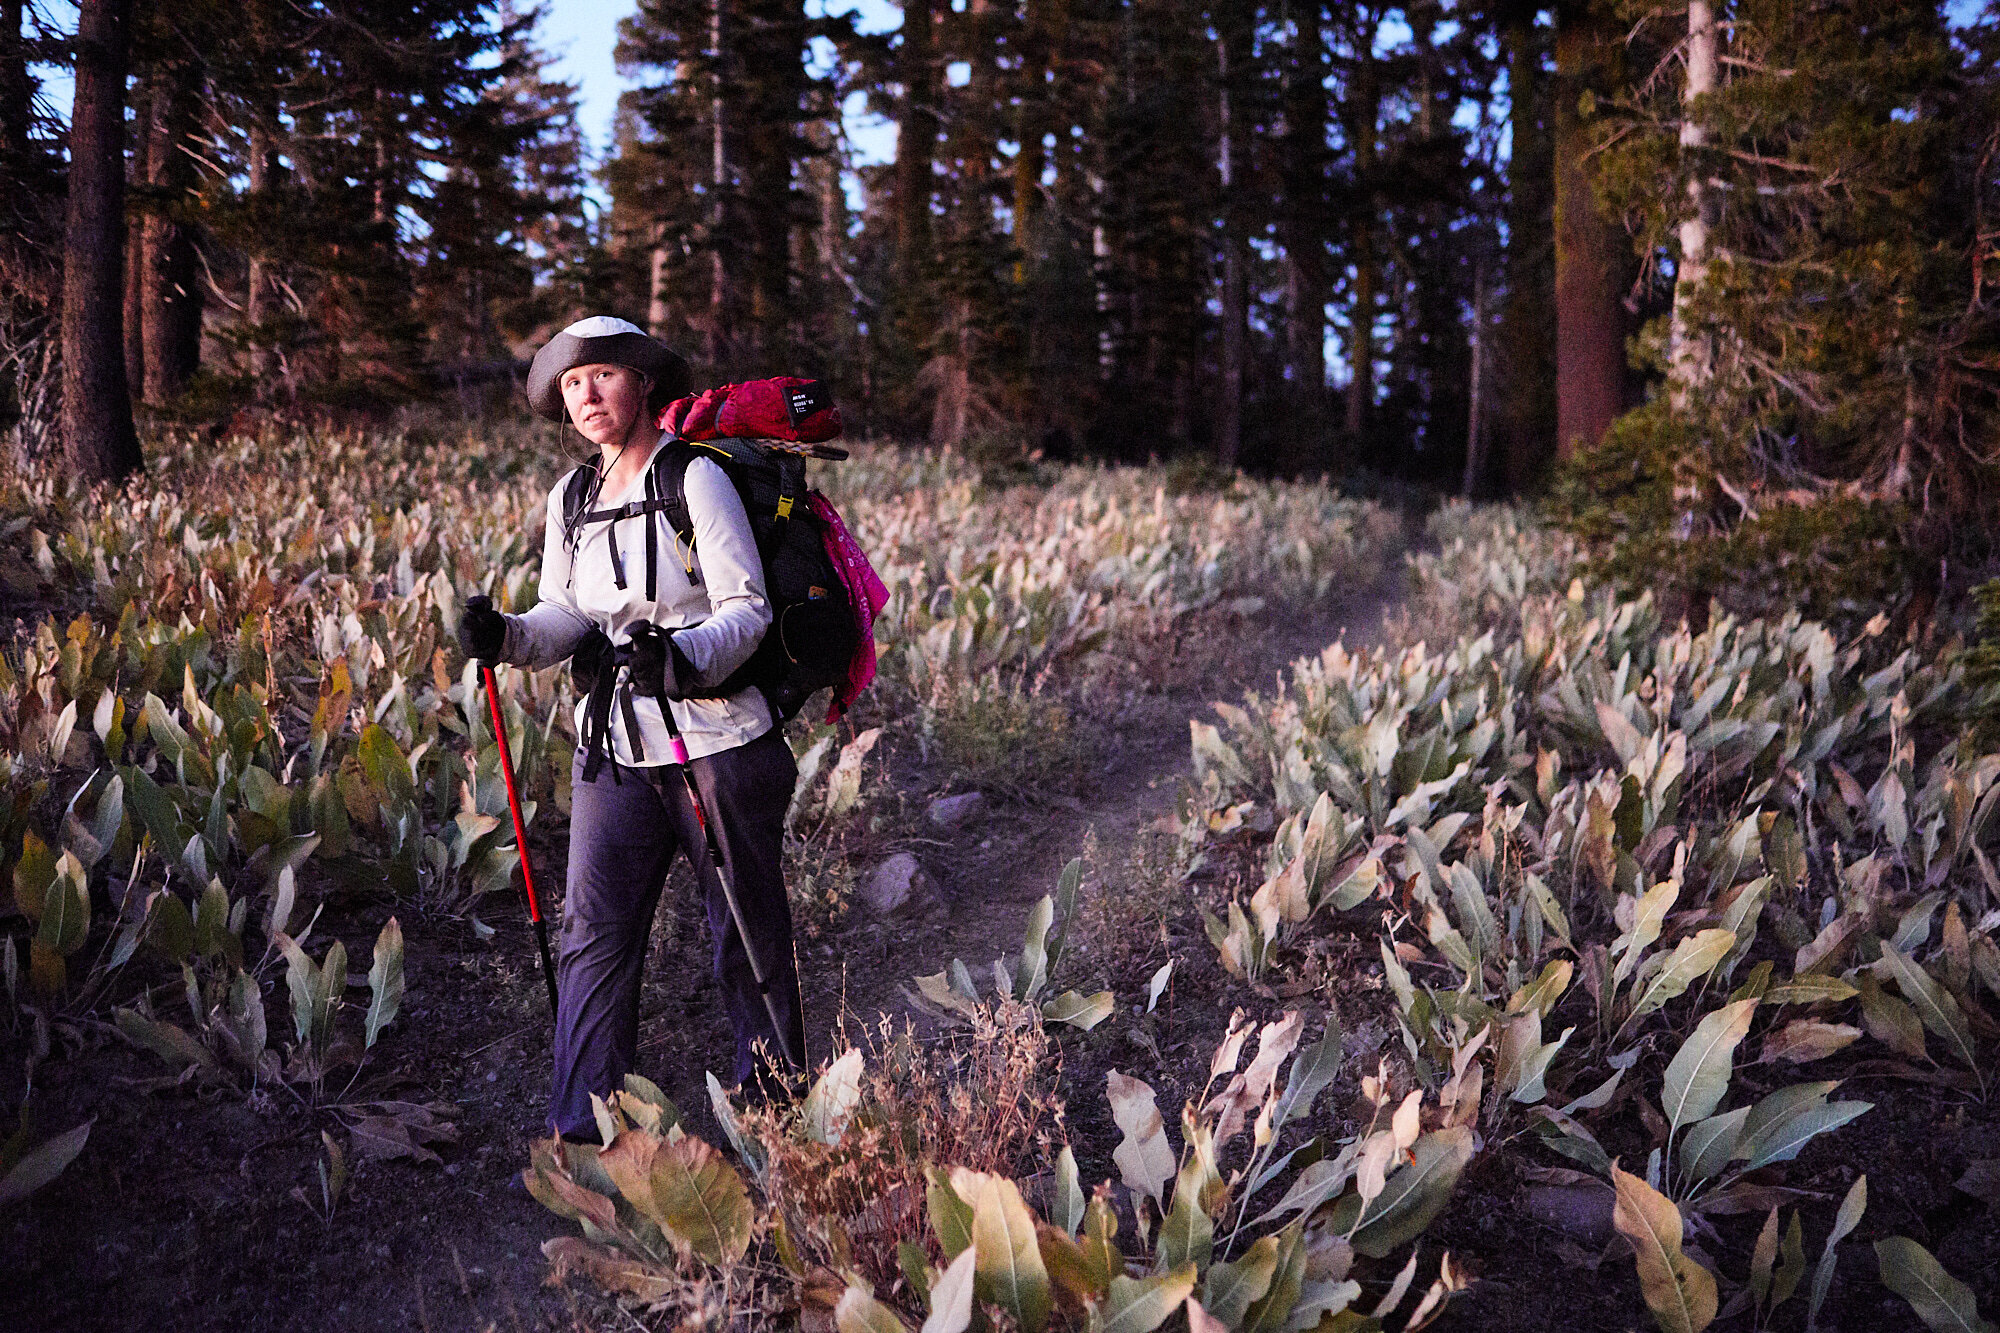
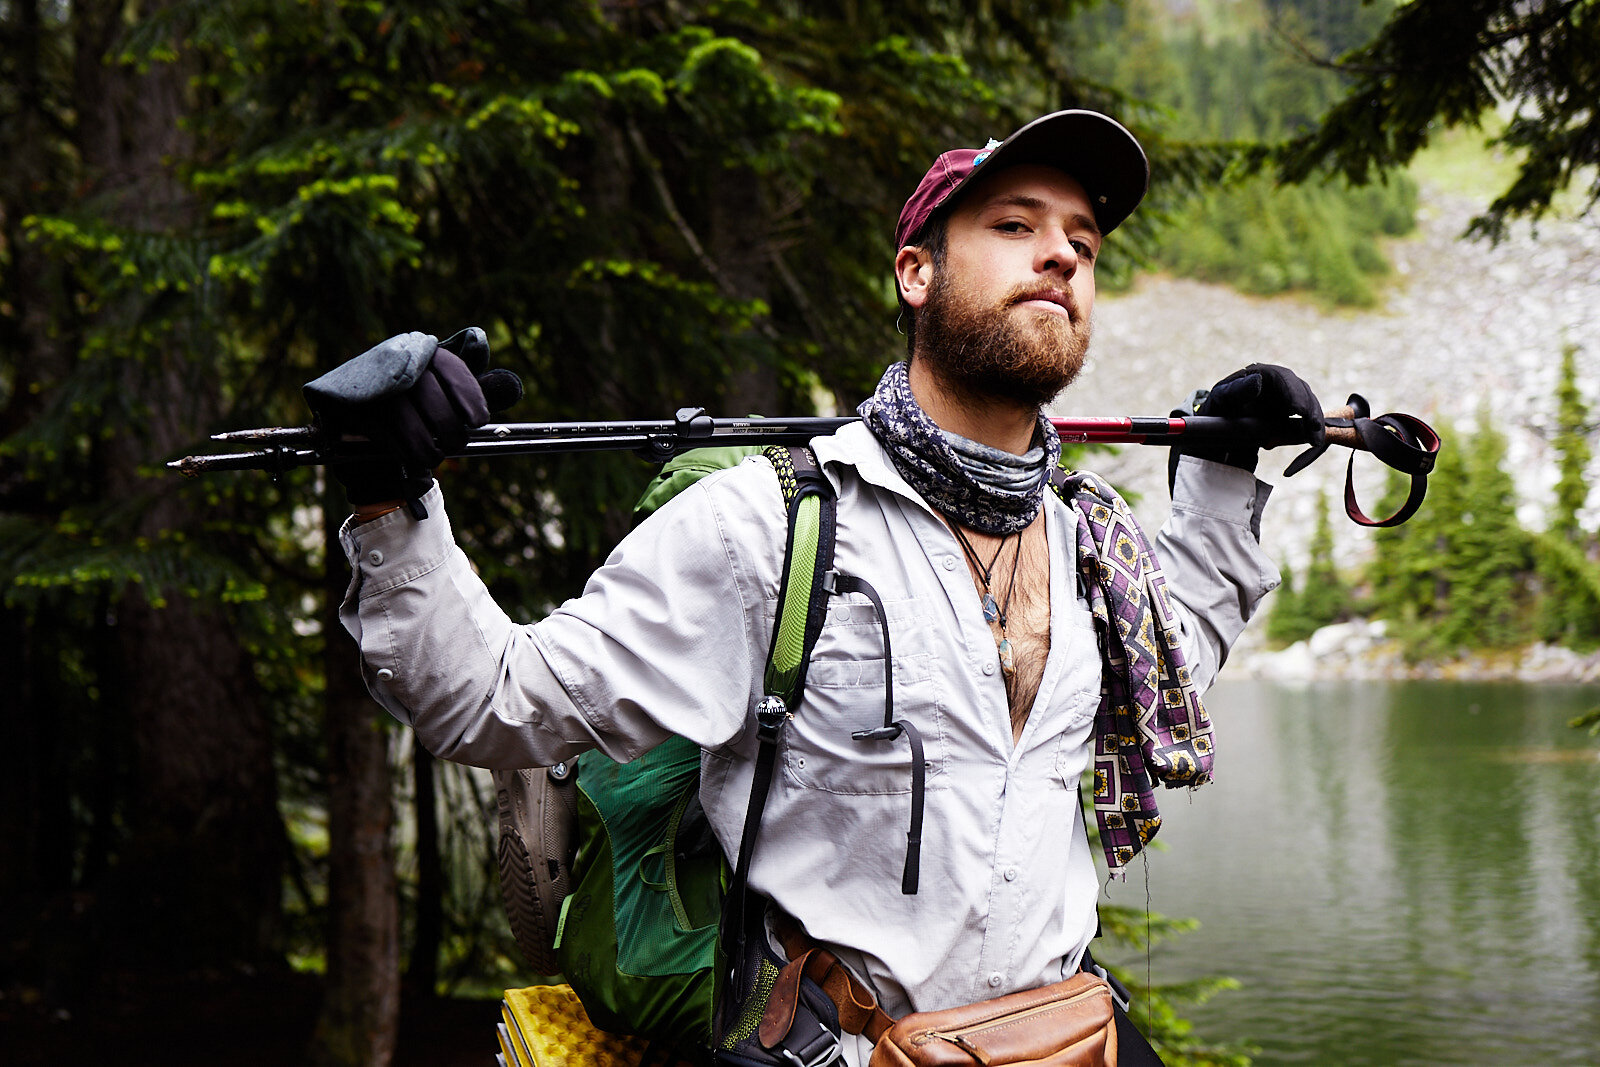
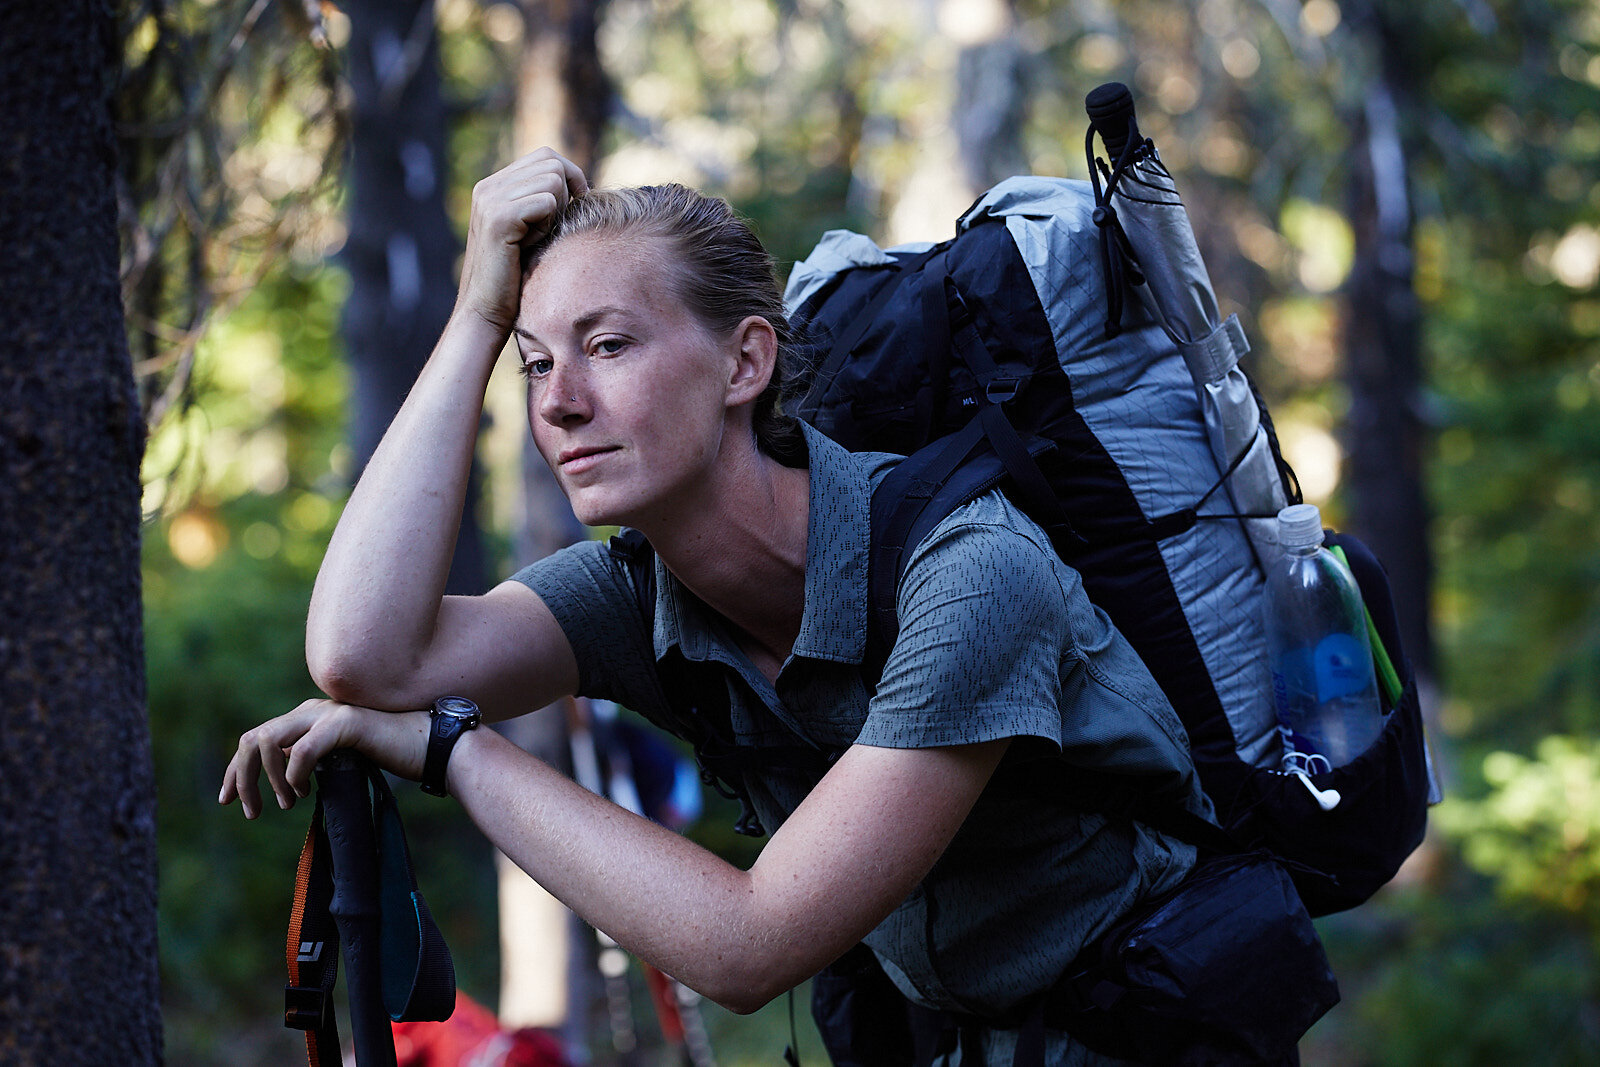
The mid shot is where you add a bit more of their body into the frame. I tend to cut them off just above the waist or halfway down the thigh. It is important not to cut a person off on the joint as it looks awkward. Using a mid shot is useful for adding a bit of context into the frame whether it be the environment, gear they use, cloths they wear, etc. It puts a little less emphasis on the person as compared to the close shot but a lot more than a wide shot. The same suggestions I had for the close shots would apply here as well but I would add that it is more important to shoot while their body is at an angle as it gives the body a bit more depth and shape.
Wide
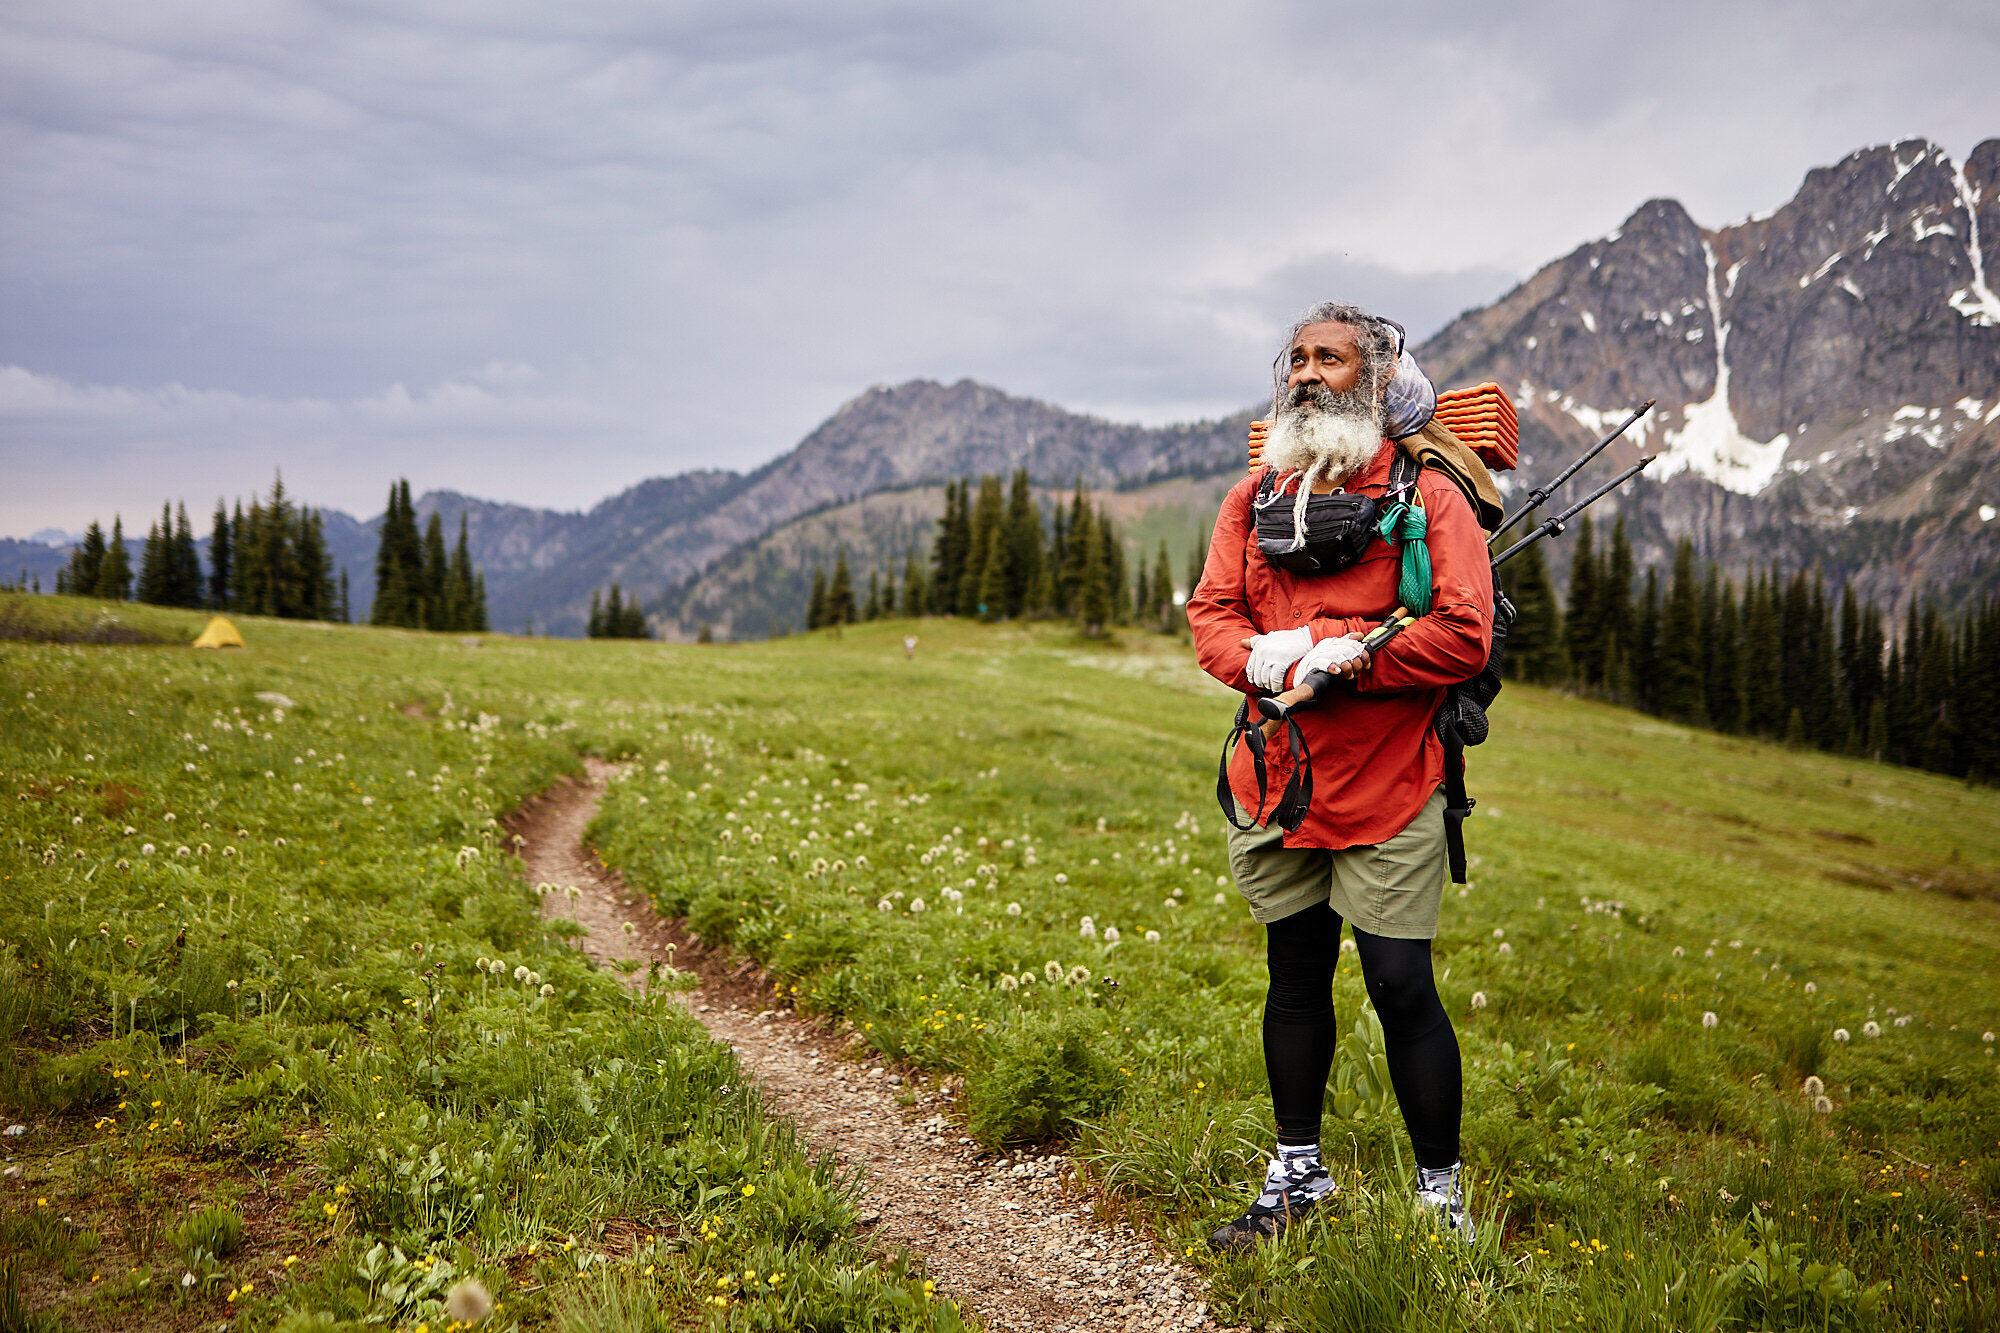
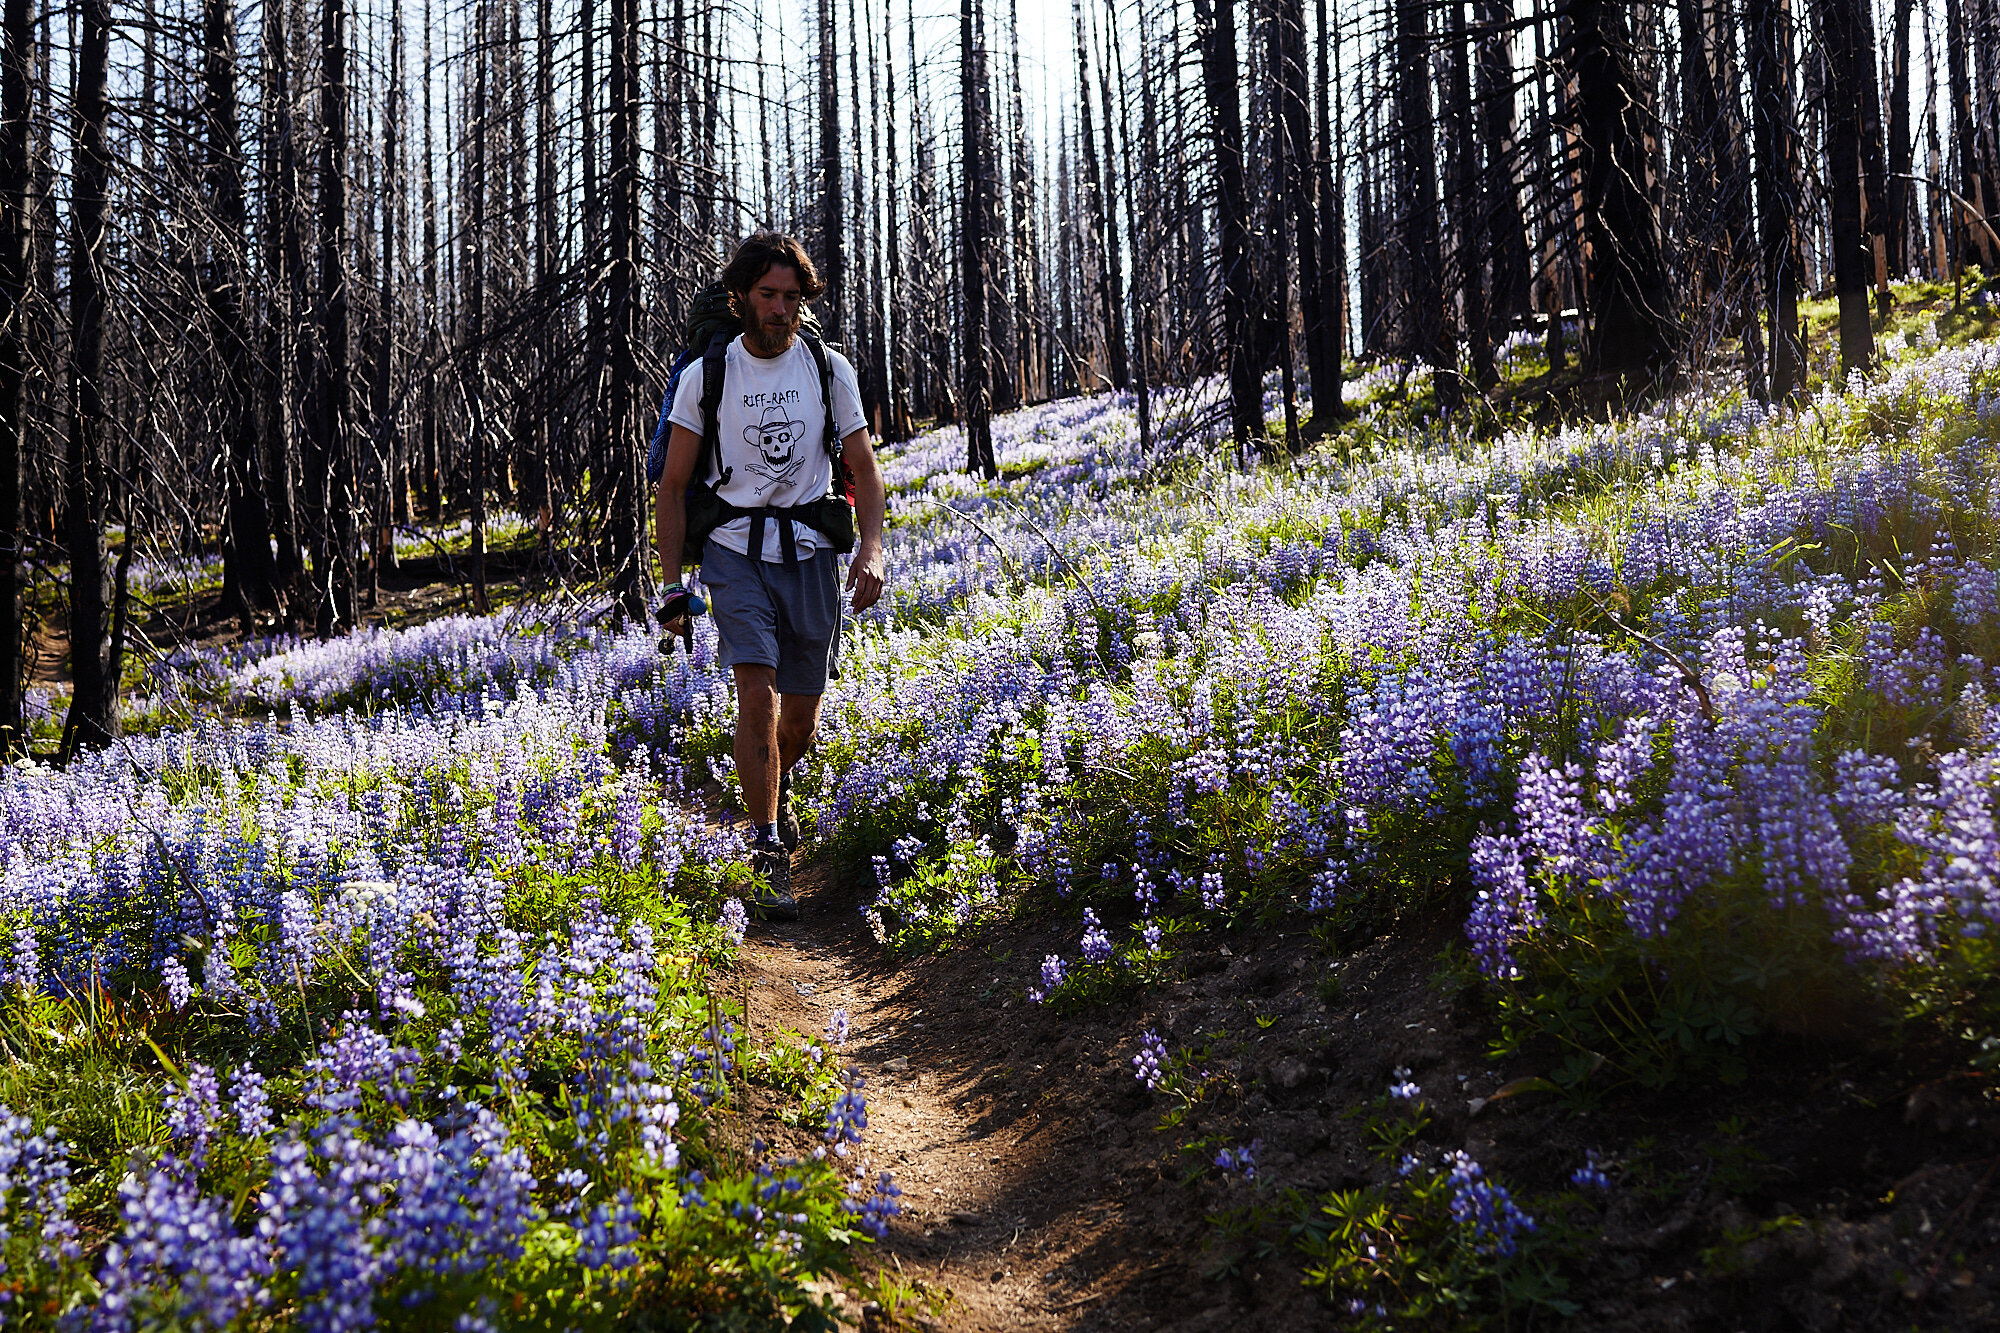
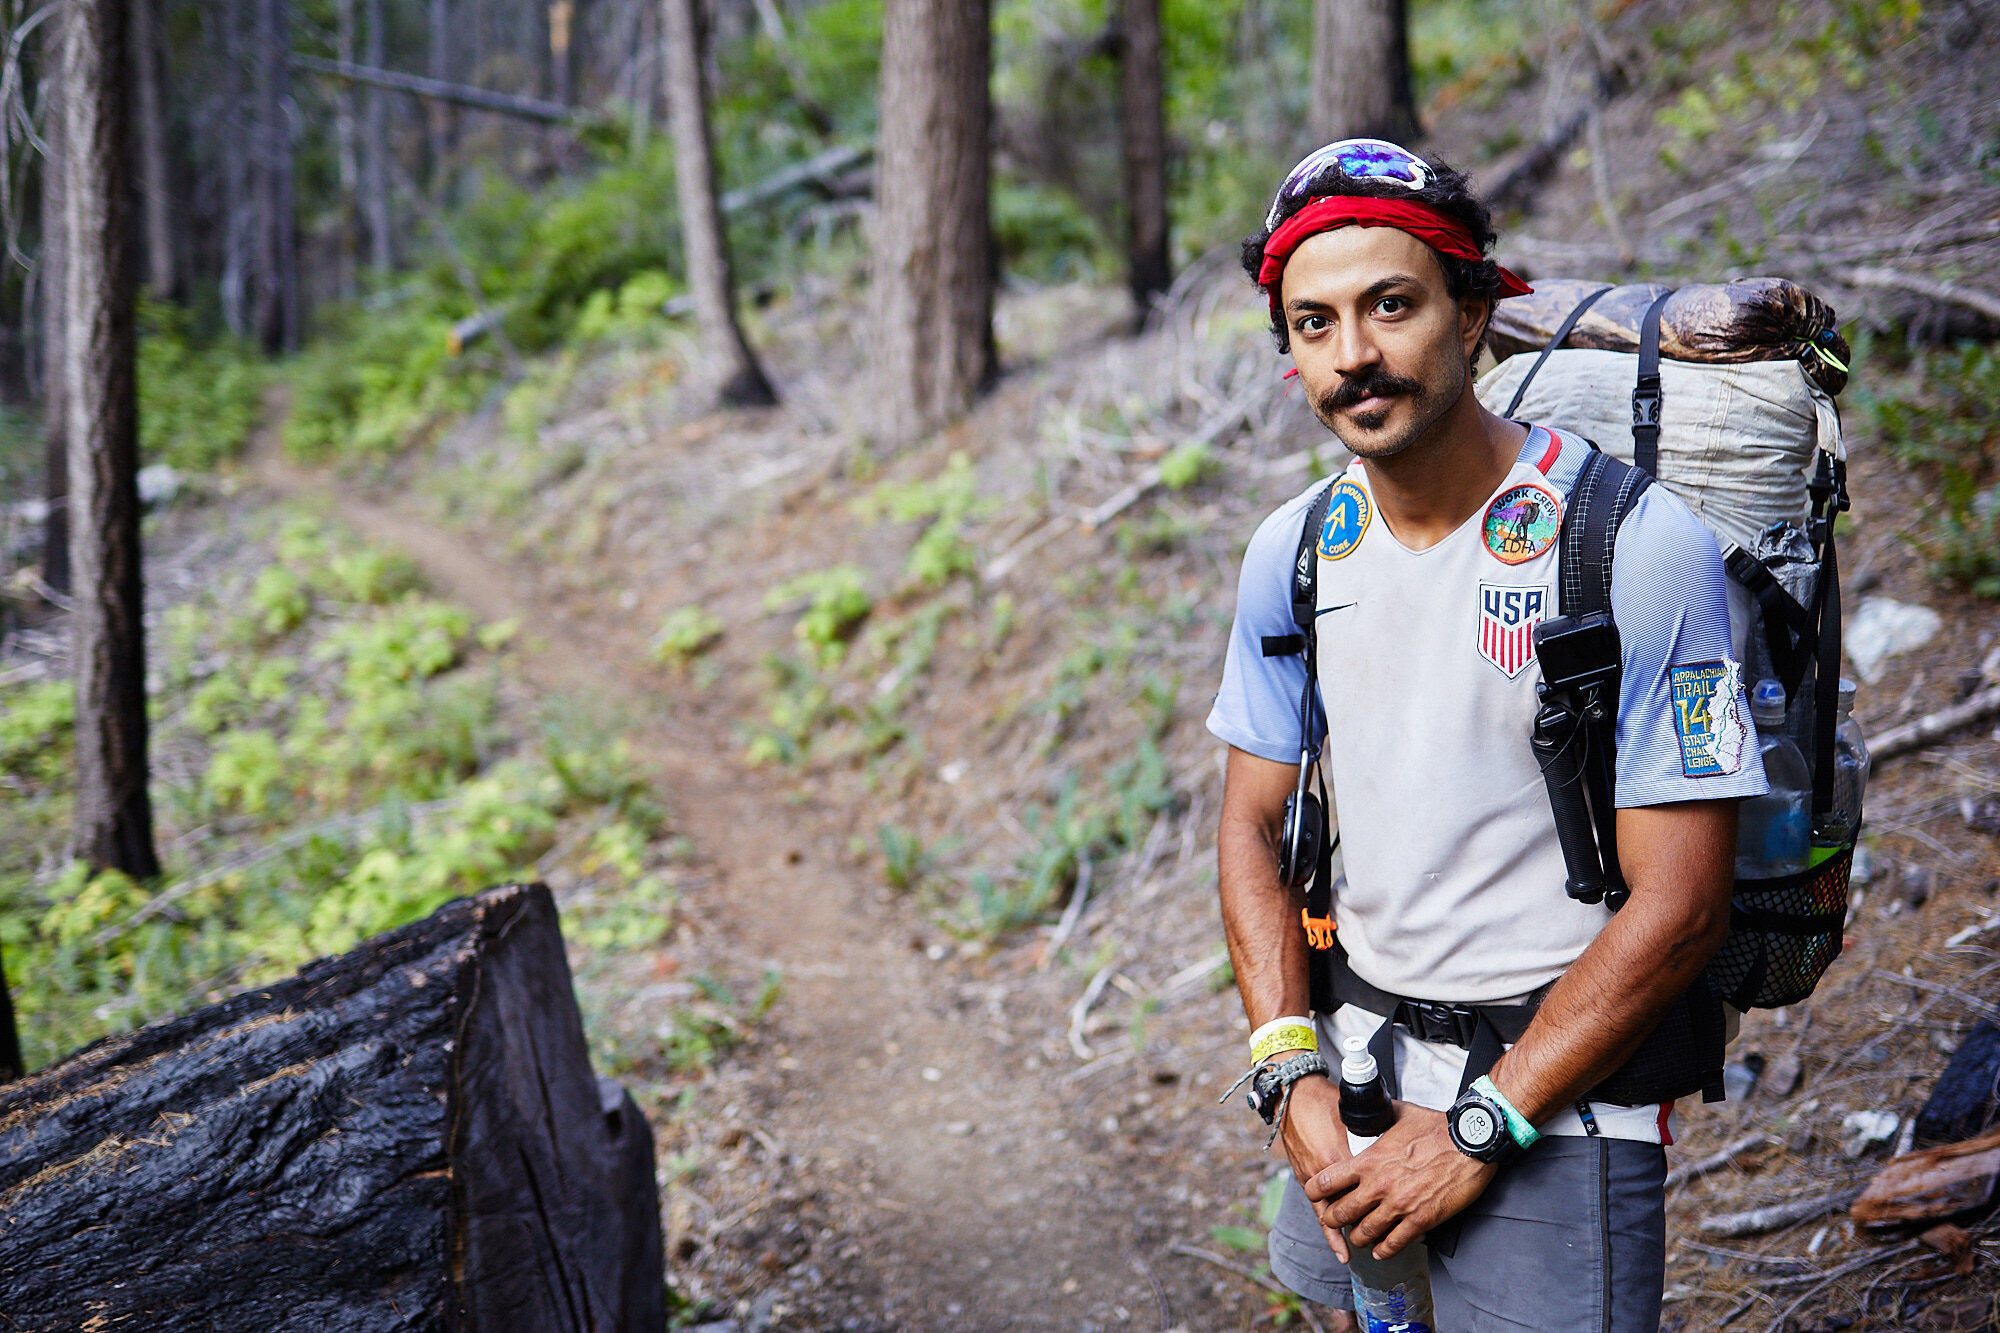
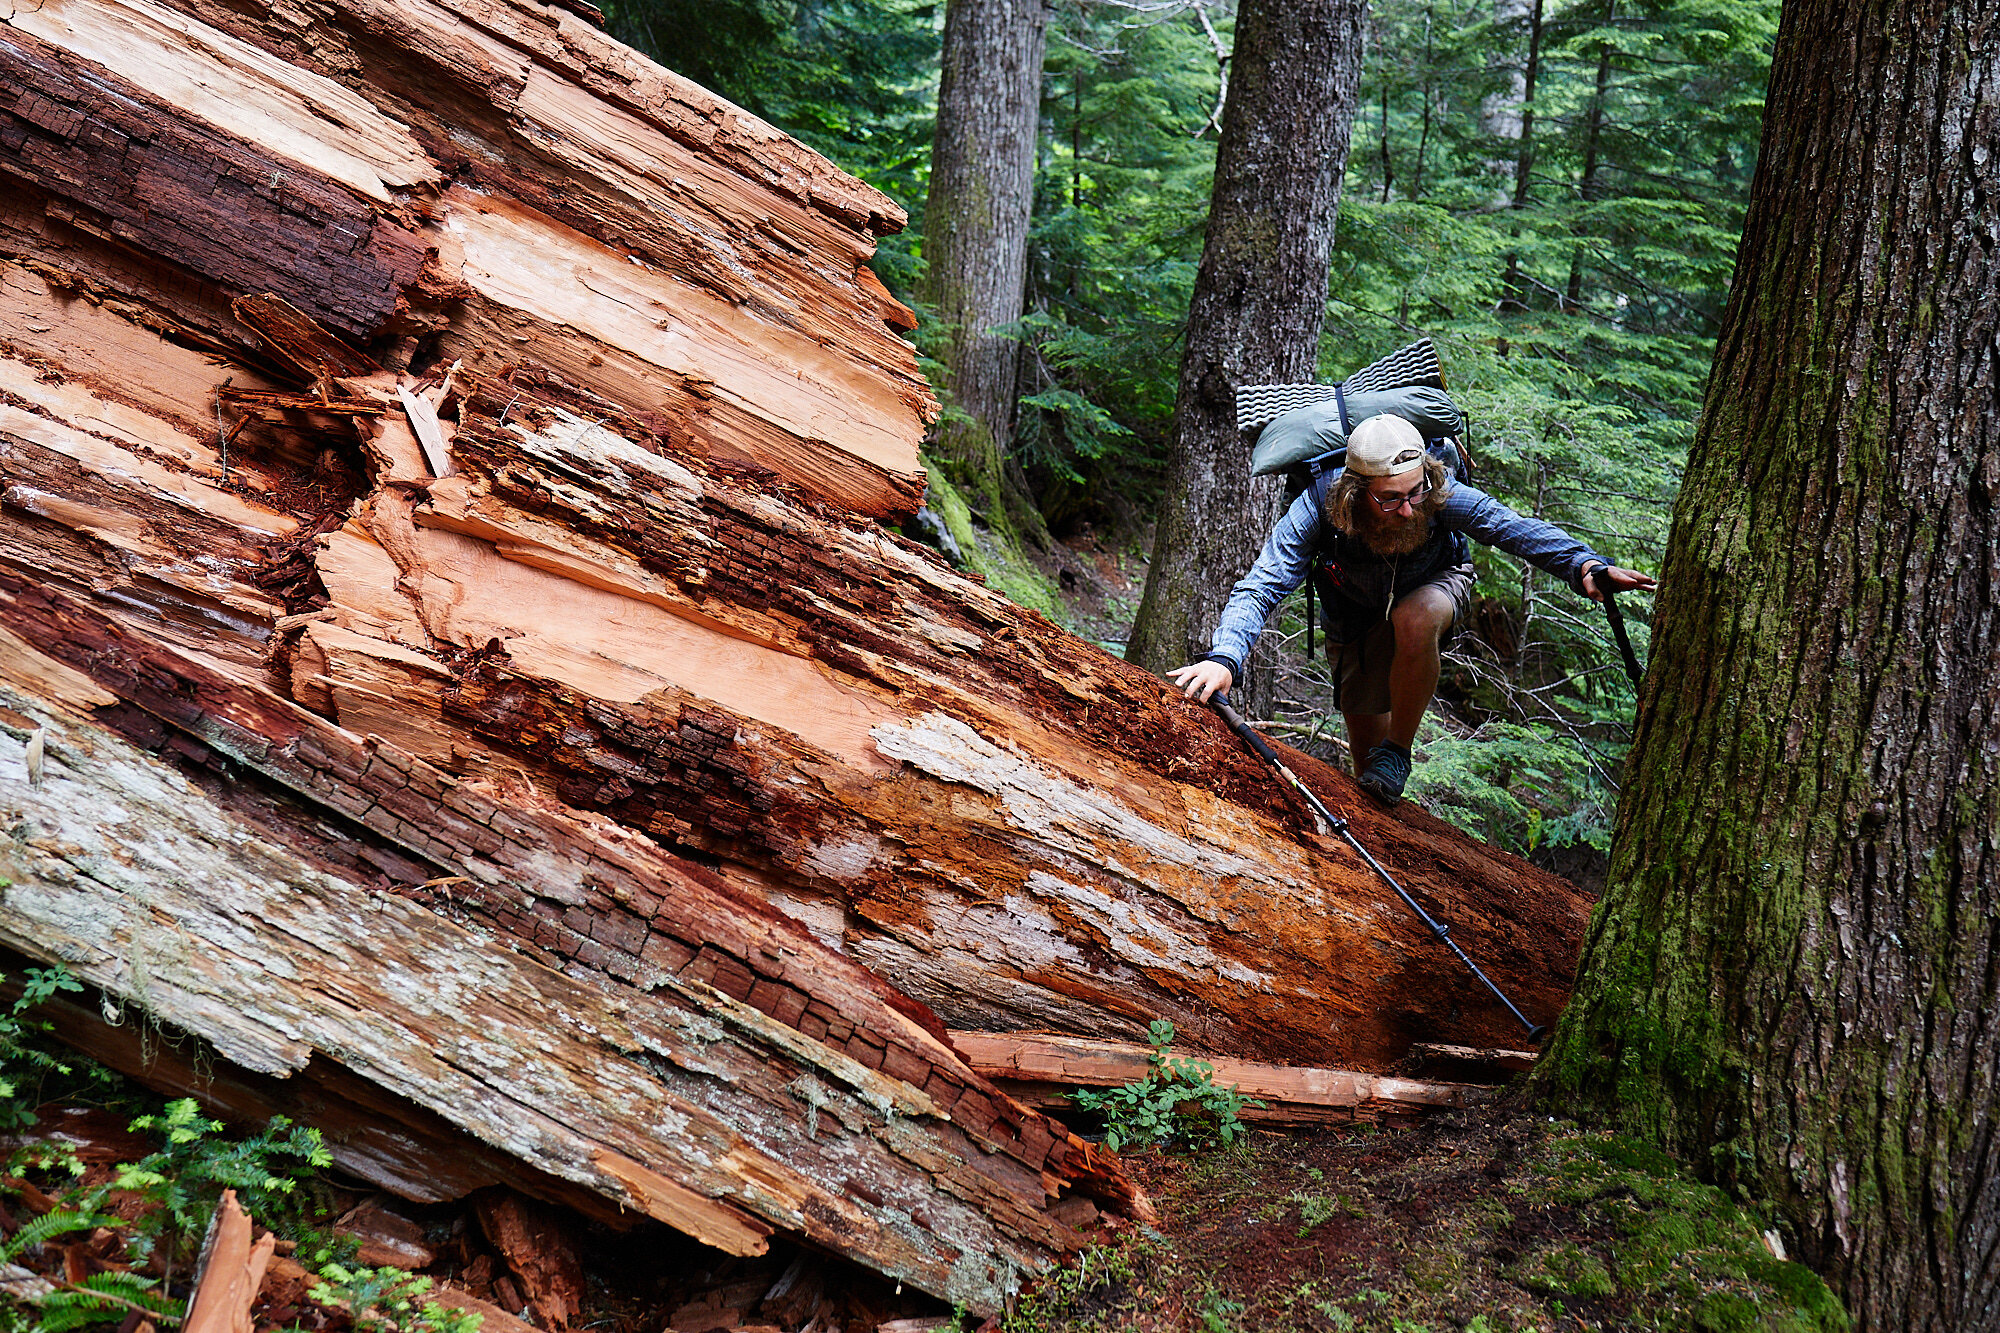
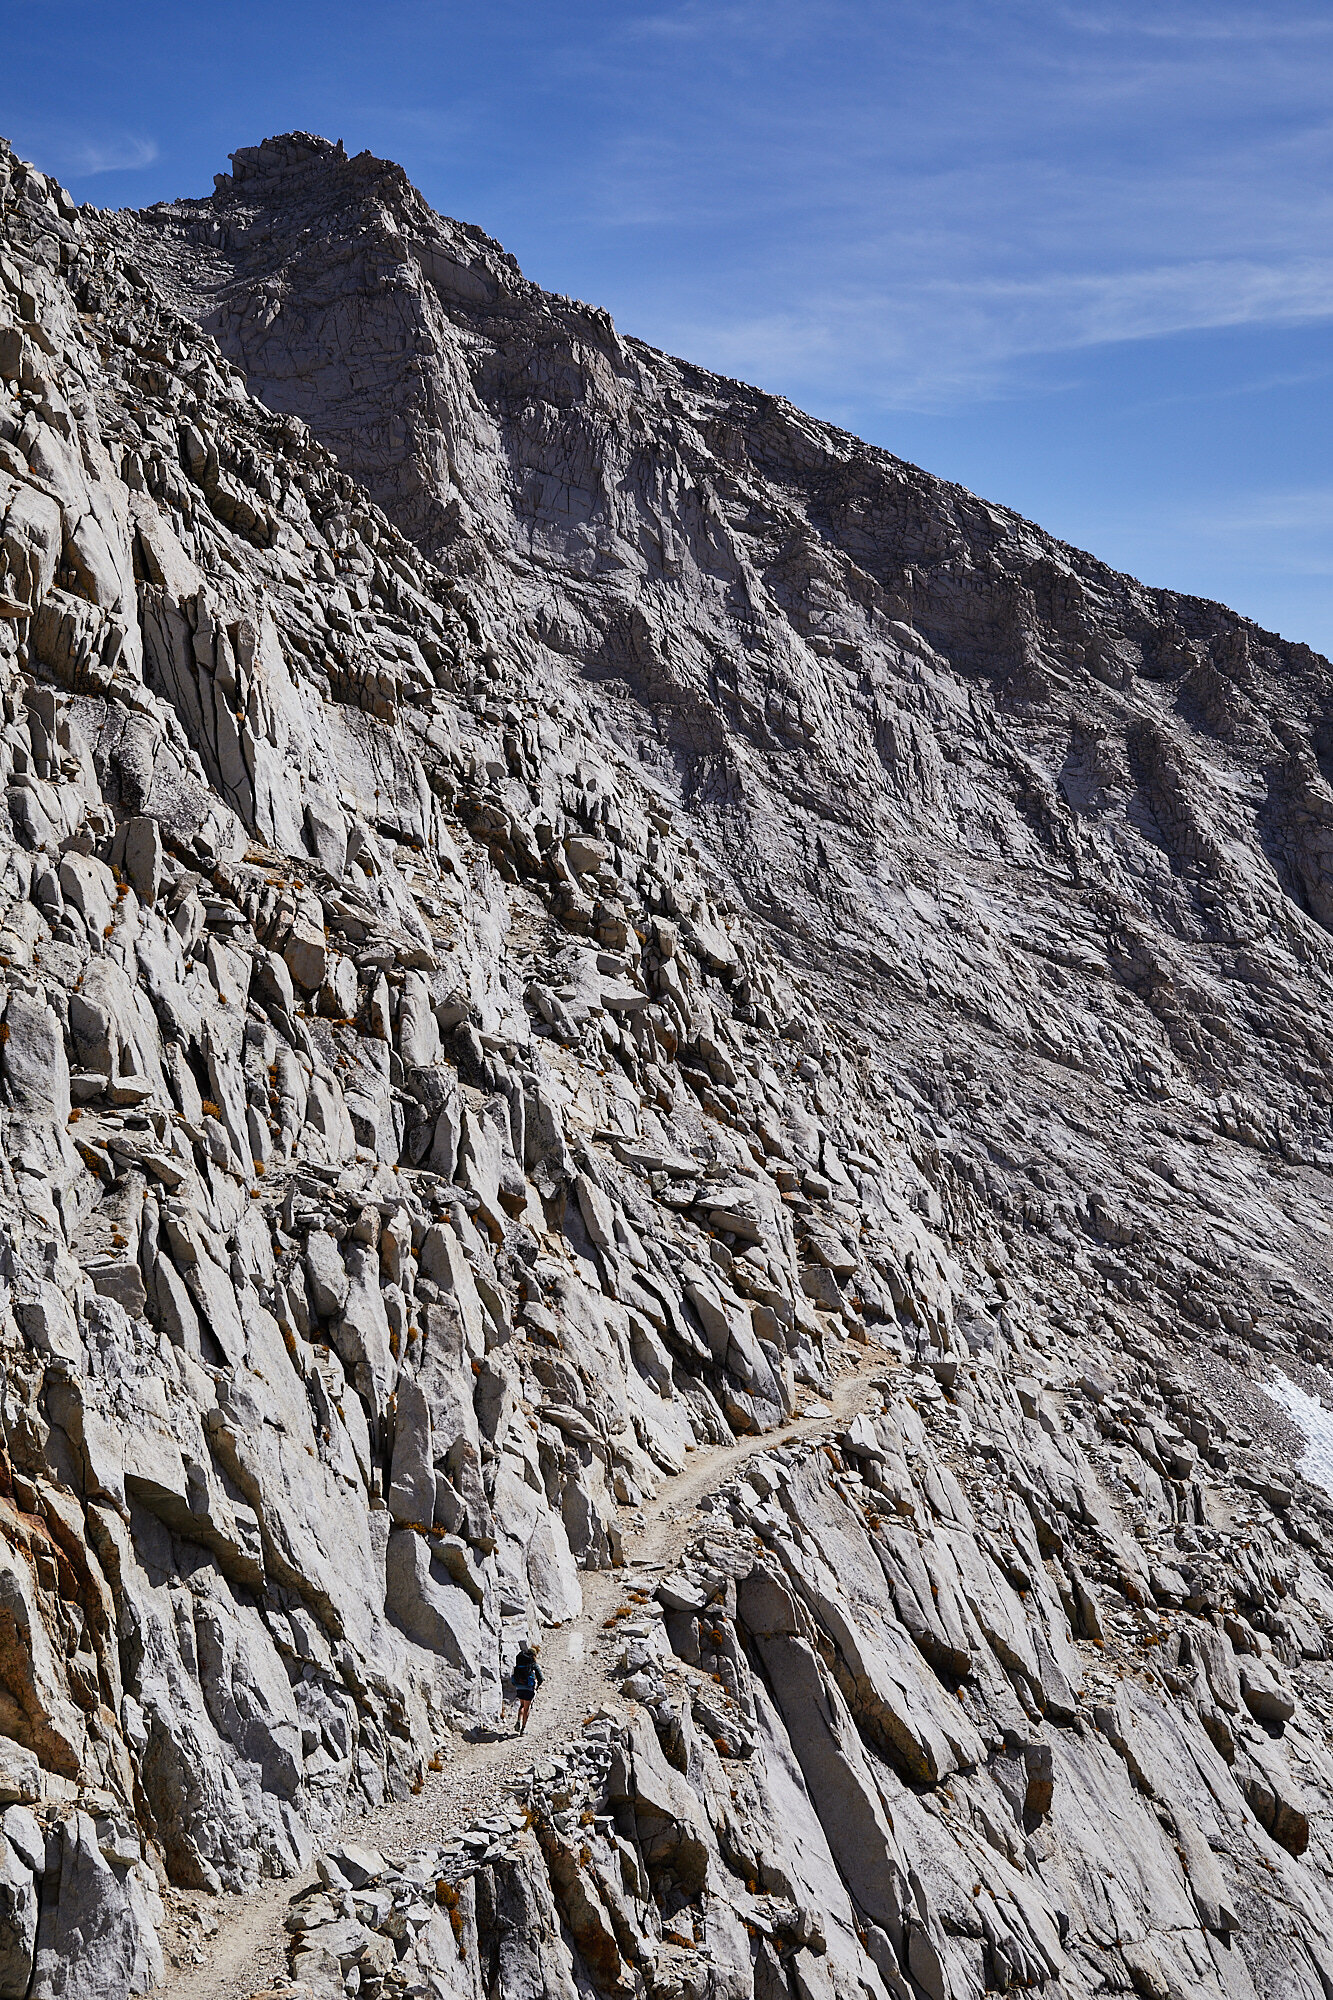
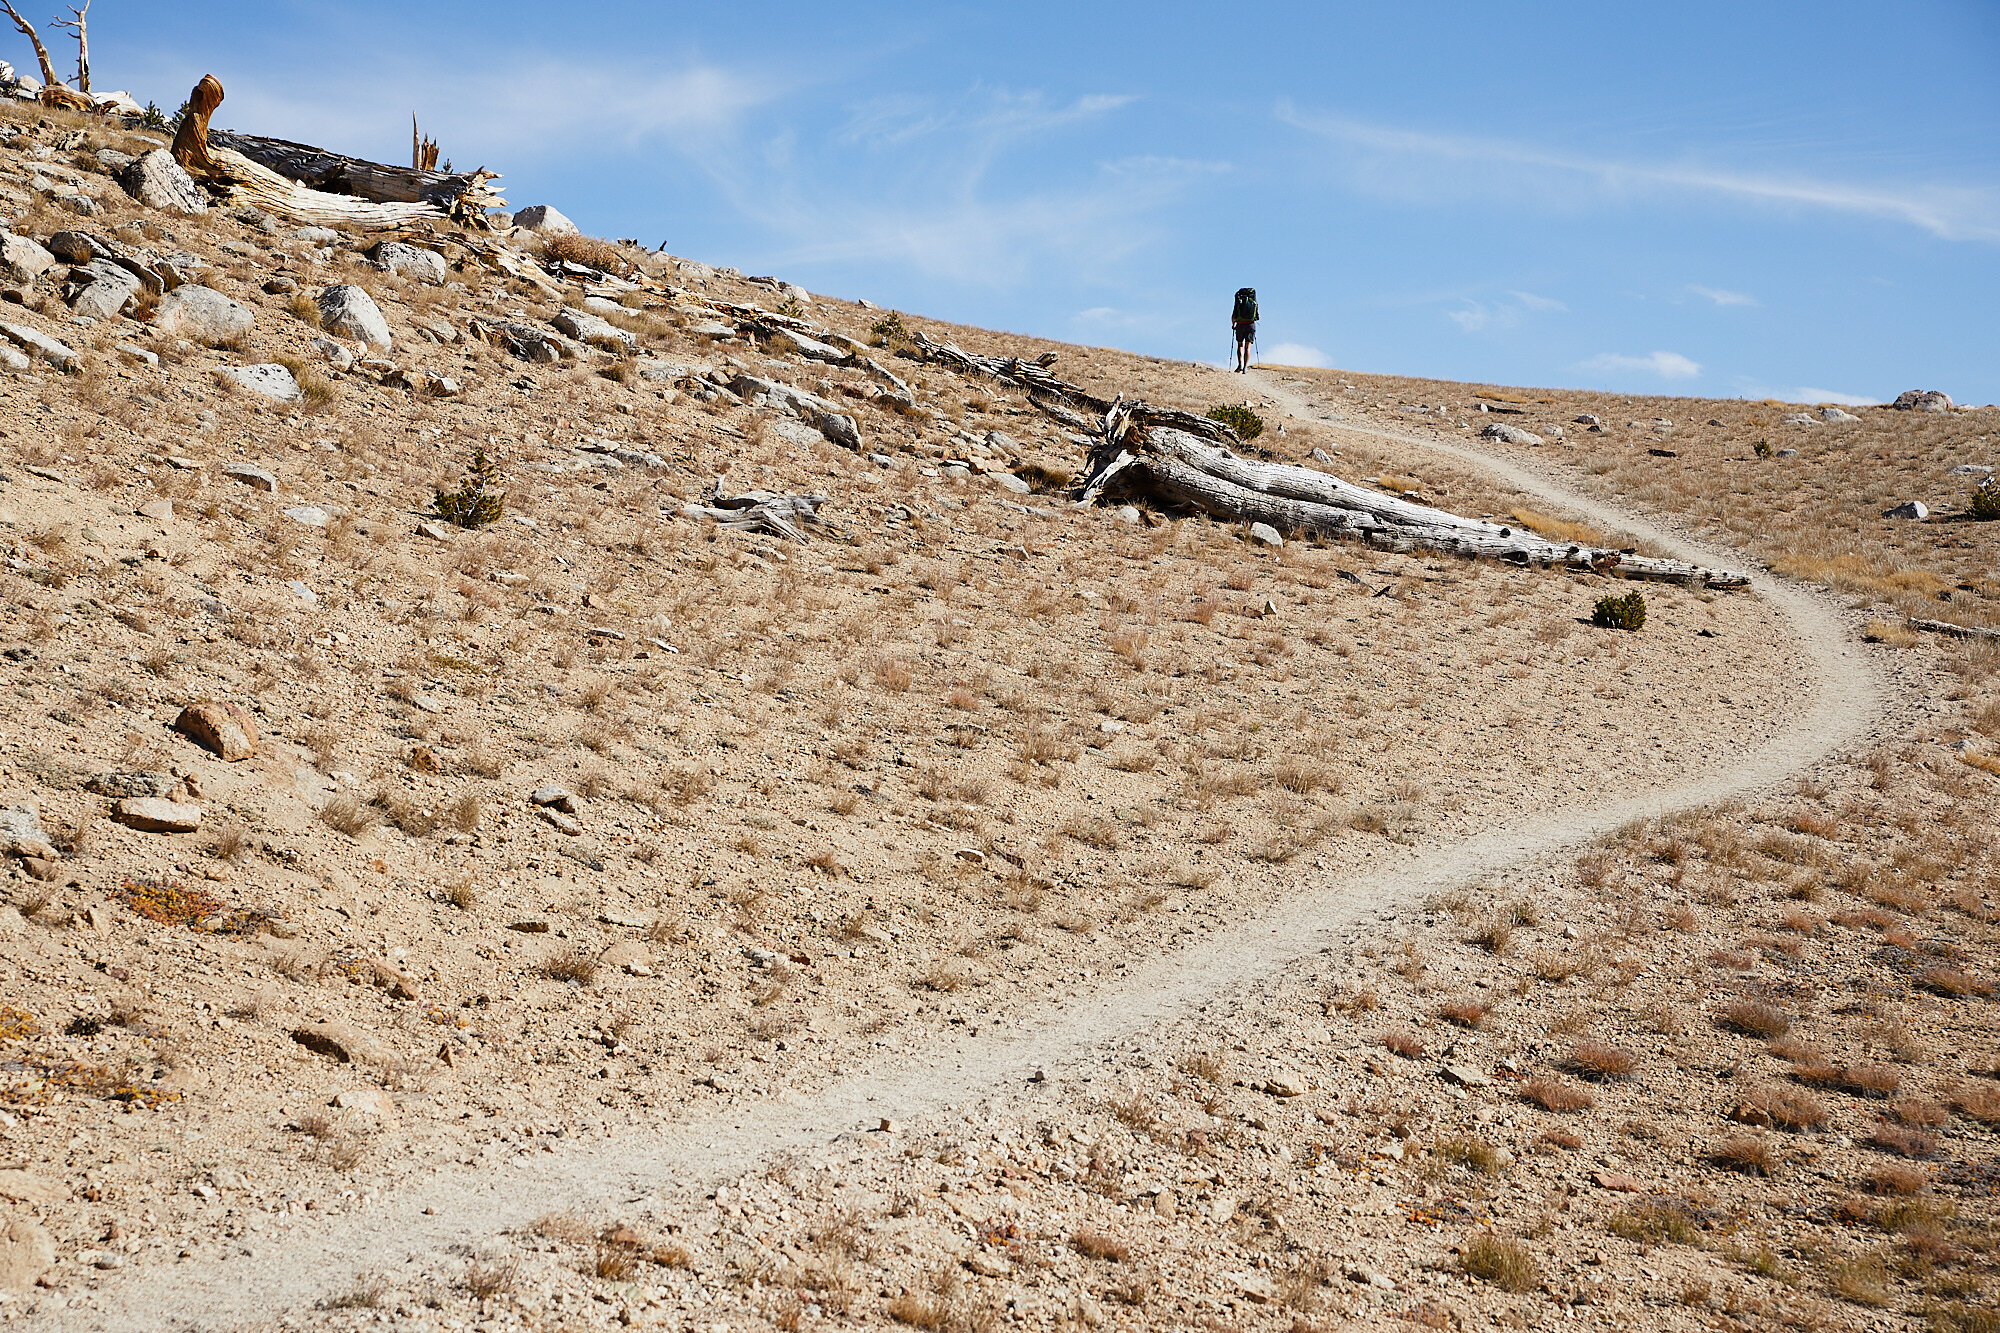
I consider a wide shot to be anything that includes the entire body of a person. For me, a wide shot can be anything from just being able to fit in their whole body to having the person be small in the frame. The size of the person depends of how you want the balance between person and environment to be. The larger the person in the frame the more emphasis is on them and what they are doing while the smaller they are the more emphasis is on the environment. I found that these were my most varied photos as their is so much variety in the scenery on trail. I found that pictures were more interesting when the people were doing something like walking, climbing, or talking to someone.
Eyes
Eyes are incredibly important when taking pictures of people. They give the most insight into what a person is thinking and what they are like. The eyes can draw you straight into the image or direct you to what is happening in the photograph. When the person looks straight into the camera it demands attention and you are naturally drawn to look them in the eye. This can feel direct and even intimidating in comparison to when the eyes are looking into the distance or at something else in the frame.
A time when it is better to not have the person looking into the camera is when they are doing something. When one of the boys was teaching the other how to tie a certain knot I tried to capture the moments where they were looking at the knots.
Shutter Speed
Using a fast shutter speed is crucial when shooting people if you want to be sure that the photo will turn out. I’m talking about using at least 1/400th of a second to freeze the action whenever possible. You might wonder why you need a fast shutter speed when you can get sharp photos with much slower shutter speeds, even down to 1 or 2 seconds with some gear. The reason that you can get those shots in focus is because the camera is stabilizing itself and when what you are taking a picture of isn’t moving that works great but the stabilazation does nothing to stop the people in front of you from moving.
Even if you have someone pose and stand still, they may laugh or move their head and using a fast shutter speed increases the chance that you get those wonderful moments in sharp photos.

